Setting up DNS and certificate using cloudflare
In this document we will see how we can use Cloudflare to create a SSL certificate using cert-manager as the certificate provisioner.
Creating an API token
- Log In to your Cloudflare account
- Go User Profile > API Tokens > API Tokens.
- Create an API token with the following permissions
- Permissions
- Zone - DNS - Edit
Zone - Zone - Read
- Zone - DNS - Edit
- Zone - Resources
- Include - All Zones
- Permissions
- Create a kubernetes secret of the API token
kubectl apply -f <<EOF
apiVersion: v1
kind: Secret
metadata:
  name: cloudflare-api-token-secret
  namespace: istio-system
type: Opaque
stringData:
  api-token: <API Token>
EOF
Installing cert-manager
In this step we will install cert-manager from the UI.
-
Head over to the Integrations tab in the left panel and select the right cluster in which you want to install cert-manager. Click on the Three dots at the left-panel and select Manage Applications.
-
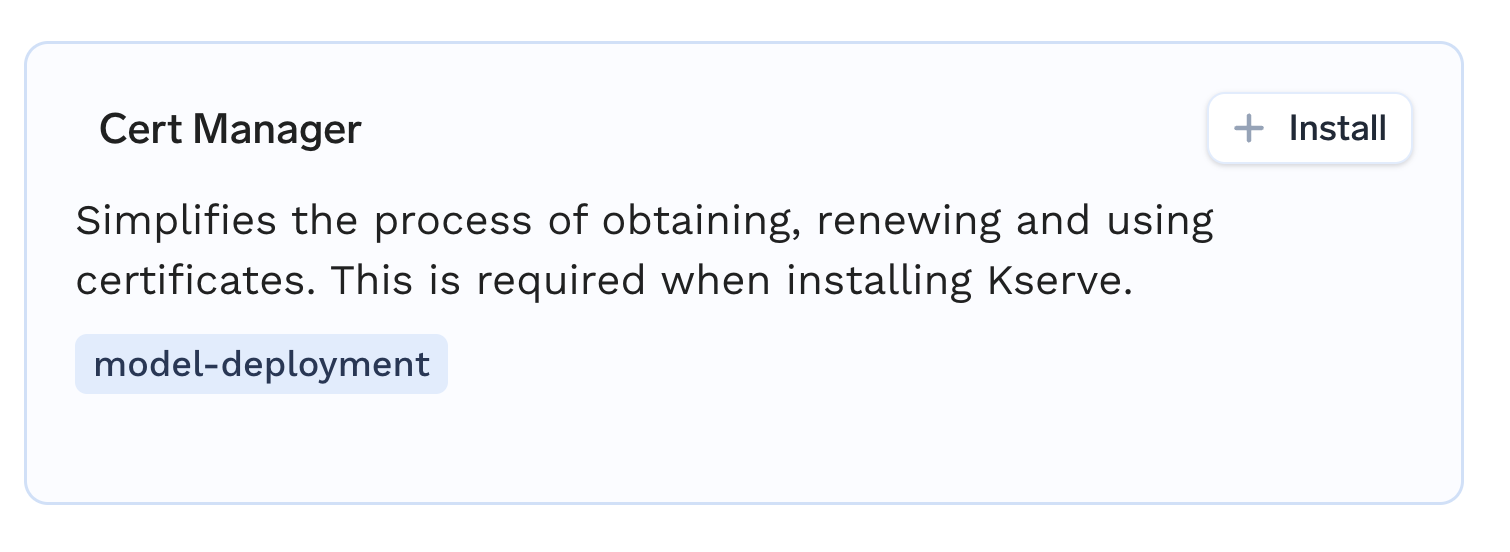
Find Cert-Manager in the list and click on the + Install icon.
-
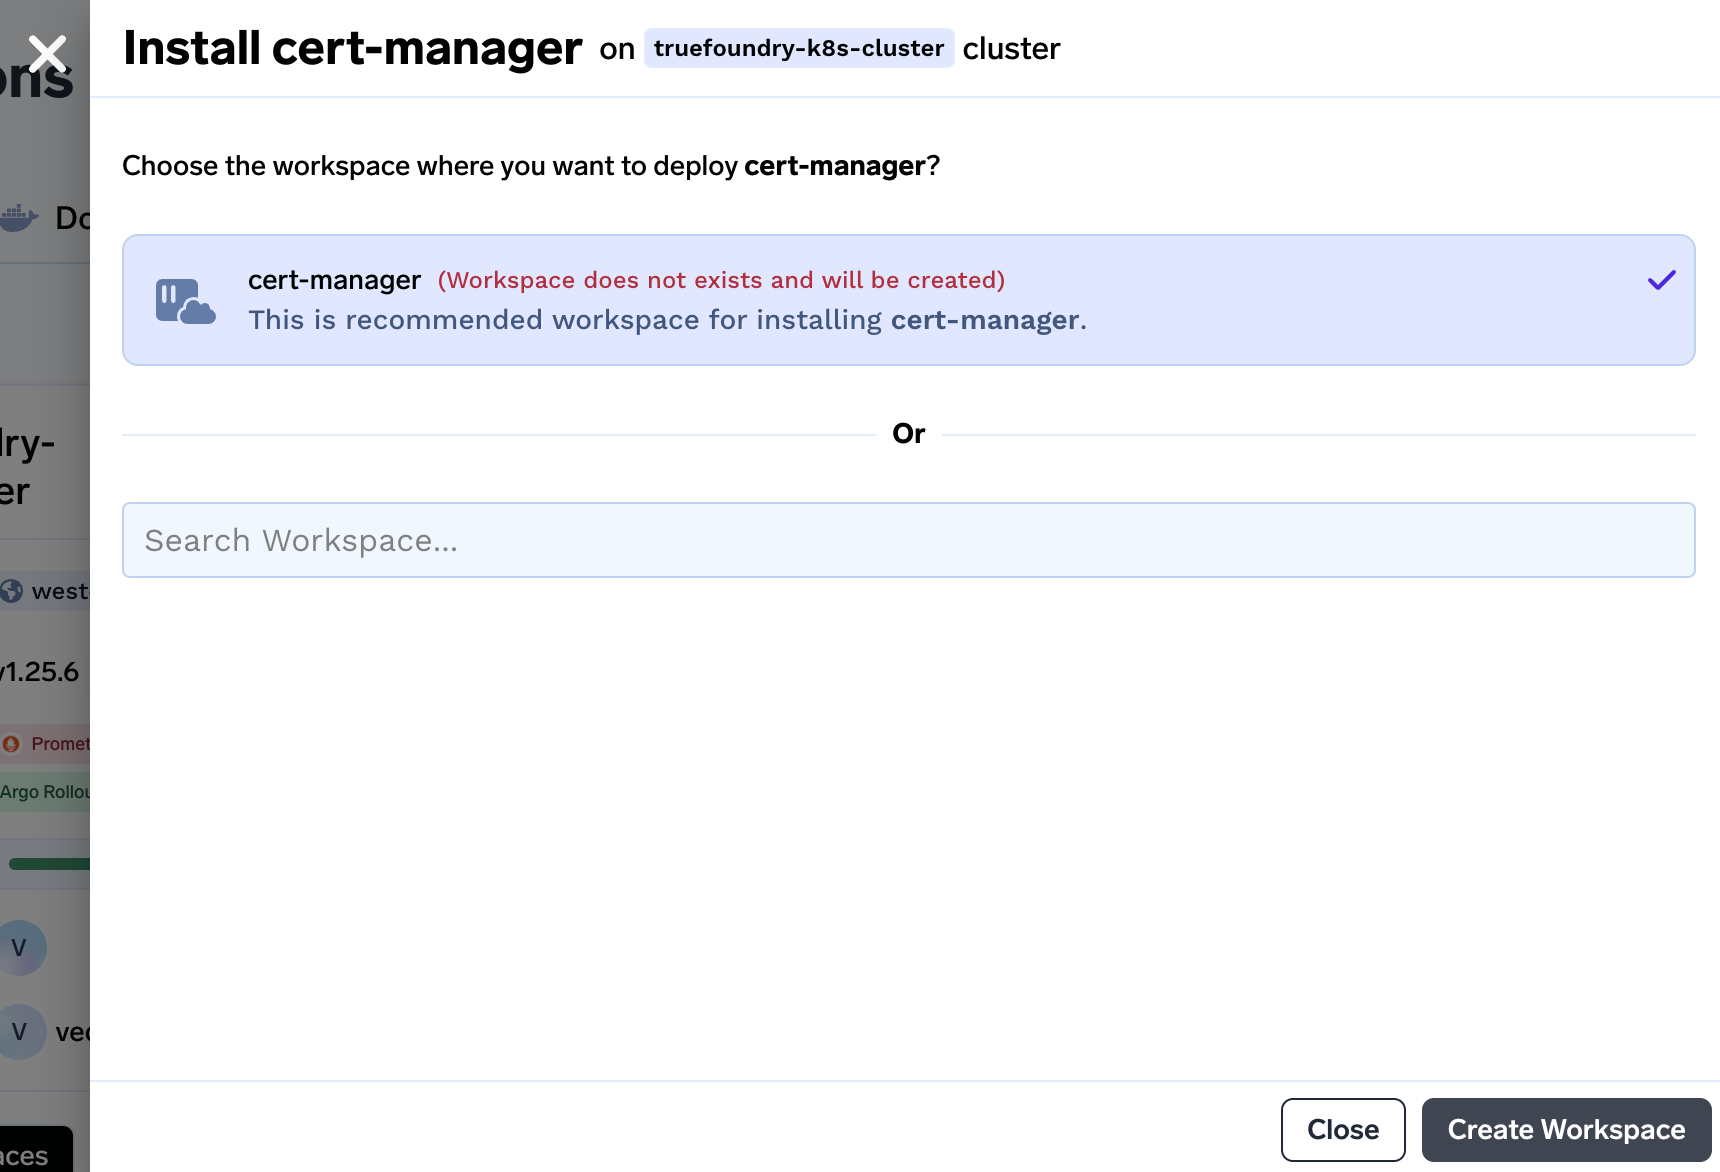
We will be asked to create workspace if the workspace doesn't exist beforehand. Click on Create Workspace to create a workspace.
-
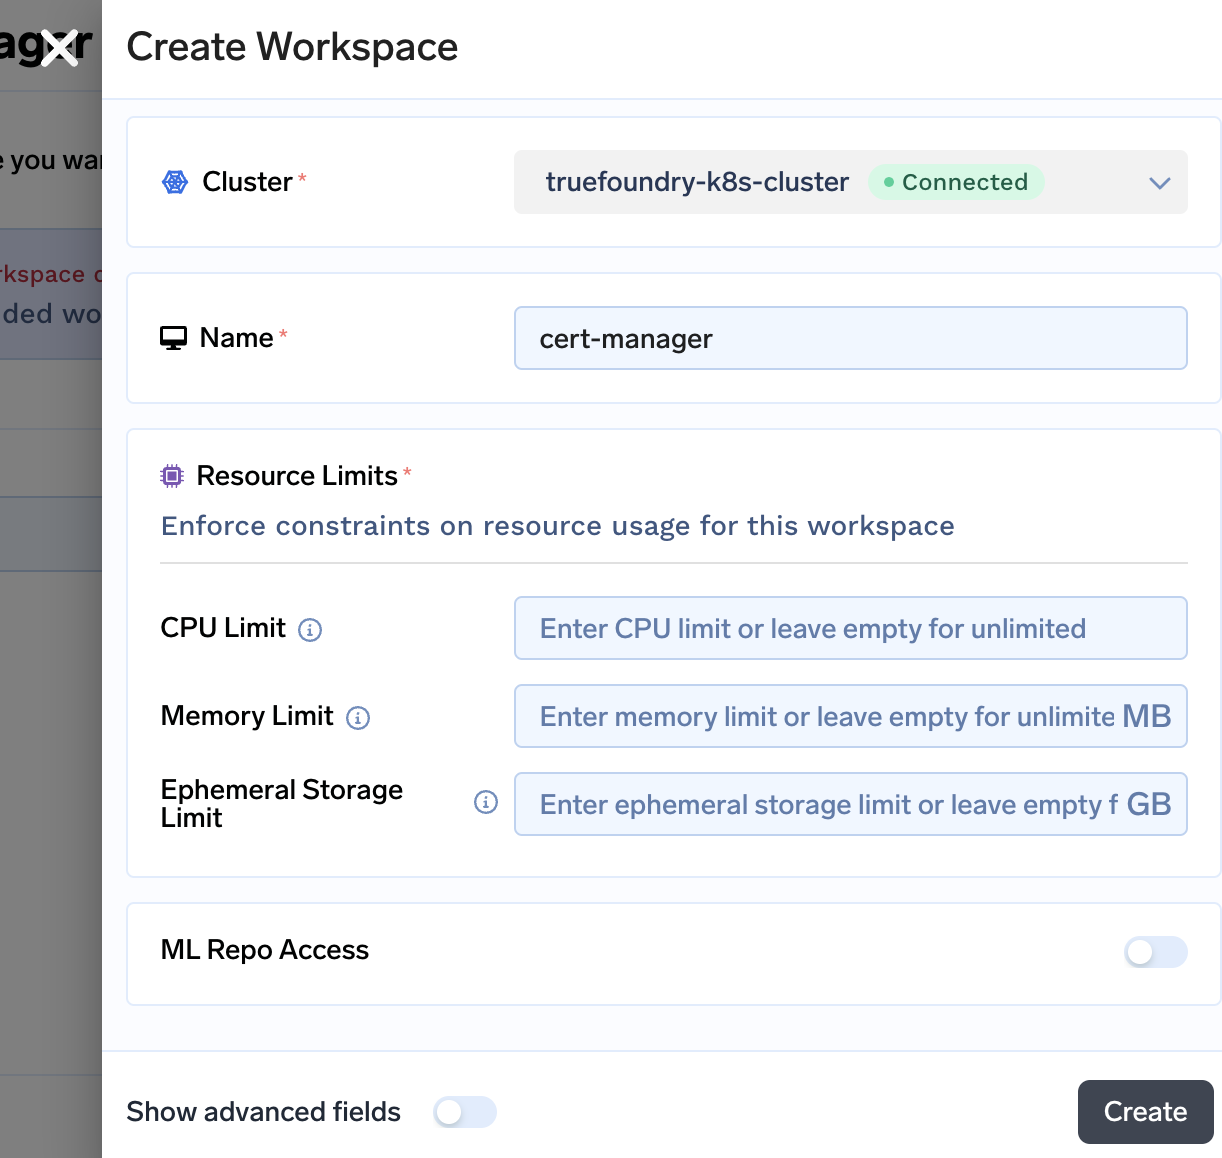
In the next step you will be asked to confirm few details. If you want to specify certain limits on the workspace you can specify here. You can leave it empty as each Managed Application gets deployed in the right workspace with rightful amount of resources. Click on Create to create the workspace.
-
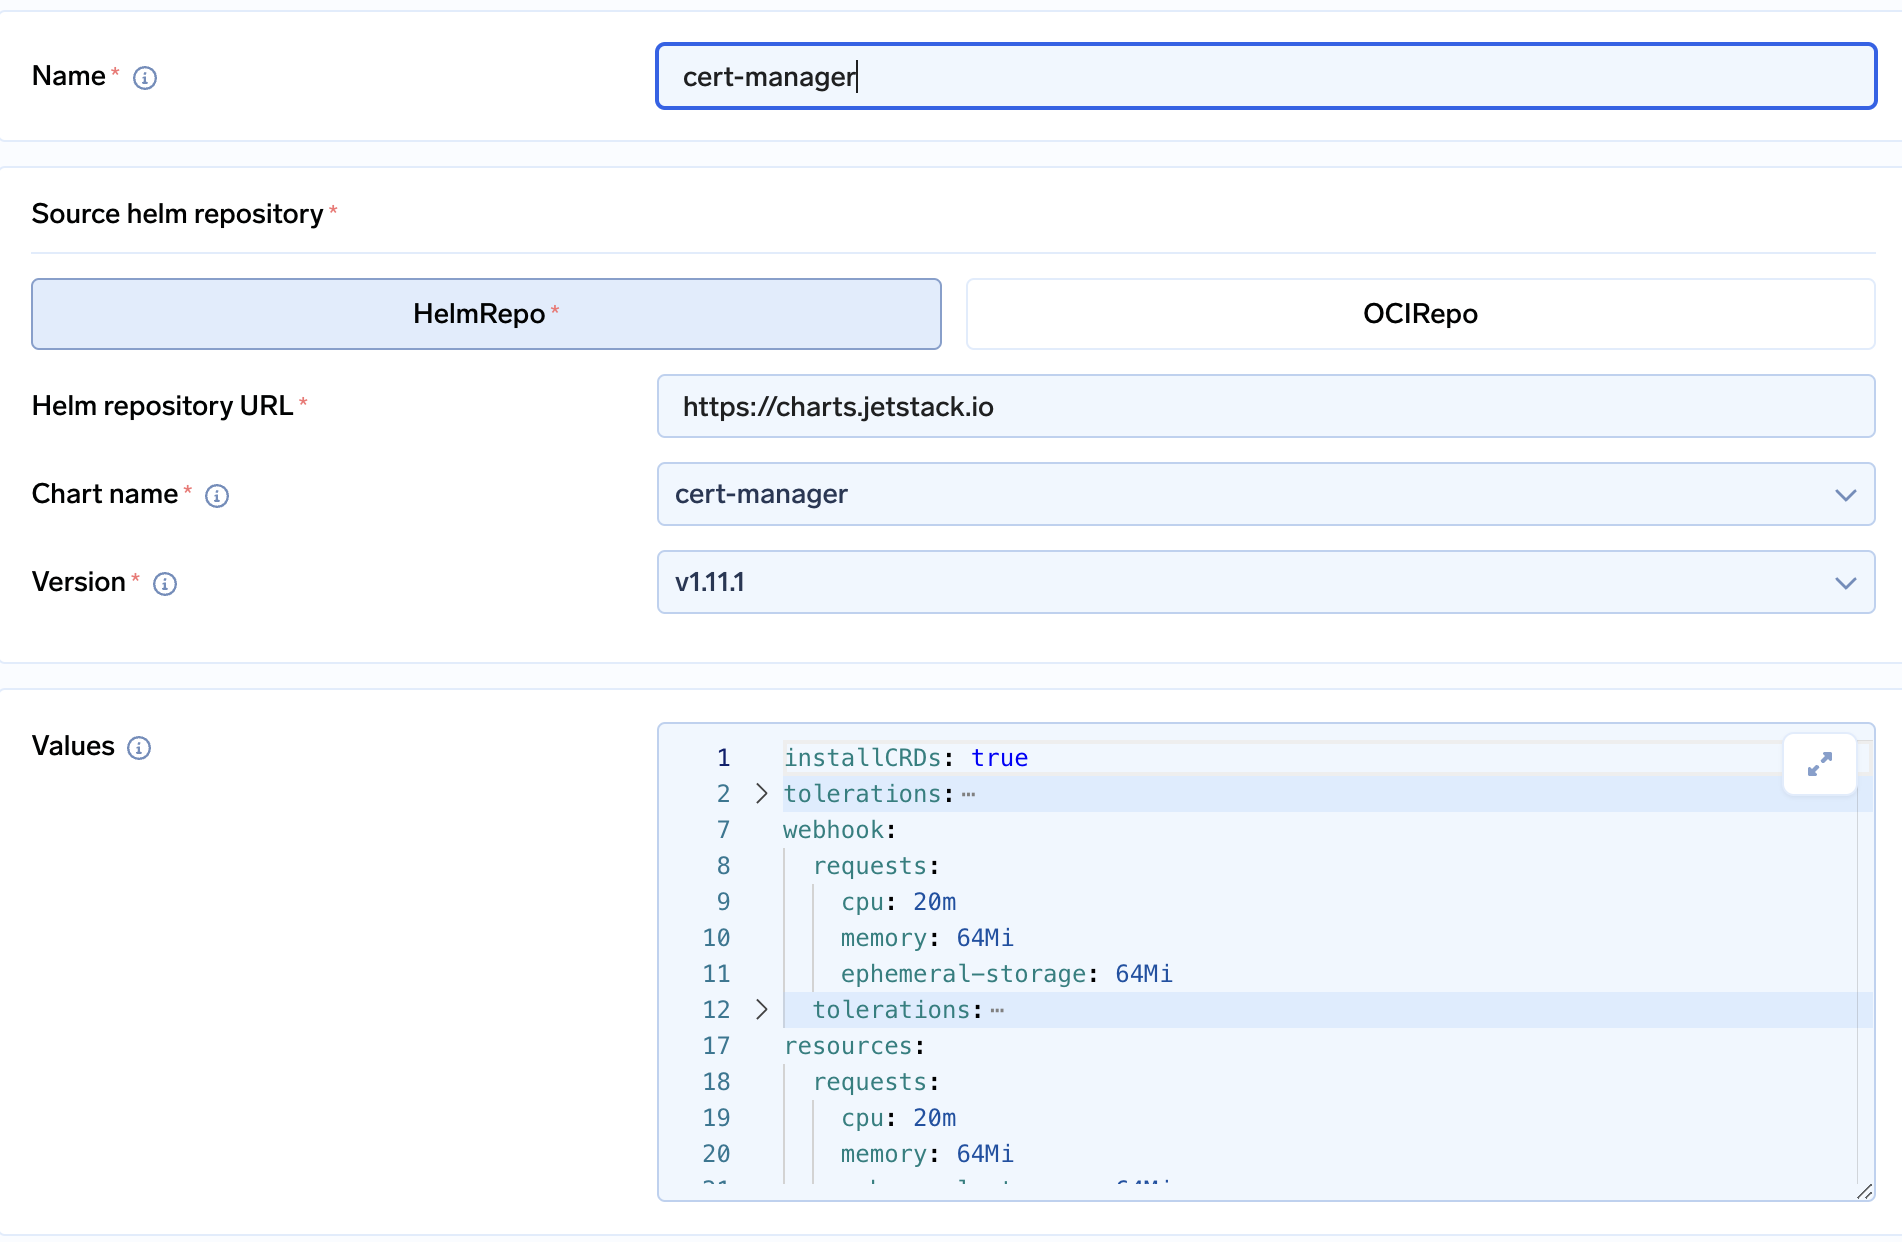
Once the workspace is created, you will be asked to install cert-manager.
-
Click on Submit to create the application. You can check the pods and services in the cert-manager namespace.
$ kubectl get deploy,pods,svc -n cert-manager
NAME                                      READY   UP-TO-DATE   AVAILABLE   AGE
deployment.apps/cert-manager              1/1     1            1           30s
deployment.apps/cert-manager-cainjector   1/1     1            1           30s
deployment.apps/cert-manager-webhook      1/1     1            1           30s

NAME                                           READY   STATUS    RESTARTS   AGE
pod/cert-manager-5844b44c6b-lrhvg              1/1     Running   0          10s
pod/cert-manager-cainjector-5499ff866c-qrbft   1/1     Running   0          23s
pod/cert-manager-webhook-5586fdb468-bccbp      1/1     Running   0          17s

NAME                           TYPE        CLUSTER-IP     EXTERNAL-IP   PORT(S)    AGE
service/cert-manager           ClusterIP   10.1.112.46    <none>        9402/TCP   30s
service/cert-manager-webhook   ClusterIP   10.1.111.128   <none>        443/TCP    30s
Creating a certificate
Creating the certificate in cert-manager is very quick task. First we will create a Kubernetes resource called Issuer . Issuer defines how will cert-manager issue the certificate. Make sure to create the issuer in istio-system namespace only. If the namespace is not created beforehand then you can go ahead and create one for yourself. You can replace example-com to your domain name to name the Kubernetes resource.
kubectl apply -f - <<EOF
apiVersion: cert-manager.io/v1
kind: Issuer
metadata:
  name: example-issuer
  namespace: istio-system
spec:
  acme:
    email: $MAIL_ID
    server: https://acme-v02.api.letsencrypt.org/directory
    privateKeySecretRef:
      name: example-privkey
    solvers:
    - dns01:
        cloudflare:
          apiTokenSecretRef:
            name: cloudflare-api-token-secret
            key: api-token
EOF
Once the Issuer is created we need to create another kubernetes resource called Certificate which will provision the certificate for us. Make sure to create Certificate in istio-system namespace only as this certificate will be used by our service loadbalancer. In the dnsNames section of the below yaml you can give the domains names that you want by replacing example.truefoundry.com. Make sure to replace the issuer name from example-issuer to the one created in the previous step.
kubectl apply -f - <<EOF
apiVersion: cert-manager.io/v1
kind: Certificate
metadata:
  name: example-cert
  namespace: istio-system
spec:
  # the secret in which the cert will be pasted once provisioned
  # it MUST BE PRESENT IN THE istio-system NAMESPACE
  secretName: example-tls
  duration: 2160h # 90d
  renewBefore: 360h # 15d
  issuerRef:
    # Issuer name from the previous step
    name: example-issuer
  dnsNames:
  - "example.truefoundry.com"
  - "*.example.truefoundry.com"
EOF
It will take sometime for certificate to get created
$ kubectl get cert -n istio-system
NAME           READY   SECRET        AGE
example-cert   True    example-tls   4m29
The secret example-tls will contain the certificates
$ kubectl get secret -n istio-system -l controller.cert-manager.io/fao=true
NAME          TYPE                DATA   AGE
example-tls   kubernetes.io/tls   2      5m47s
Adding the secret in ingress
- Now the secret is created we need to add this secret to
tfy-istio-ingressapplication for it terminate to SSL. - Go to Deployments section from the left panel and edit application
tfy-istio-ingress. - Enter the secret in the values section at
tfyGateway.spec.servers[1].tls.credentialNameand click Submit
tfyGateway:
  name: tfy-wildcard
  spec:
    servers:
      - tls:
          httpsRedirect: true
        port:
          name: http-tfy-wildcard
          number: 80
          protocol: HTTP
        hosts:
          - "*.example.truefoundry.com"
          - "example.truefoundry.com"
      - port:
          name: https-tfy-wildcard
          number: 443
          protocol: HTTPS
        hosts:
          - "*.example.truefoundry.com"
          - "example.truefoundry.com"
        tls:
          mode: SIMPLE
          credentialName: example-tls
    selector:
      istio: tfy-istio-ingress
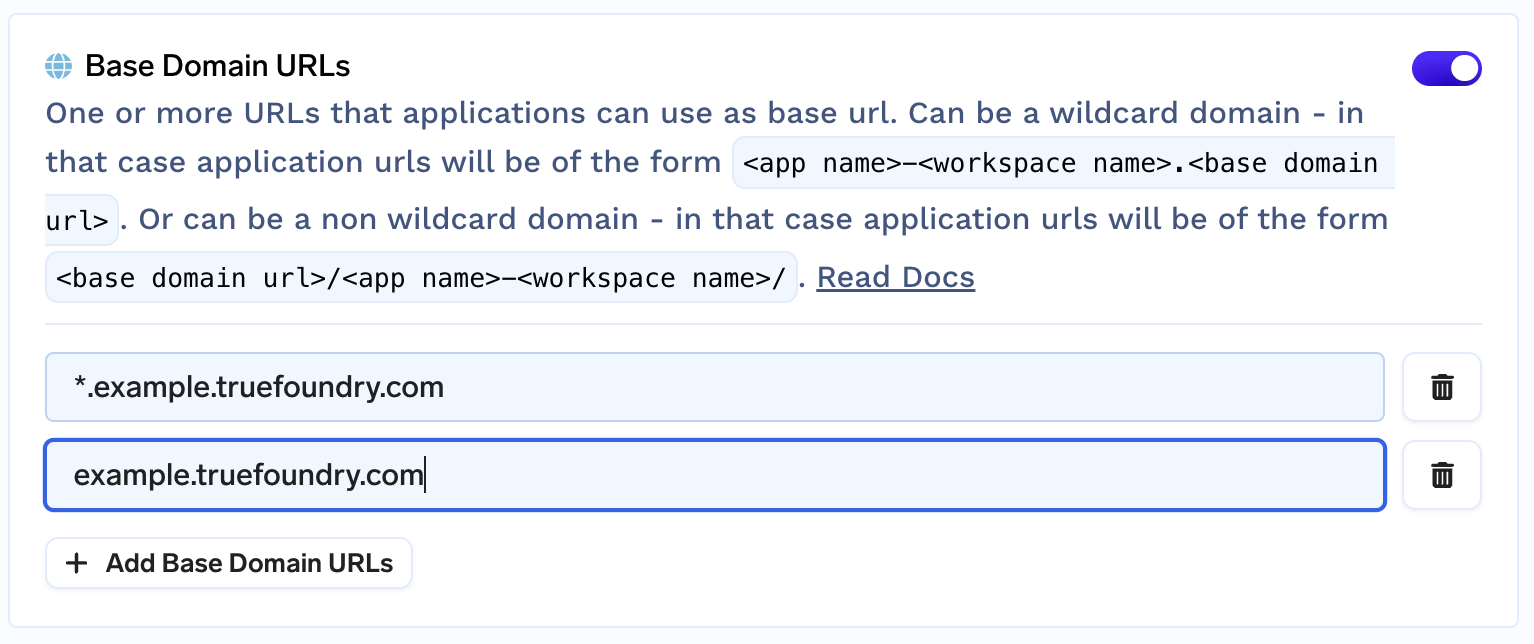
- Once the secret is added we need to enable the base domain URL from the cluster settings.
- Go to Integrations tab and click on Edit section of the cluster. Add the base domain URL
Creating the DNS record
- Once this SSL/TLS setup is done, a record needs to be created which points
example.truefoundry.comto the load balancer's IP address. - To get the load balancer's IP address run the following command
kubectl get svc -n istio-system tfy-istio-ingress -ojsonpath='{.status.loadBalancer.ingress[0].ip}' - Create an A record for the load balancer's IP and your domain name.
Updated 3 months ago