Key Advantages of deploying LLMs via TrueFoundry
- Flexibility to choose any model servers: TrueFoundry support vLLM, SGLang and TRT-LLM as model-servers for deploying your LLMs. This allows you to have complete flexibility in choosing the most optimal model-server for your model - hence guaranteeing the faster inference for your LLMs.
- Model caching: LLMs are quite big in size ranging from 5 GB to 150GB. Downloading such models on every restart incurs huge amount of networking cost and leads to lower startup times. TrueFoundry handles the part of downloading the model, caching it and mounting it to all pods - hence providing really fast startup and autoscaling time and lowering network costs.
- Image Streaming: TrueFoundry implemented image streaming and caching which leads to 3X faster downlaod times for vLLM and SGLang images.
- Sticky Routing: In case of LLMs, its advantageous to route requests with the same prefix to the same GPU machine to leverage KV cache optimization. When a model processes a sequence, it stores key-value pairs in memory. If subsequent requests share the same prefix (like a conversation context), routing them to the same instance allows the model to reuse the cached computations, significantly reducing latency and improving throughput. Trueofundry supports sticky routing to make LLM inferences faster.
- Inbuilt Observability: TrueFoundry automatically exposes all the GPU metrics like GPU utilization, temperature and GPU memory for every LLM deployment.
- One click addition to LLM Gateway: The LLMs deployed via TrueFoundry can be added to the Gateway - providing a unified API and governance for all self-hosted models.
- Fast and Optimal Autoscaling: For LLMs, the best metric for autoscaling is requests per second - which is by default supported in TrueFoundry. It also makes autscaling much faster using Model Caching and Image streaming.
- Scale to 0: GPUs can be quite expensive - and hence scale to 0 is a much needed functionality (specially in dev environments) to be able to lower costs when LLMs are not being used.
Deploying LLM Model
Before you begin, ensure you have the following:
- Workspace:
To deploy your LLM, you’ll need a workspace. If you don’t have one, you can create it using this guide: Create a Workspace
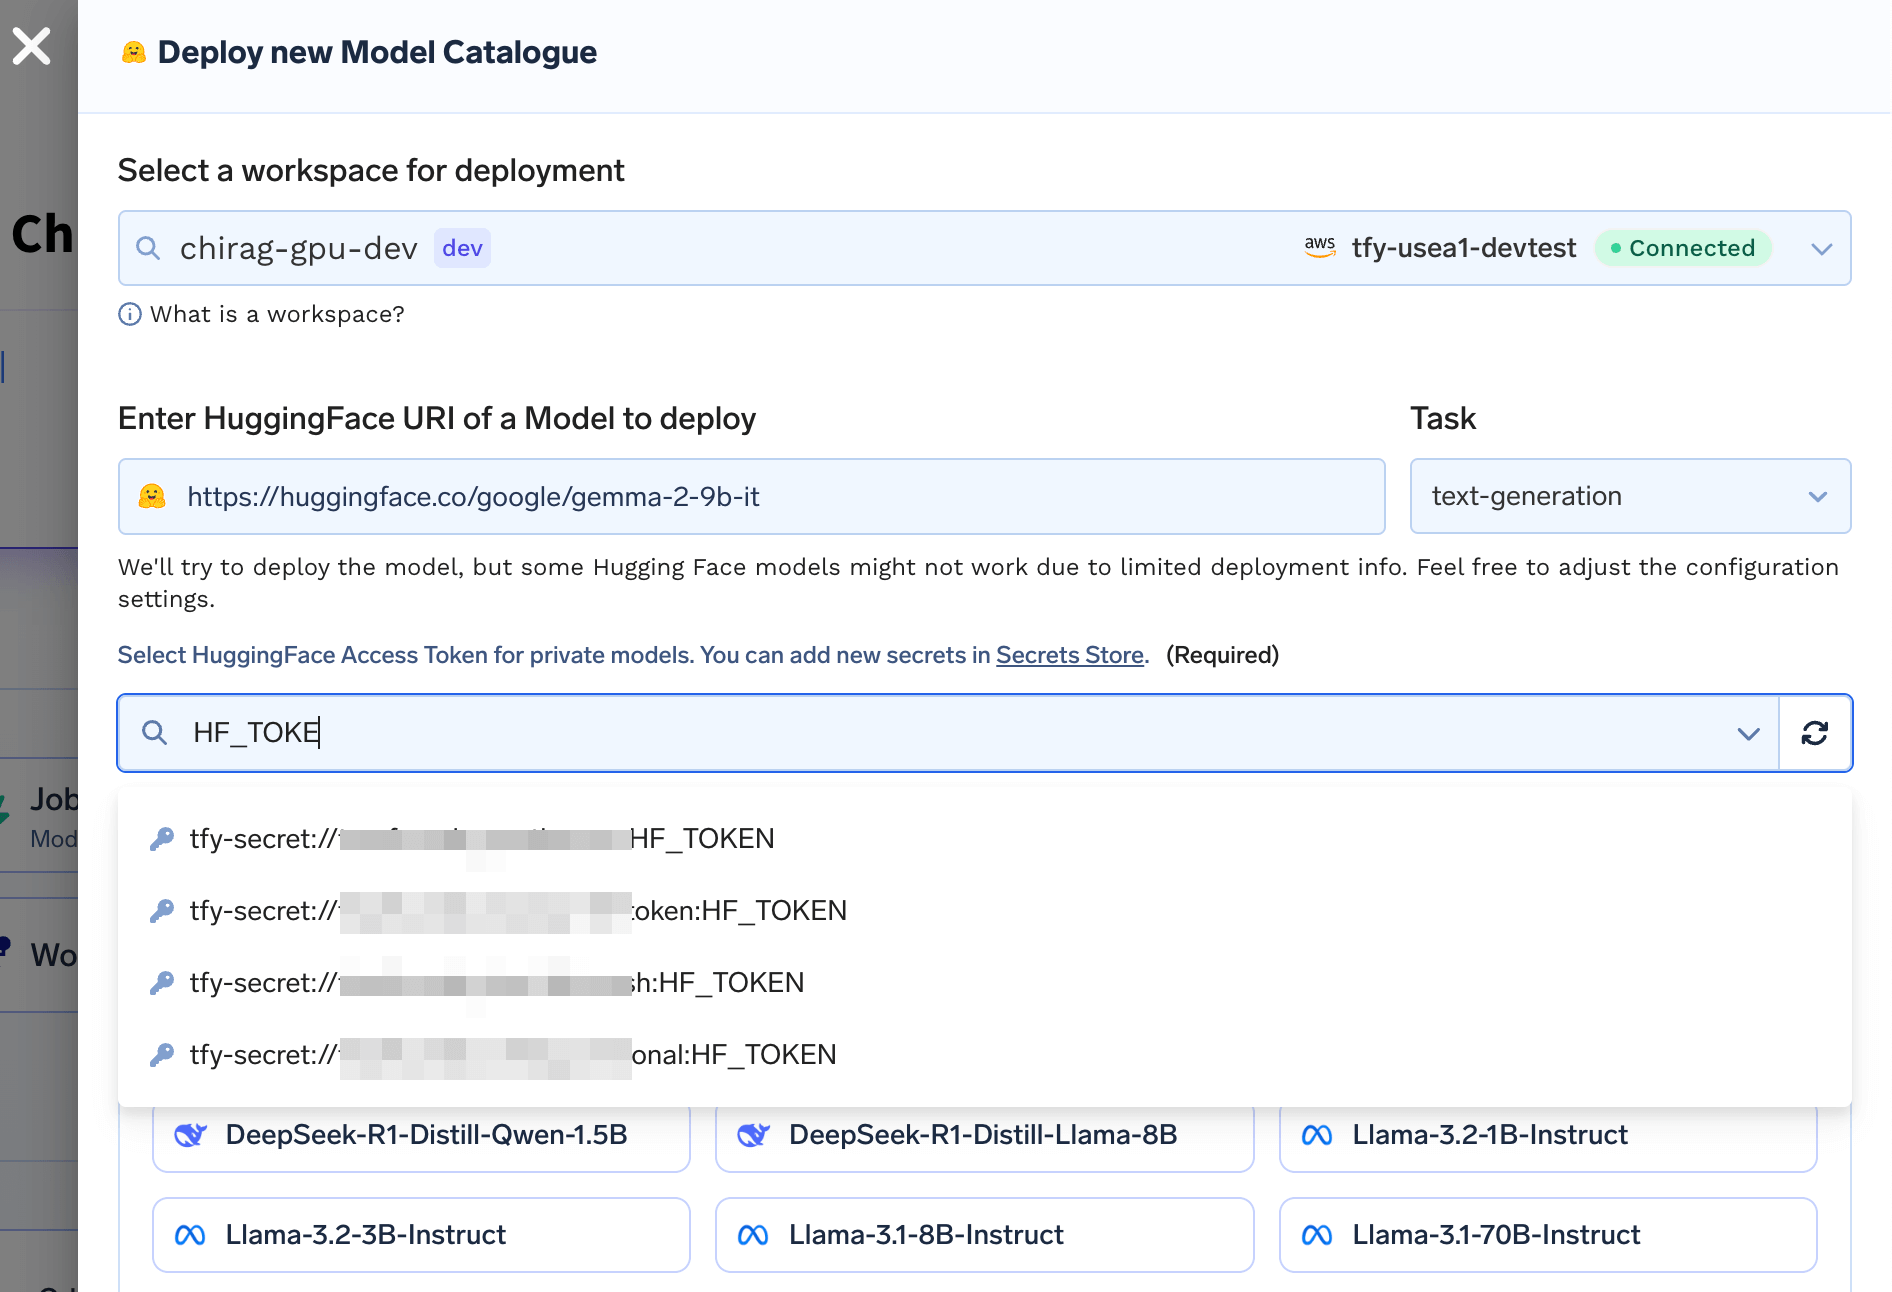
Accessing Gated/Private Models
To access private models enter a Secret containing your HuggingFace Token from the HuggingFace account that has access to the model
Sending requests to your deployed LLM
You can send requests to each LLM through either the “Completions” endpoint or the “Chat Completions”. Note: Chat Completions Endpoint is available for models which have prompt templates for chat defined. You can send requests to your LLM using both the normal and streaming methods. You can get the code to send your request in any language using the OpenAPI tab. Follow the instructions below.MODEL_NAME with a GET request on <YOUR_ENDPOINT_HERE>/v1/modelsHere is a sample response

Making requests via streaming client
Streaming requests allow you to receive the generated text from the LLM as it is being produced, without having to wait for the entire response to be generated. This method is useful for applications that require real-time processing of the generated text.Additional Configuration
Optionally, in the advanced options, you might want to-
Add Authentication to Endpoints
Basic Auth with OpenAI SDK
If you add Basic Authentication with username and password, you can pass them to OpenAI SDK usingdefault_headersargument - Configure Autoscaling and Rollout Strategy
Making LLM in TrueFoundry Model Registry Deployable
If you are logging a LLM in TrueFoundry Model Registry, we would need some metadata to make it deployable - Specificallypipeline_tag, library_name and base_model / huggingface_model_url
You can add / update these using the truefoundry[ml] Python SDK. Make sure to complete the Setup for CLI steps
Meta-Llama-3-8B-Instruct and are logging it in TrueFoundry Model Registry, we can add metadata like so:
- Updating an already logged model

Get the model version FQN
- Or, While logging a new model