Configure OpenID Connect with Azure Active Directory/Microsoft Entra ID
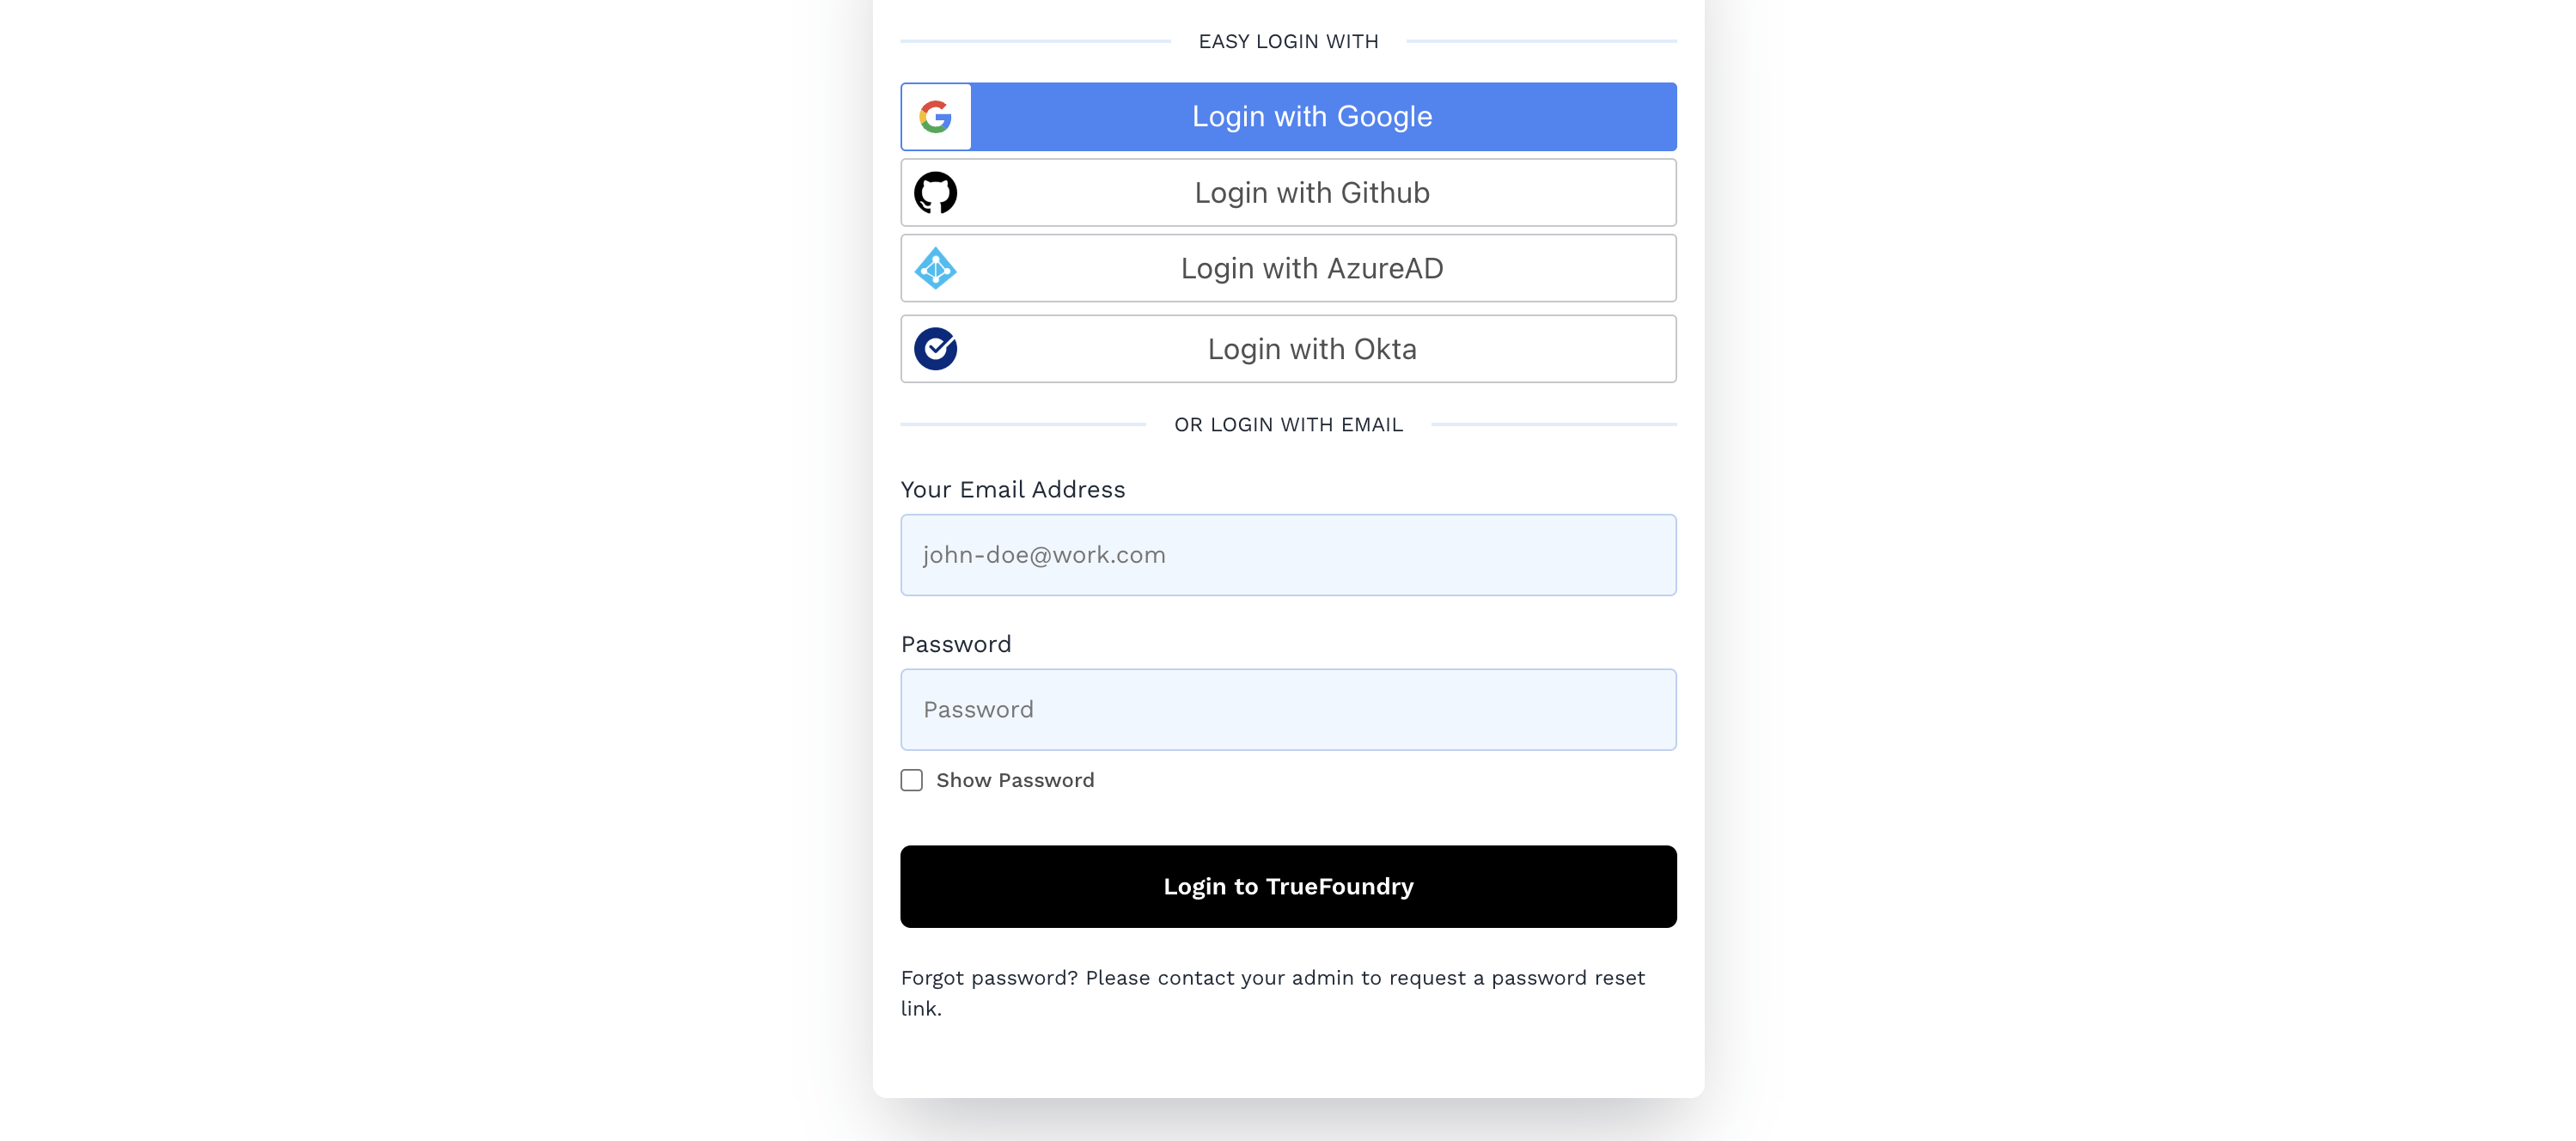
Once you have completed this configuration you may enable an OpenID Connect “Login with Azure AD” button for TrueFoundry dashboard. See Microsoft Entra ID - Register An App Quickstart Guide as an additional reference.
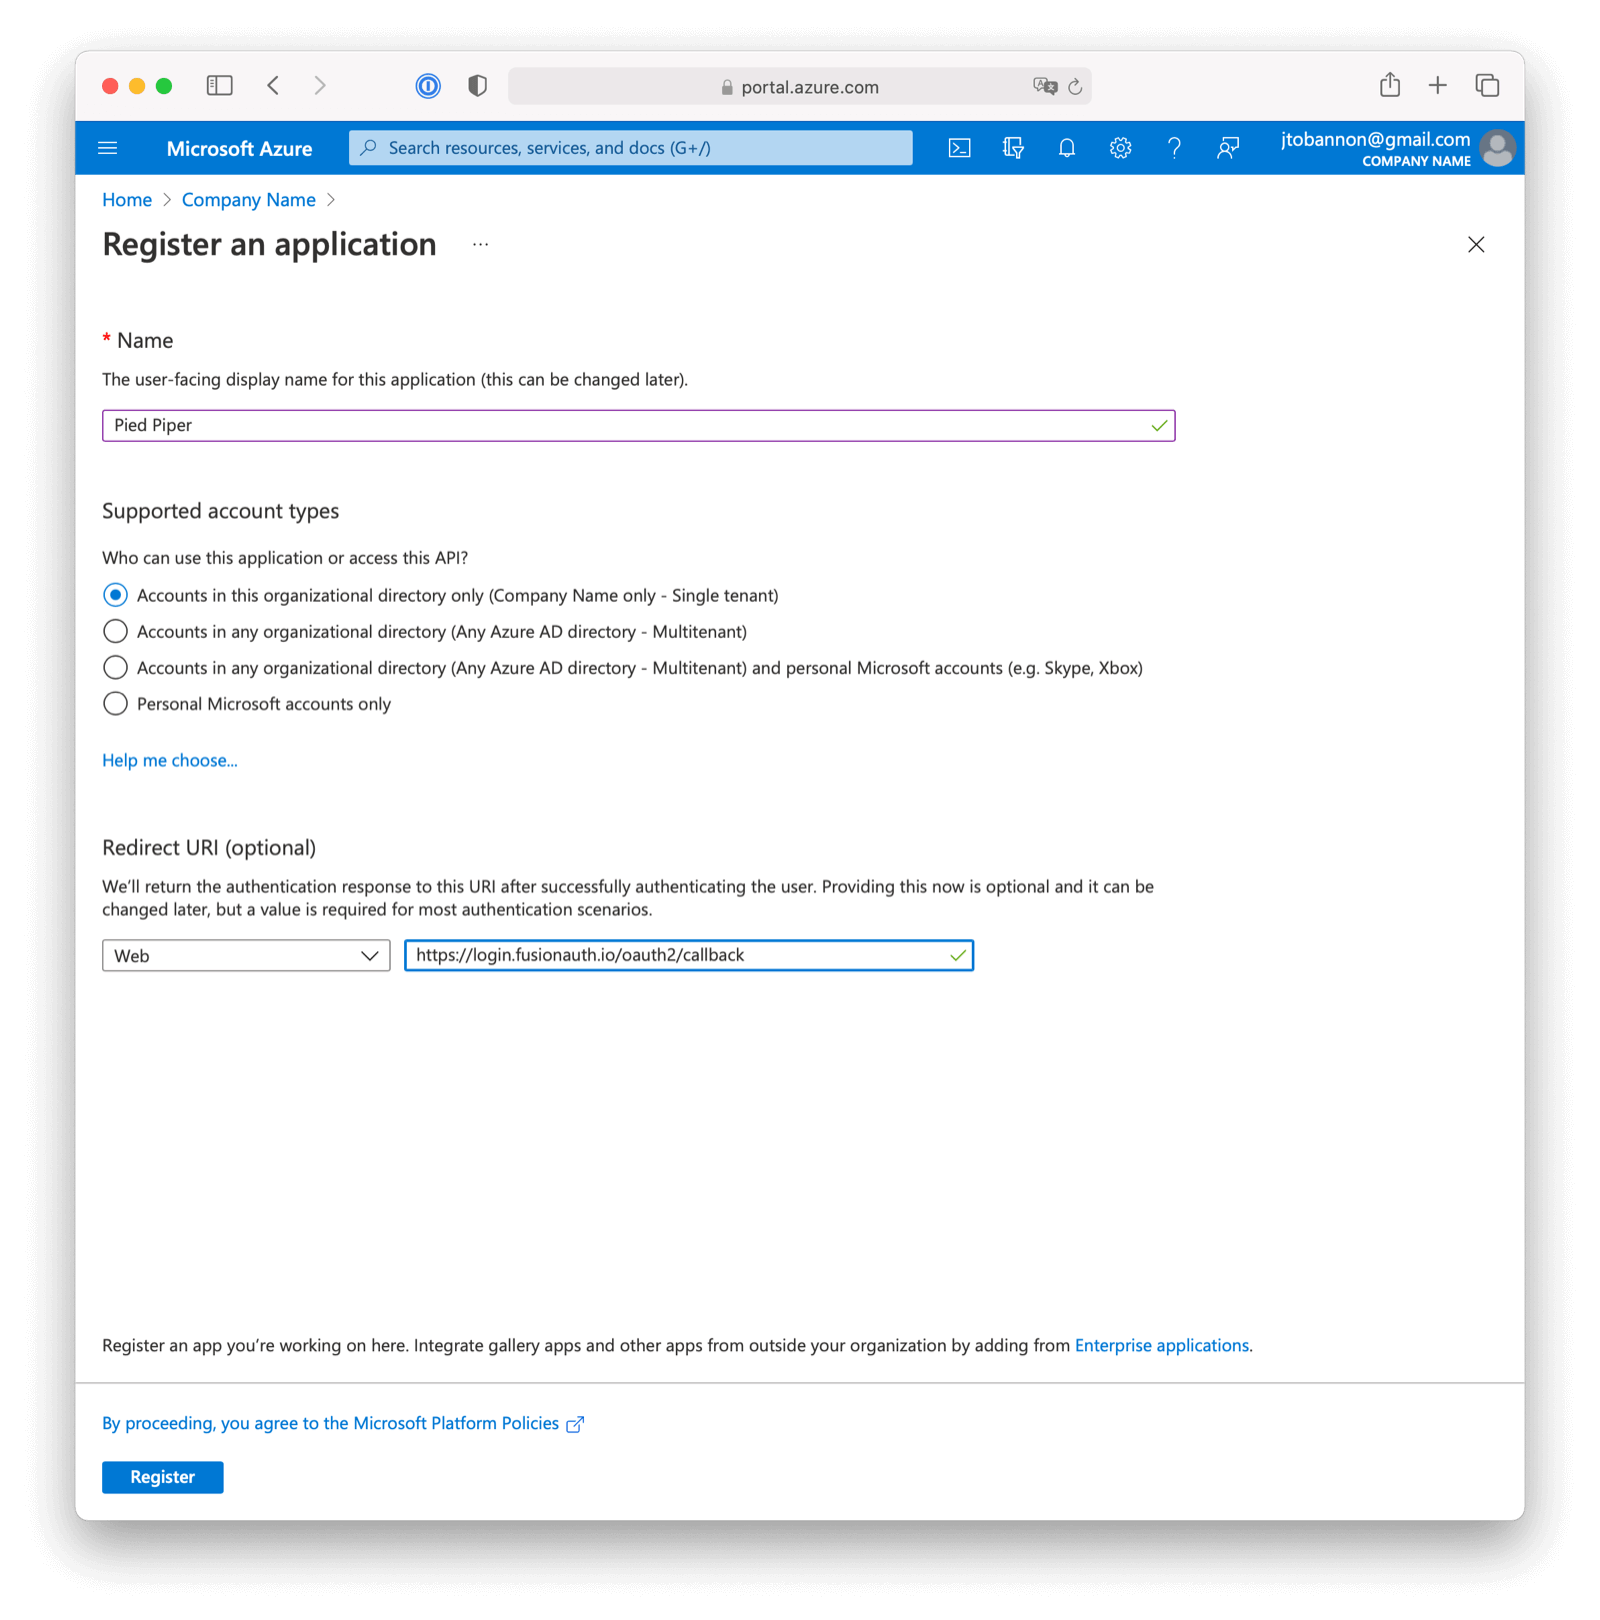
You will first need to login to the Azure Portal.Once logged in, navigate to Azure Active Directory -> App Registrations -> New Registration to create a new Azure Active Directory Application.
Here we have configured our application Redirect URI. Use redirect URL value ashttps://login.truefoundry.com/oauth2/callback.
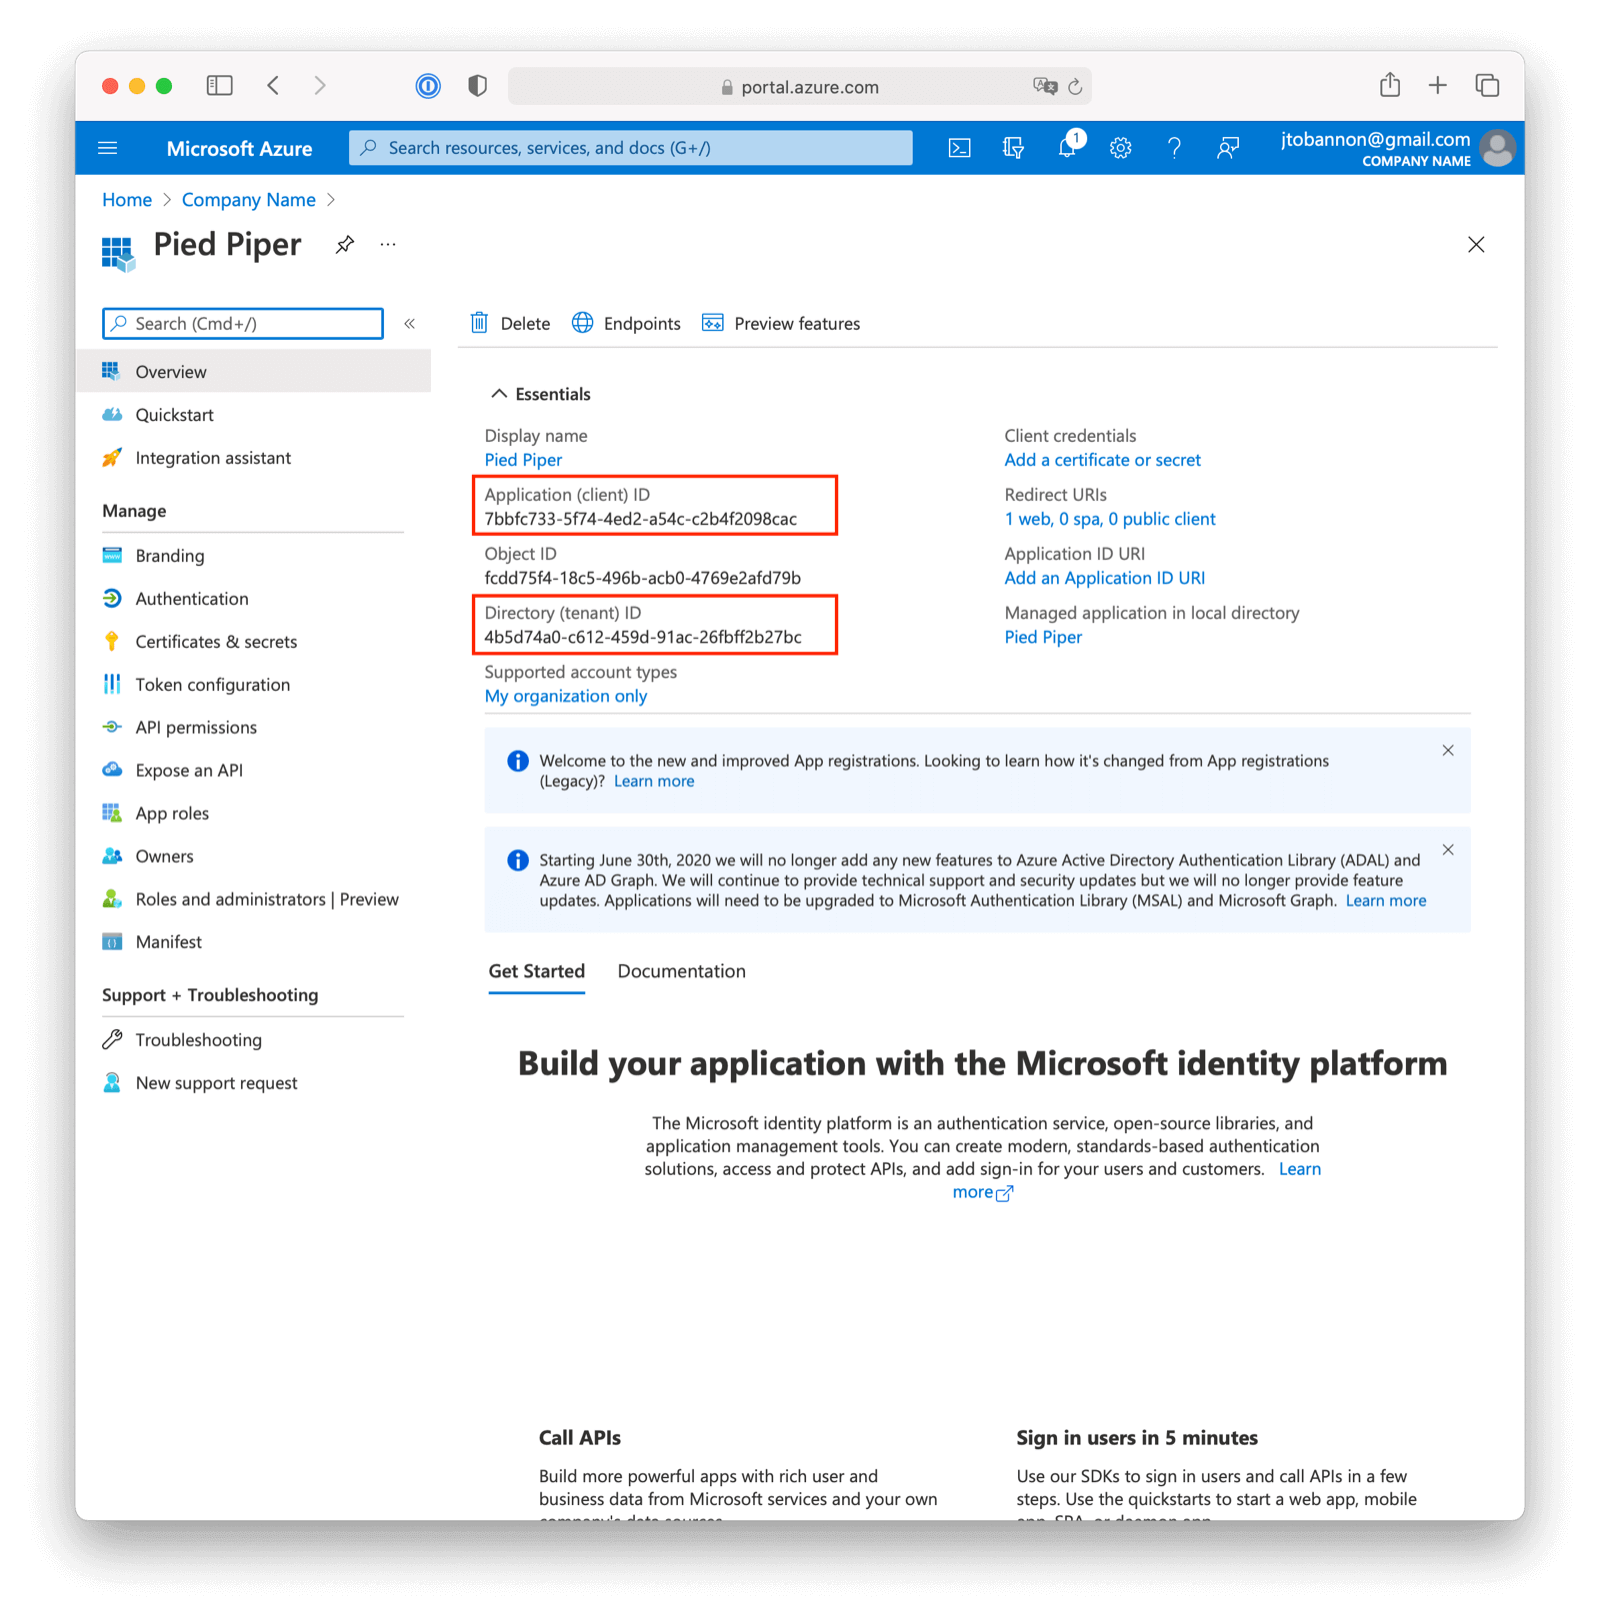
Once the application has been created, note the Application (client) ID and the Directory (tenant) ID. These will be used respectively as the Client Id value and to construct the Issuer value in your TrueFoundry OpenID Connect Identity Provider configuration.
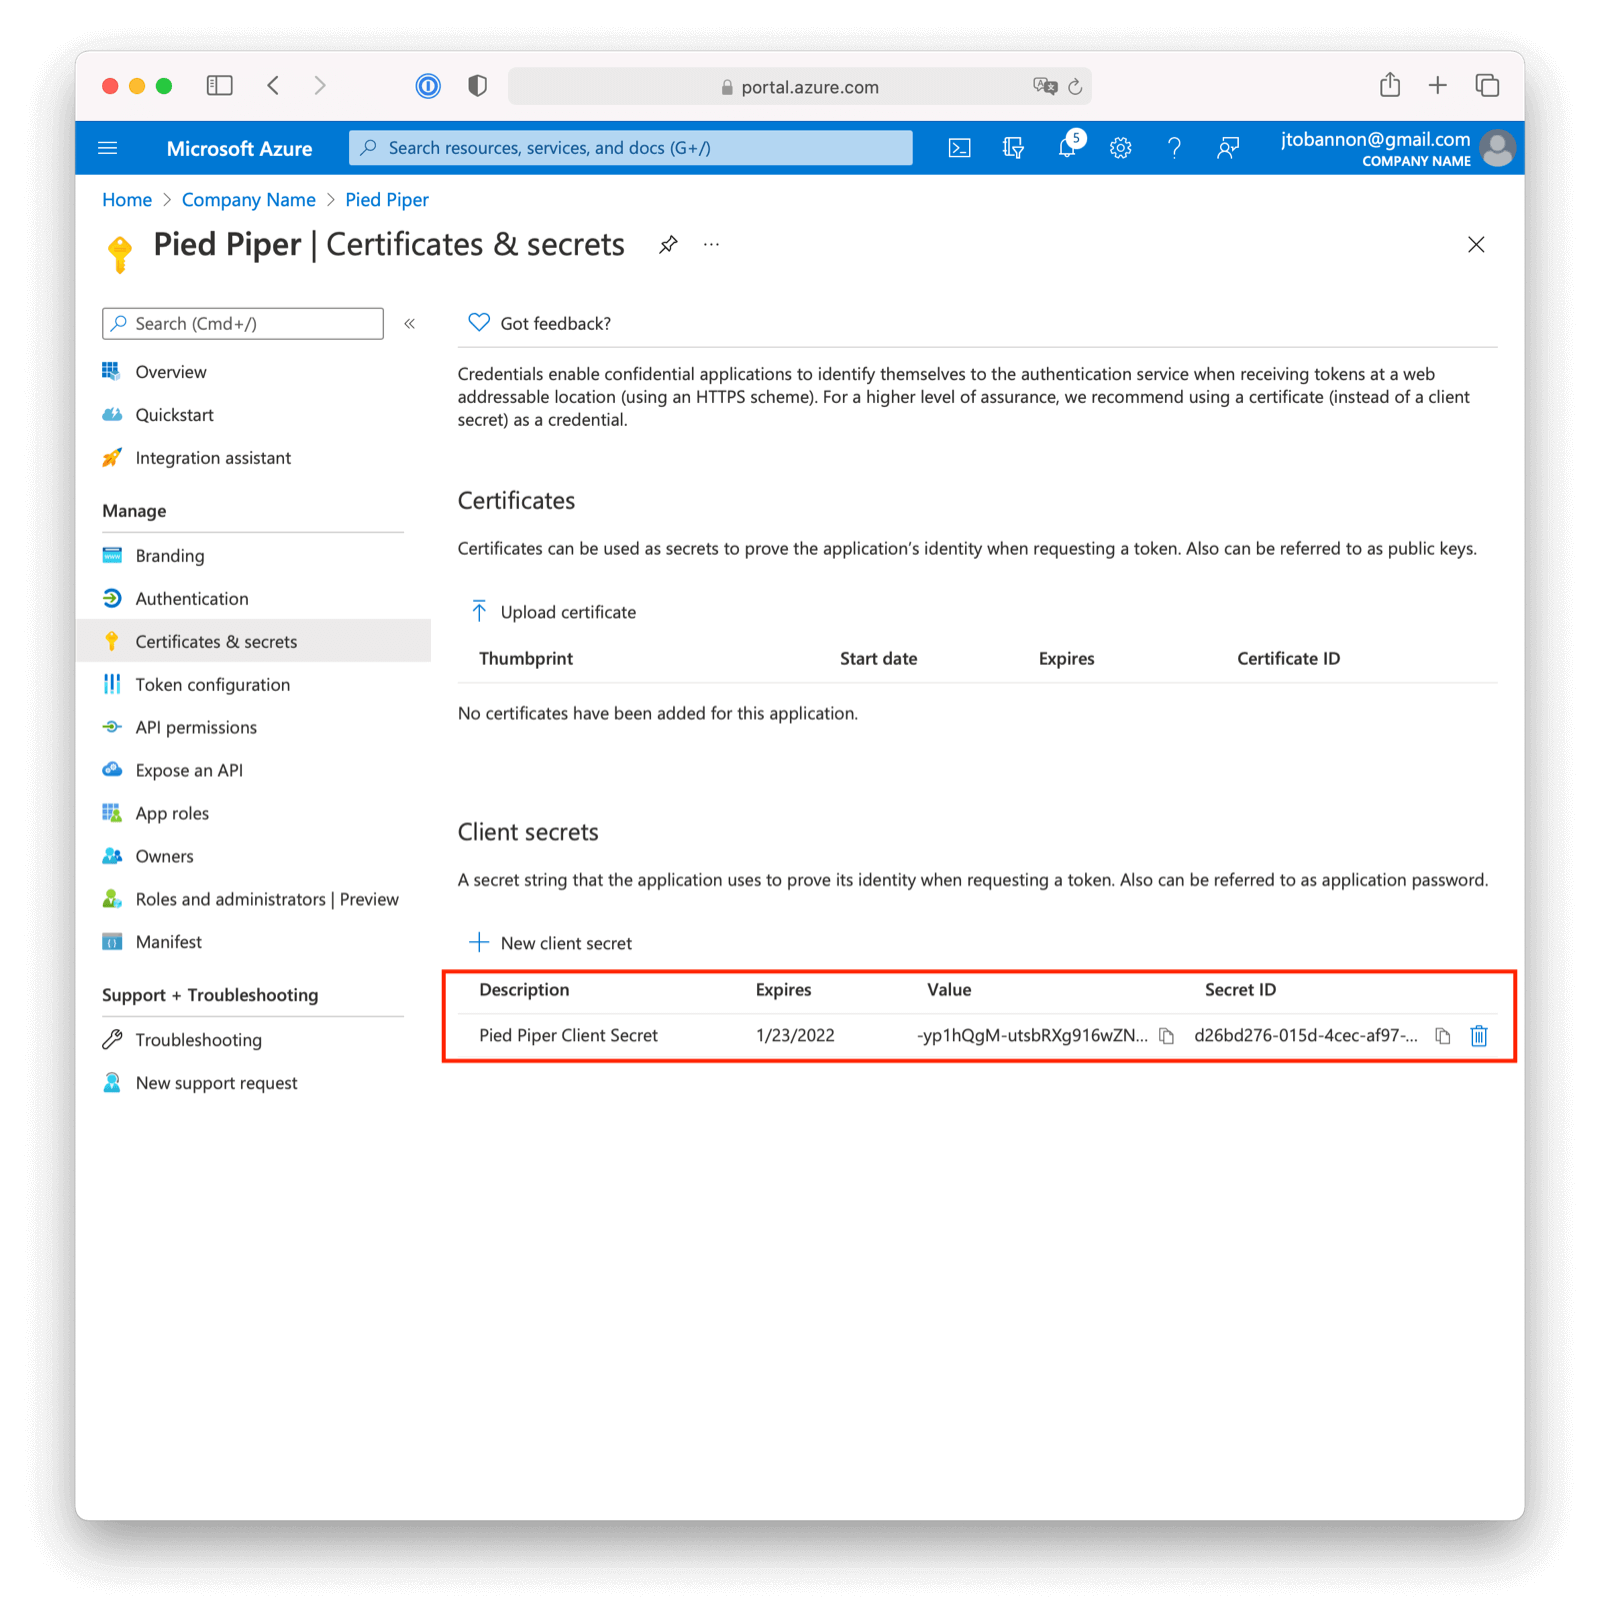
Create a New Azure Active Directory Application Secret
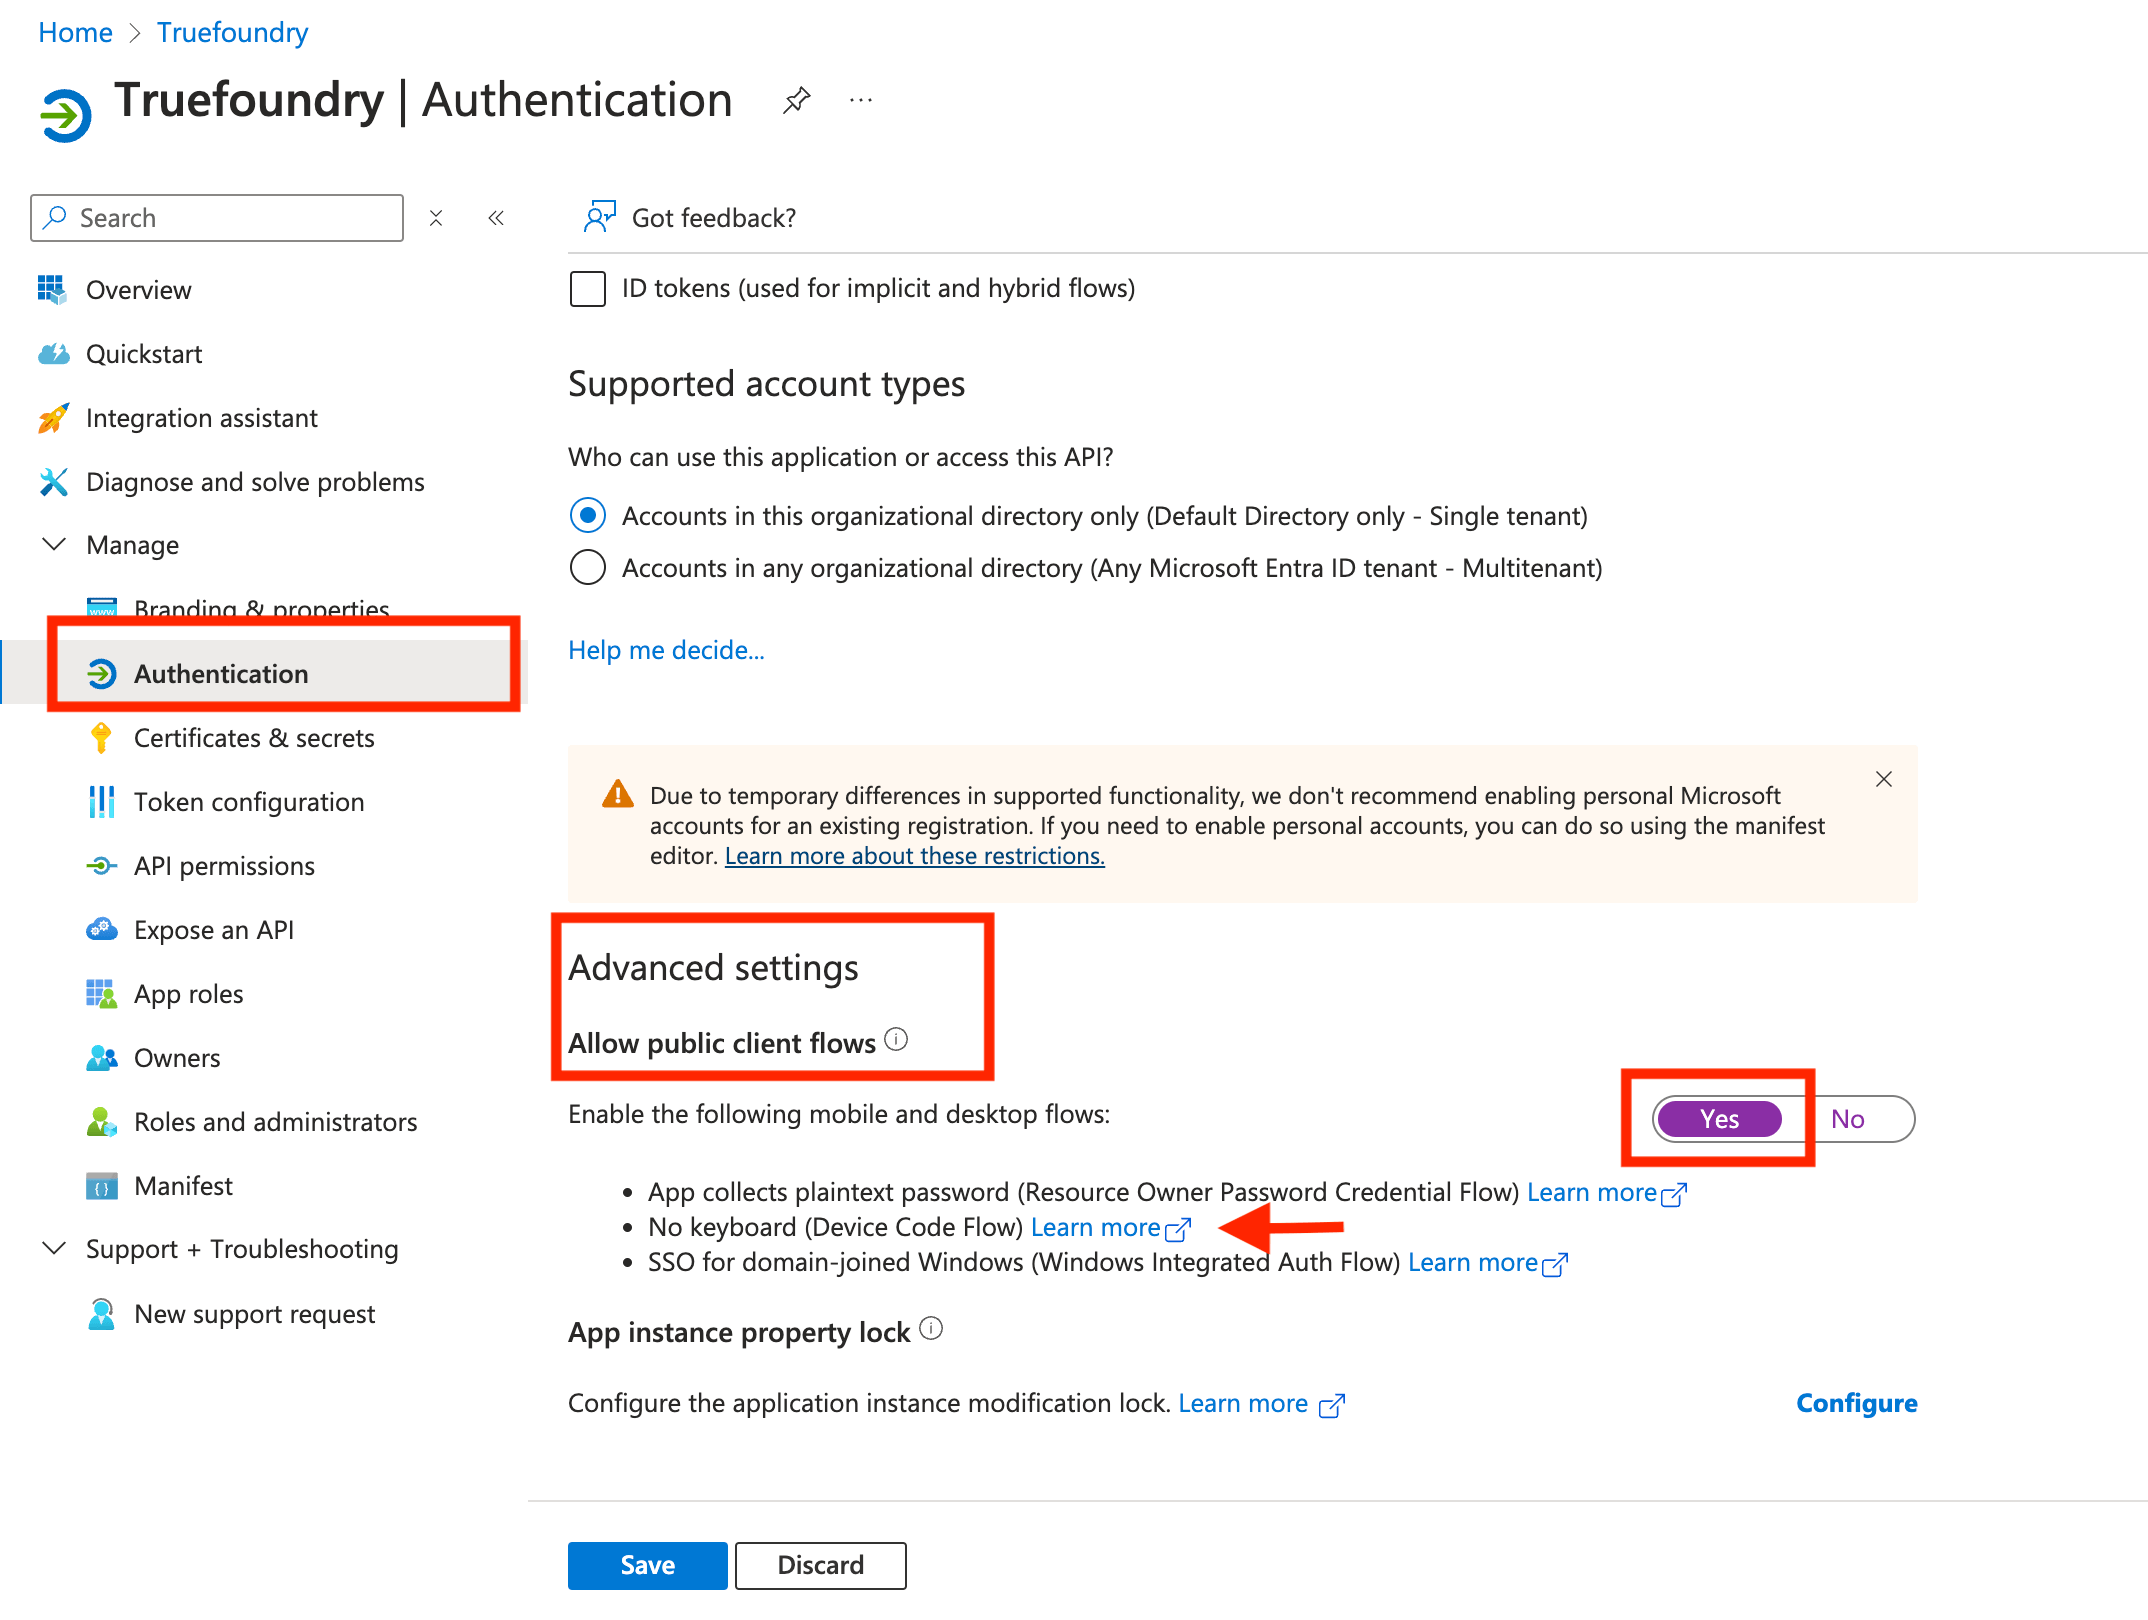
Navigate to Azure Active Directory -> App Registrations ->[Your Application] -> Certificates & secrets -> New client secret to create a new Azure Active Directory Application Client Secret.
Note the VALUE of the created client secret. This will be used as the Client secret value in your TrueFoundry OpenID Connect Identity Provider configuration.