Manual Triggers
Manual triggers are ideal for tasks that require on-demand execution. This trigger type allows users to manually initiate job runs programmatically or through the User Interface. This is suitable for tasks such as:- Experimenting with different hyperparameters for a machine learning model.
- Sending a welcome email to new users immediately upon registration.
- Triggering a data cleaning process when new data is available.
Setting up Manual Trigger
By default, any job deployed on TrueFoundry is set up as a manual trigger job. You can initiate the job execution either manually through the user interface or programmatically using the Python SDK. To initiate job execution, either follow this guide for manual execution or refer to this guide for programmatic execution. Once you Run your job, Your job will start getting executed and enter the Running state. At this point, the platform will create and launch a pod associated with the Job Run to execute the job. Upon successful completion of your job, the Job Run will transition to the Finished status. Simultaneously, the pod that was created to execute the job will be automatically released, along with the resources they utilised.Schedule Triggers
Schedule triggers are designed for tasks that demand recurring execution at specific intervals or on specific dates.This is suitable for tasks such as:
- Scrape data from a website every 3 hours to maintain an updated dataset.
- Retrain a machine learning model every month to improve its performance.
- Generate weekly reports every Monday at 9:30 AM.
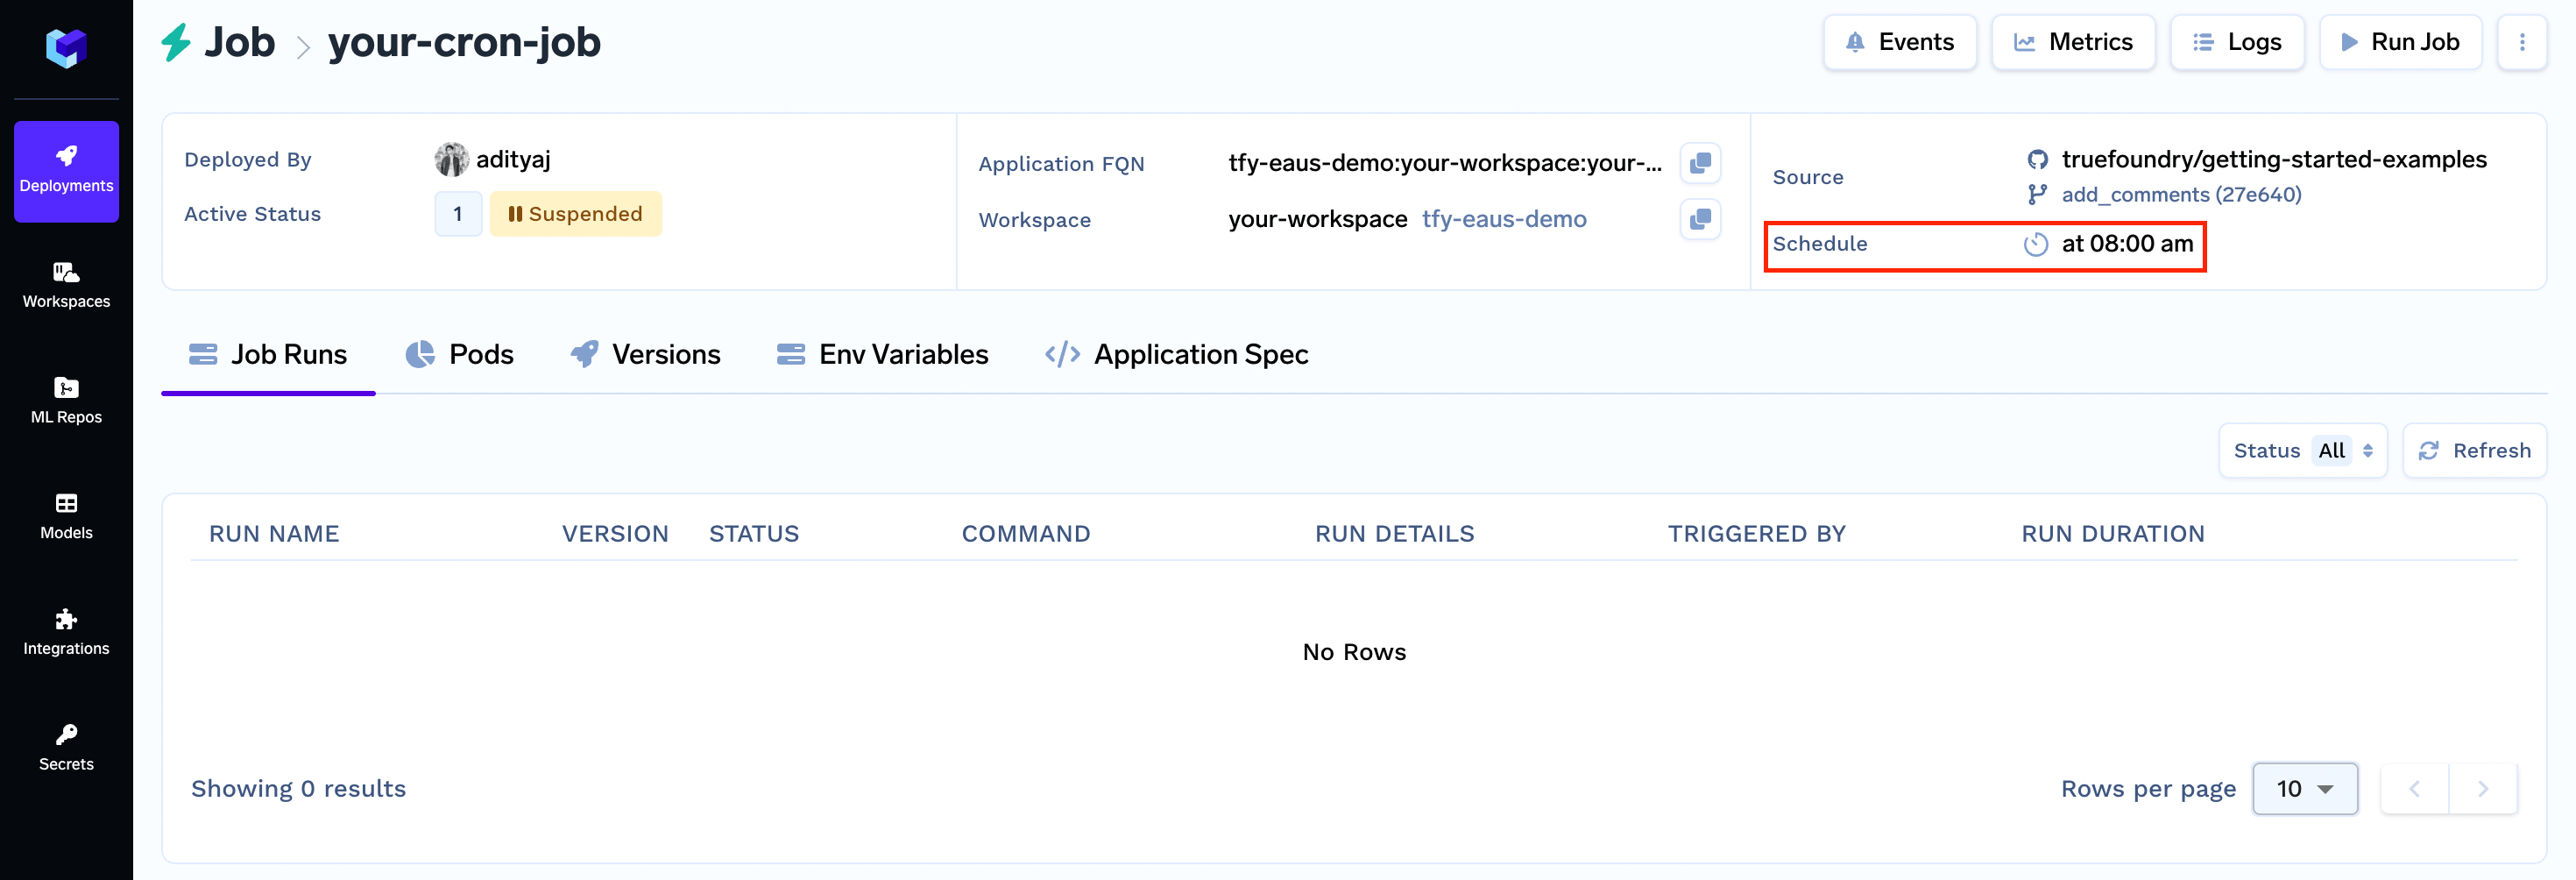
Setting up Schedule Trigger
To set up a schedule trigger, you will need to specify the frequency and timing of job execution. TrueFoundry provides you with an option to configure this time interval using a cron string as described below. These types of jobs also called as cron jobs.Note:
A Cron Job can still be triggered manually using the UI or programmatically if requiredSpecify the schedule for a cron job
You need to use the cron string format to specify job schedule. The cron expression consists of five fields representing the time to execute a specified command.0 11 1 * * represents “first day of every month at 11:00 AM”, or
30 9 * * 1 represents “every Monday at 9:30 AM”
We can use a site like https://crontab.guru/ to tryout cron expression and get a human-readable description of the same.
What if a job is still running until the next scheduled run?
Say for example, you schedule a daily job which runs at midnight to process and store some data in an S3 bucket but for some reason it is still running even at next midnight. So it is possible that the previous run of the job hasn’t been completed while it is already time for the job to run again as per schedule. What should happen in this case? Should we:- Skip the new run and continue the current run
- Stop the ongoing run and start the new one, or
- Run both in parallel
Forbid: This is the default. Do not allow concurrent runs.Allow: Allow jobs to run concurrently.Replace: Replace the current job with the new one.
Let’s schedule your Job
Again, we can do this using two different methods:- Through the User Interface (UI)
- Using the Python SDK
Scheduling your Job through the User Interface (UI)
Scheduling your Job using the Python SDK