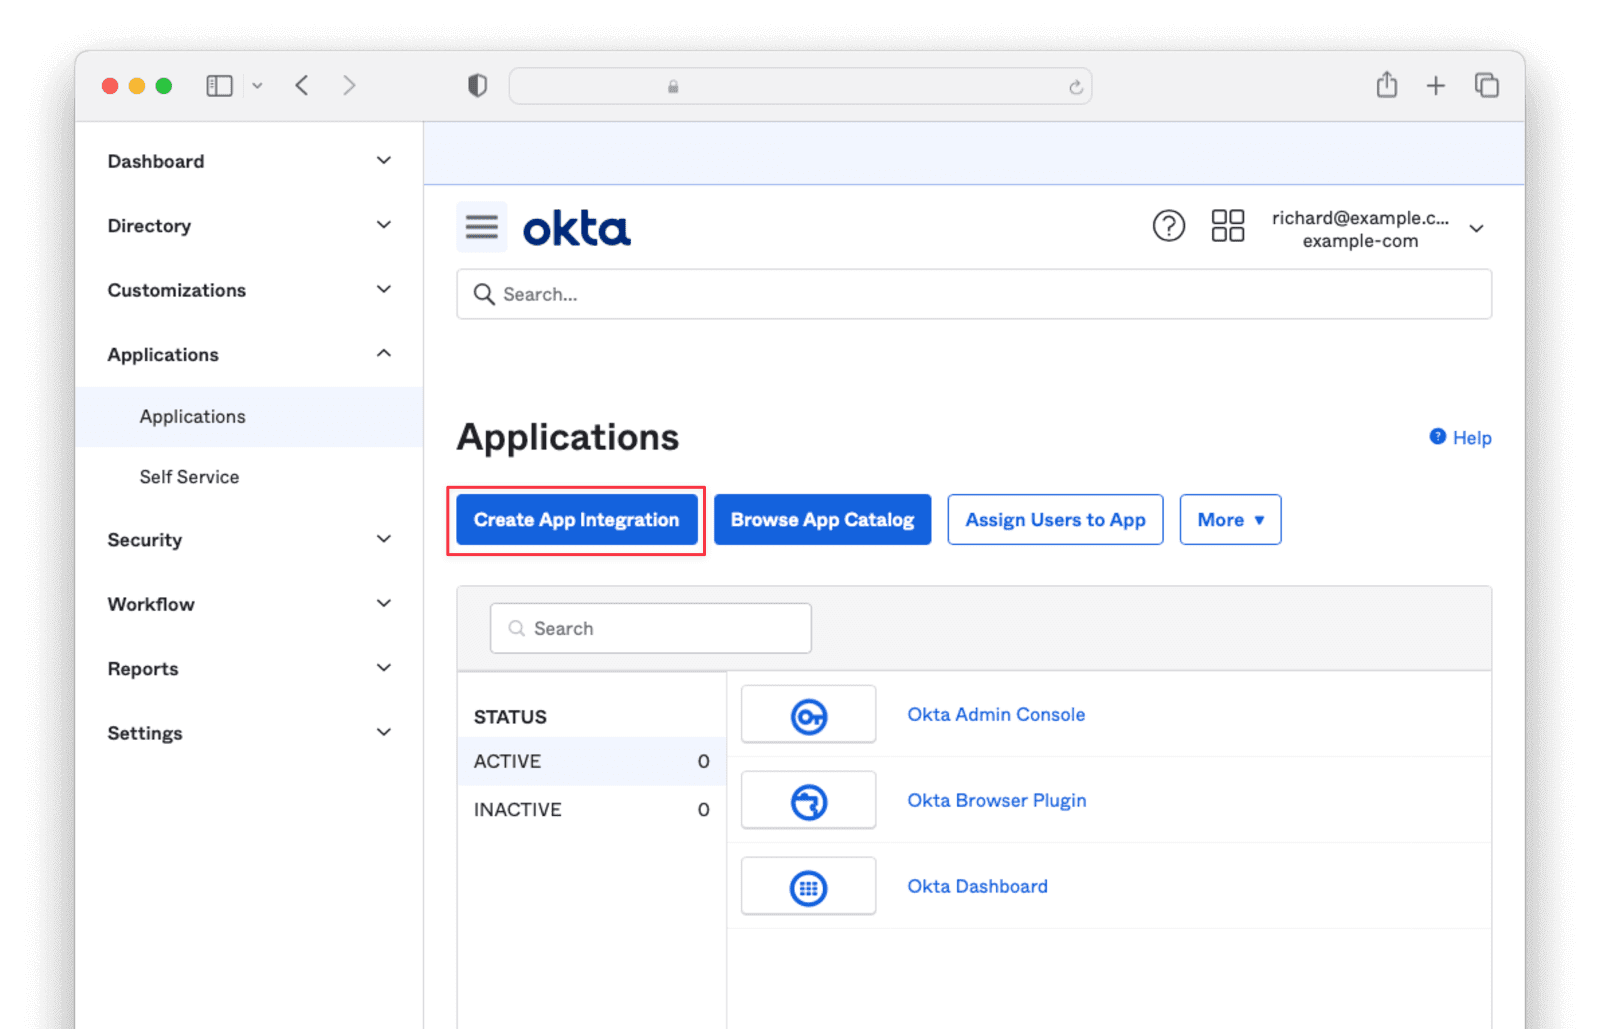
Navigate to Applications -> Applications and click the Create App Integration button.
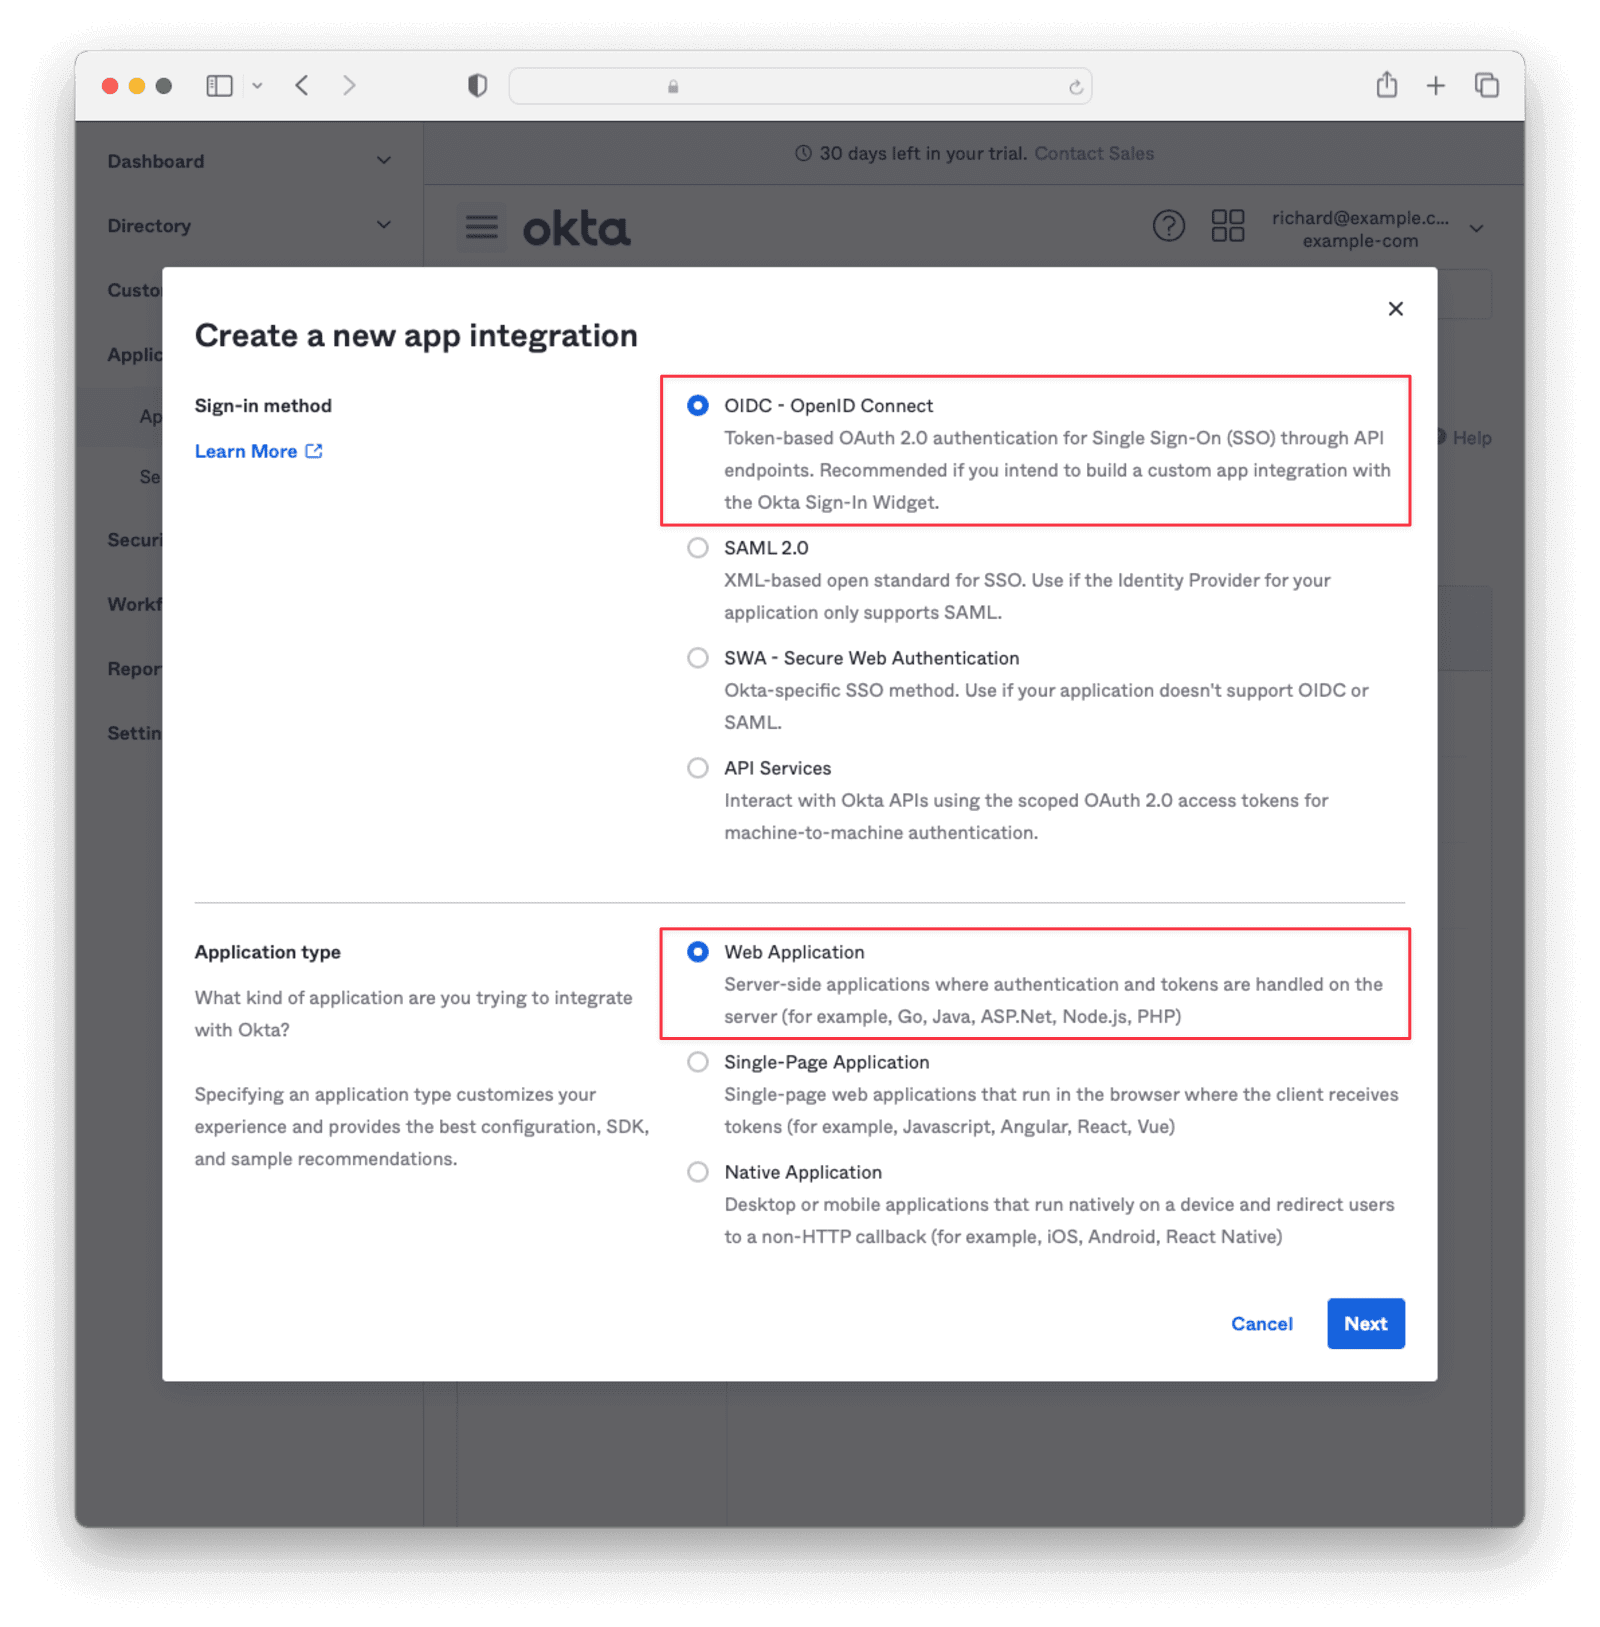
Select OIDC - OpenID Connect and Web Application then click Next.
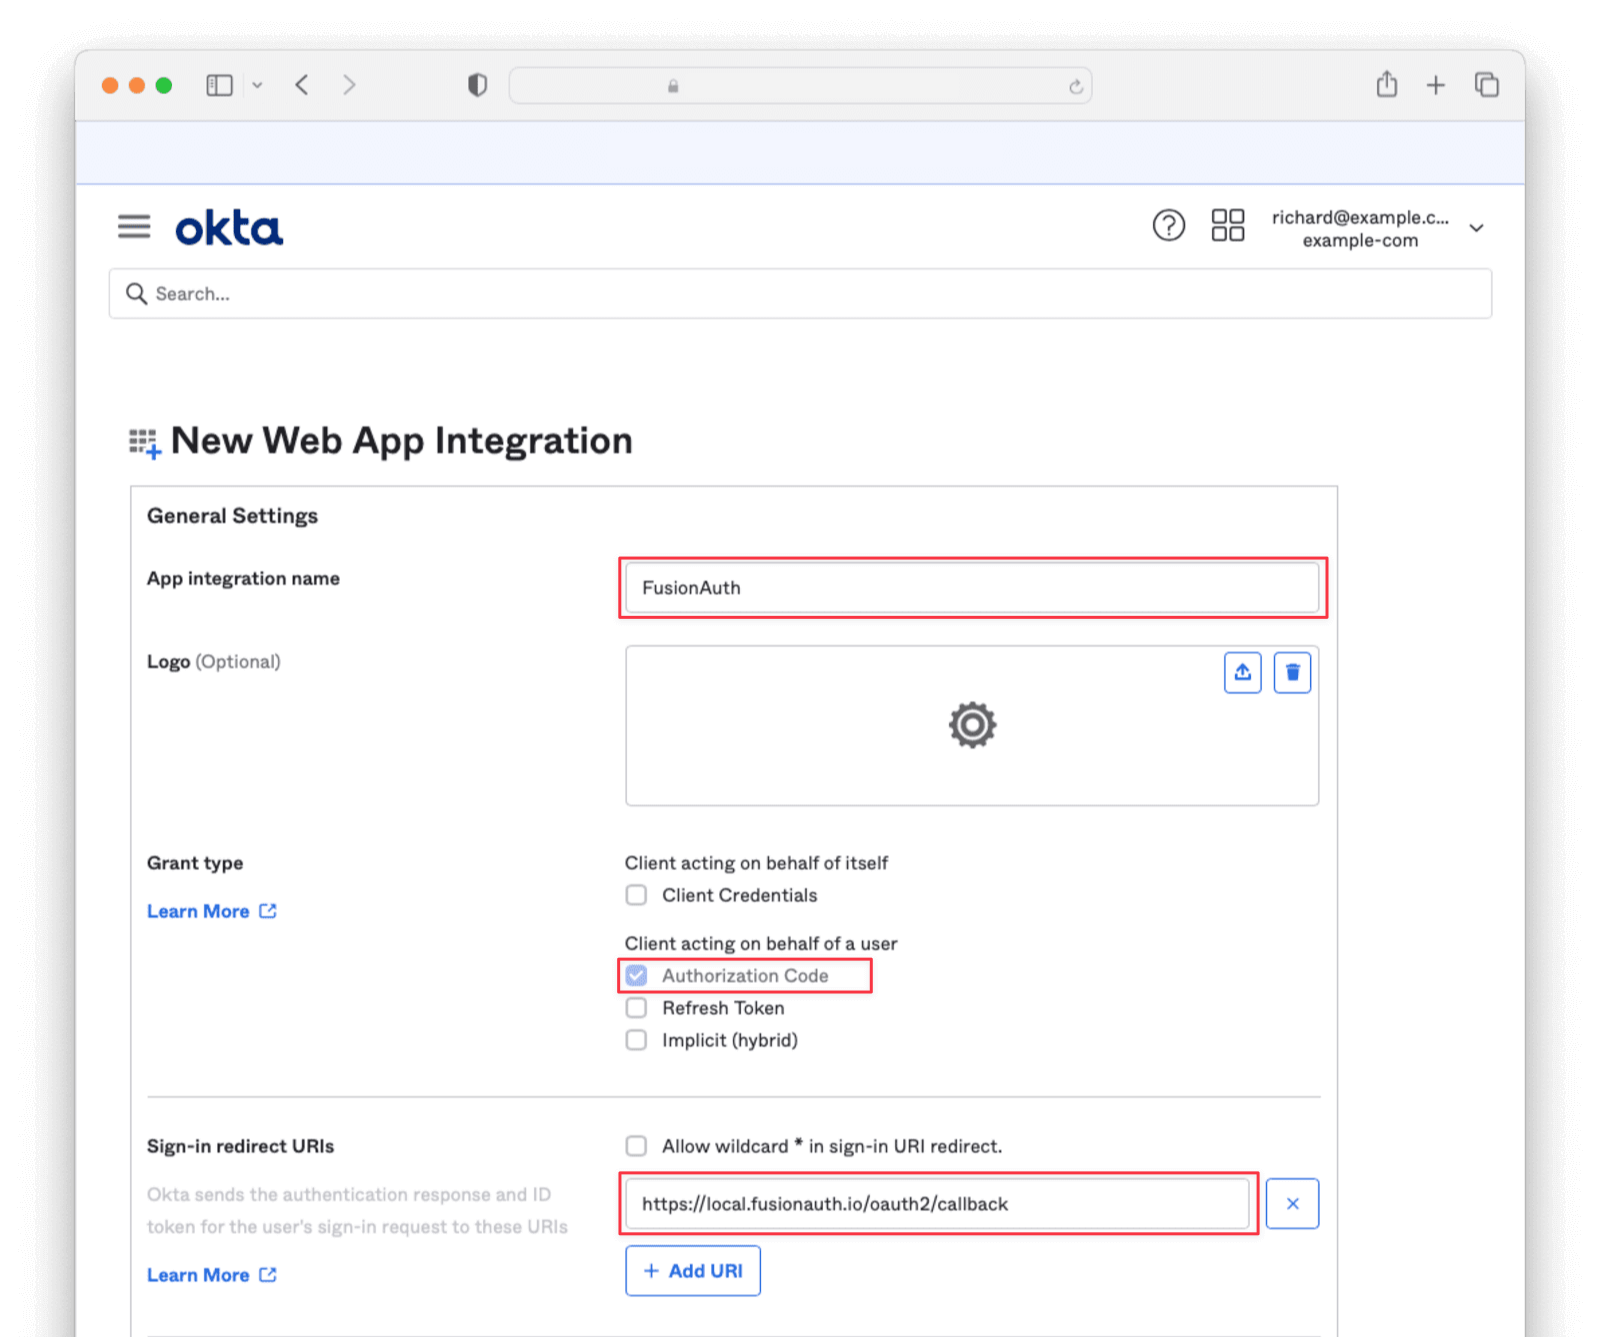
Enter an App integration name and ensure that Authorization Code is checked. Then, supply a Sign-in redirect URI as https://login.truefoundry.com/oauth2/callback.
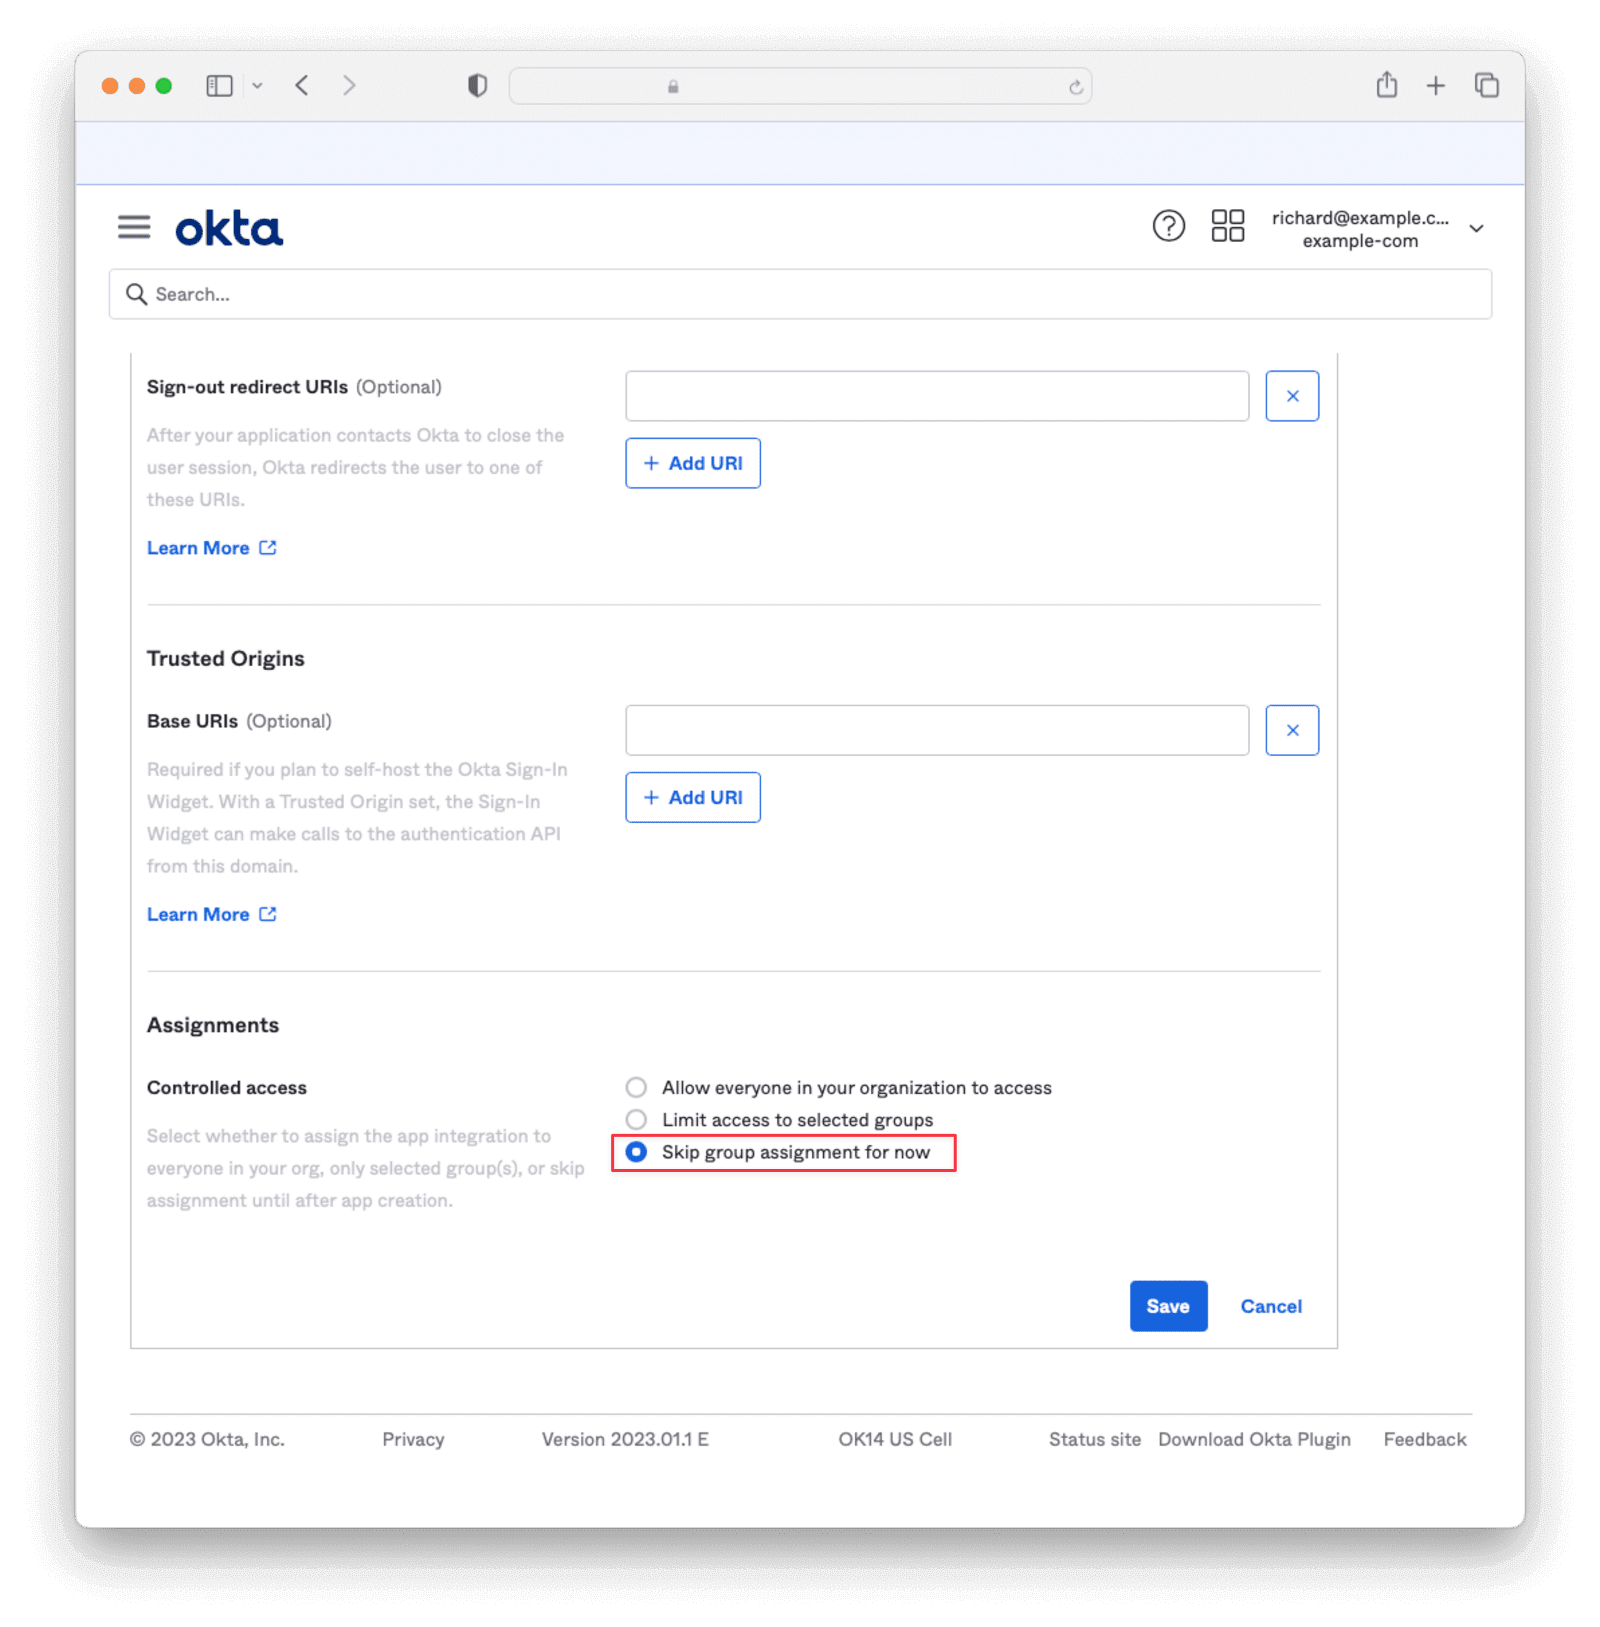
Under the Assignments section, select Skip group assignment for now . Hit Save.
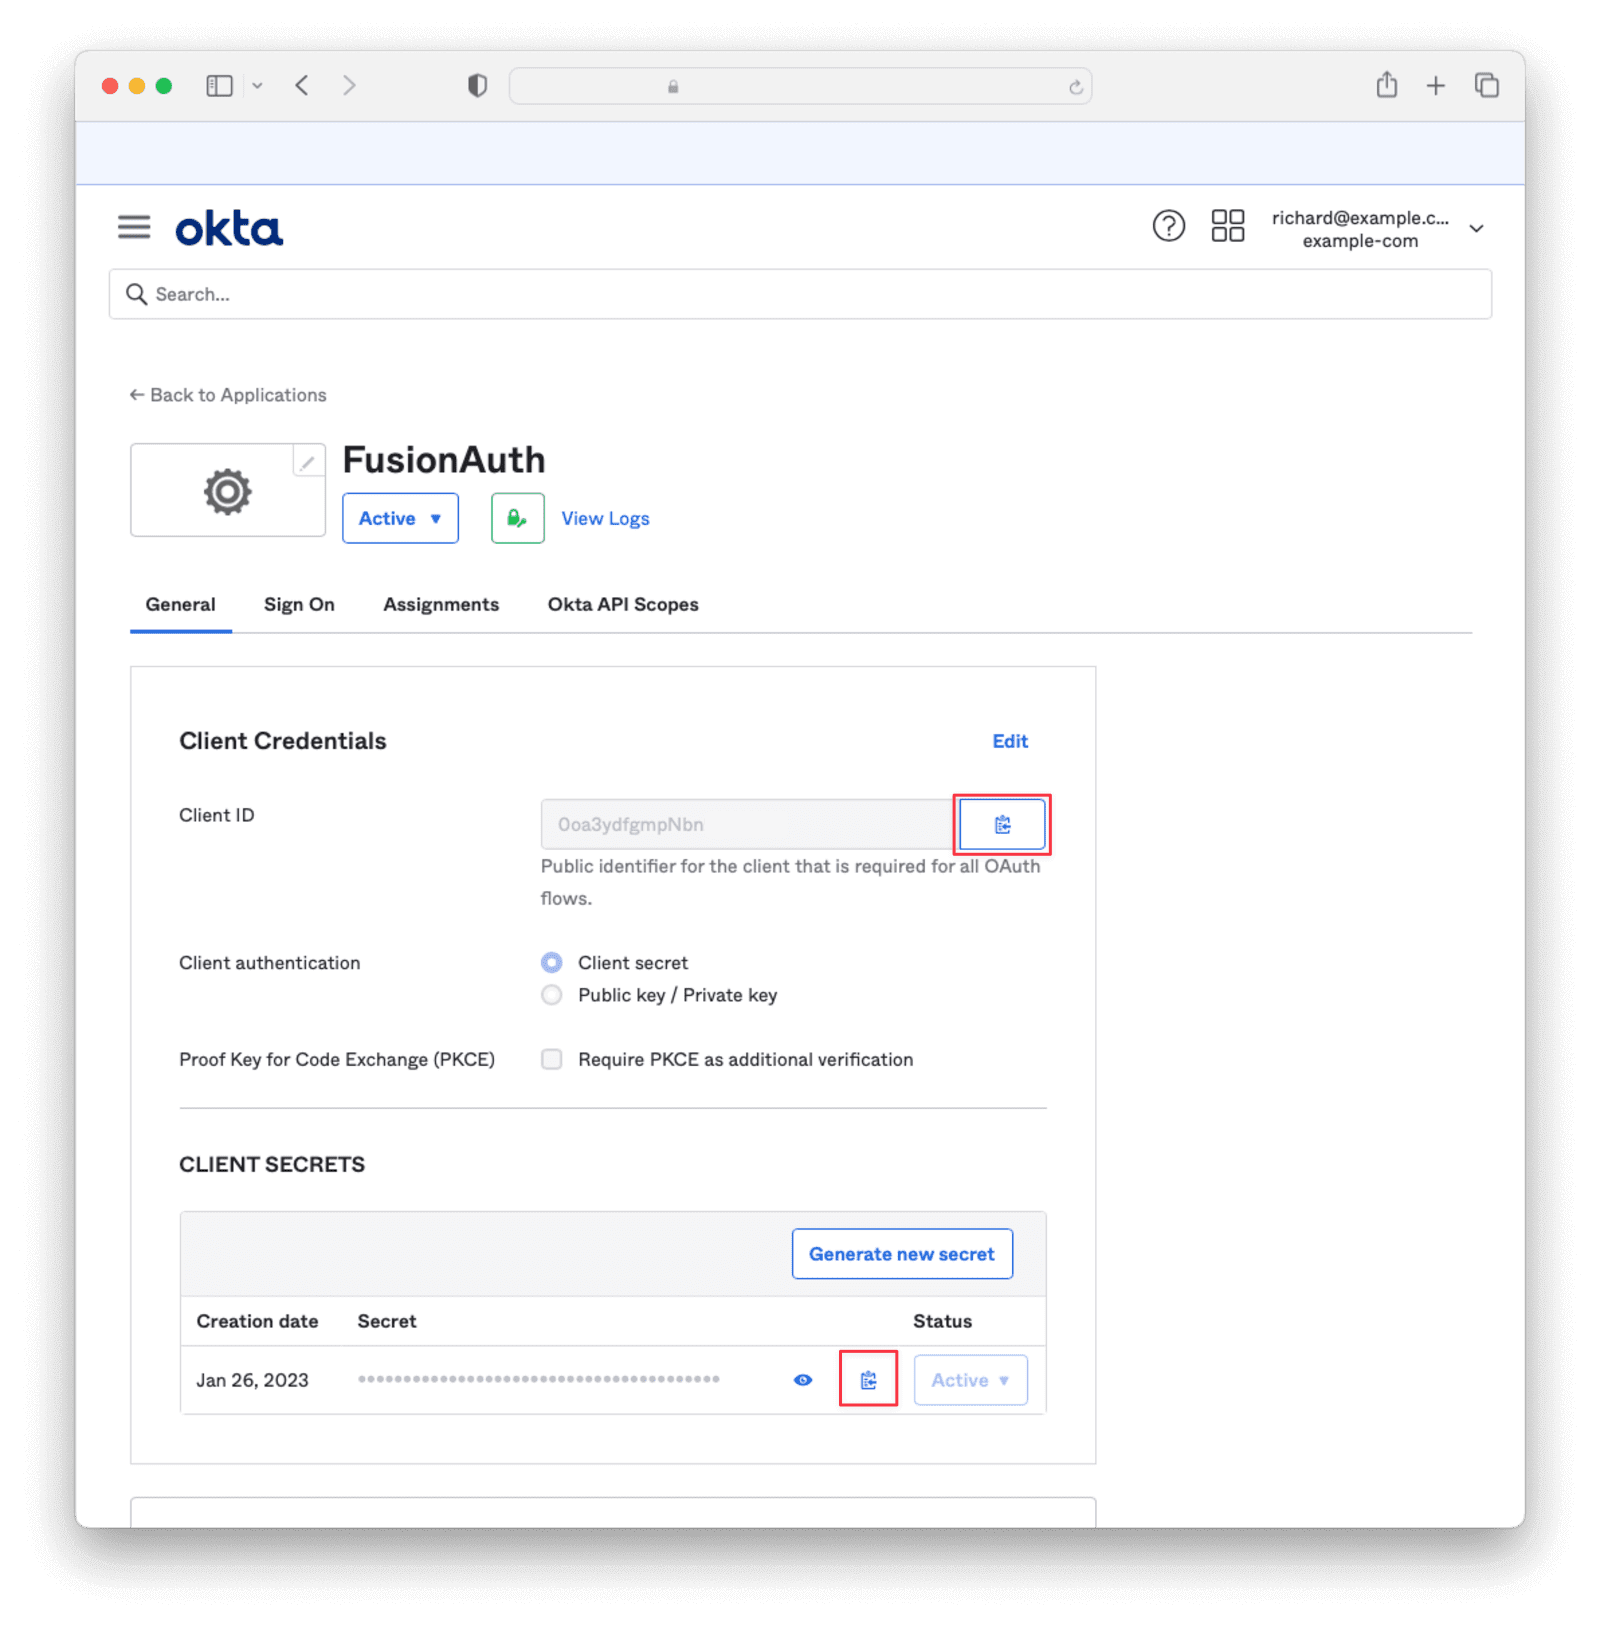
Copy the Client ID and Secret into a text file for later use.
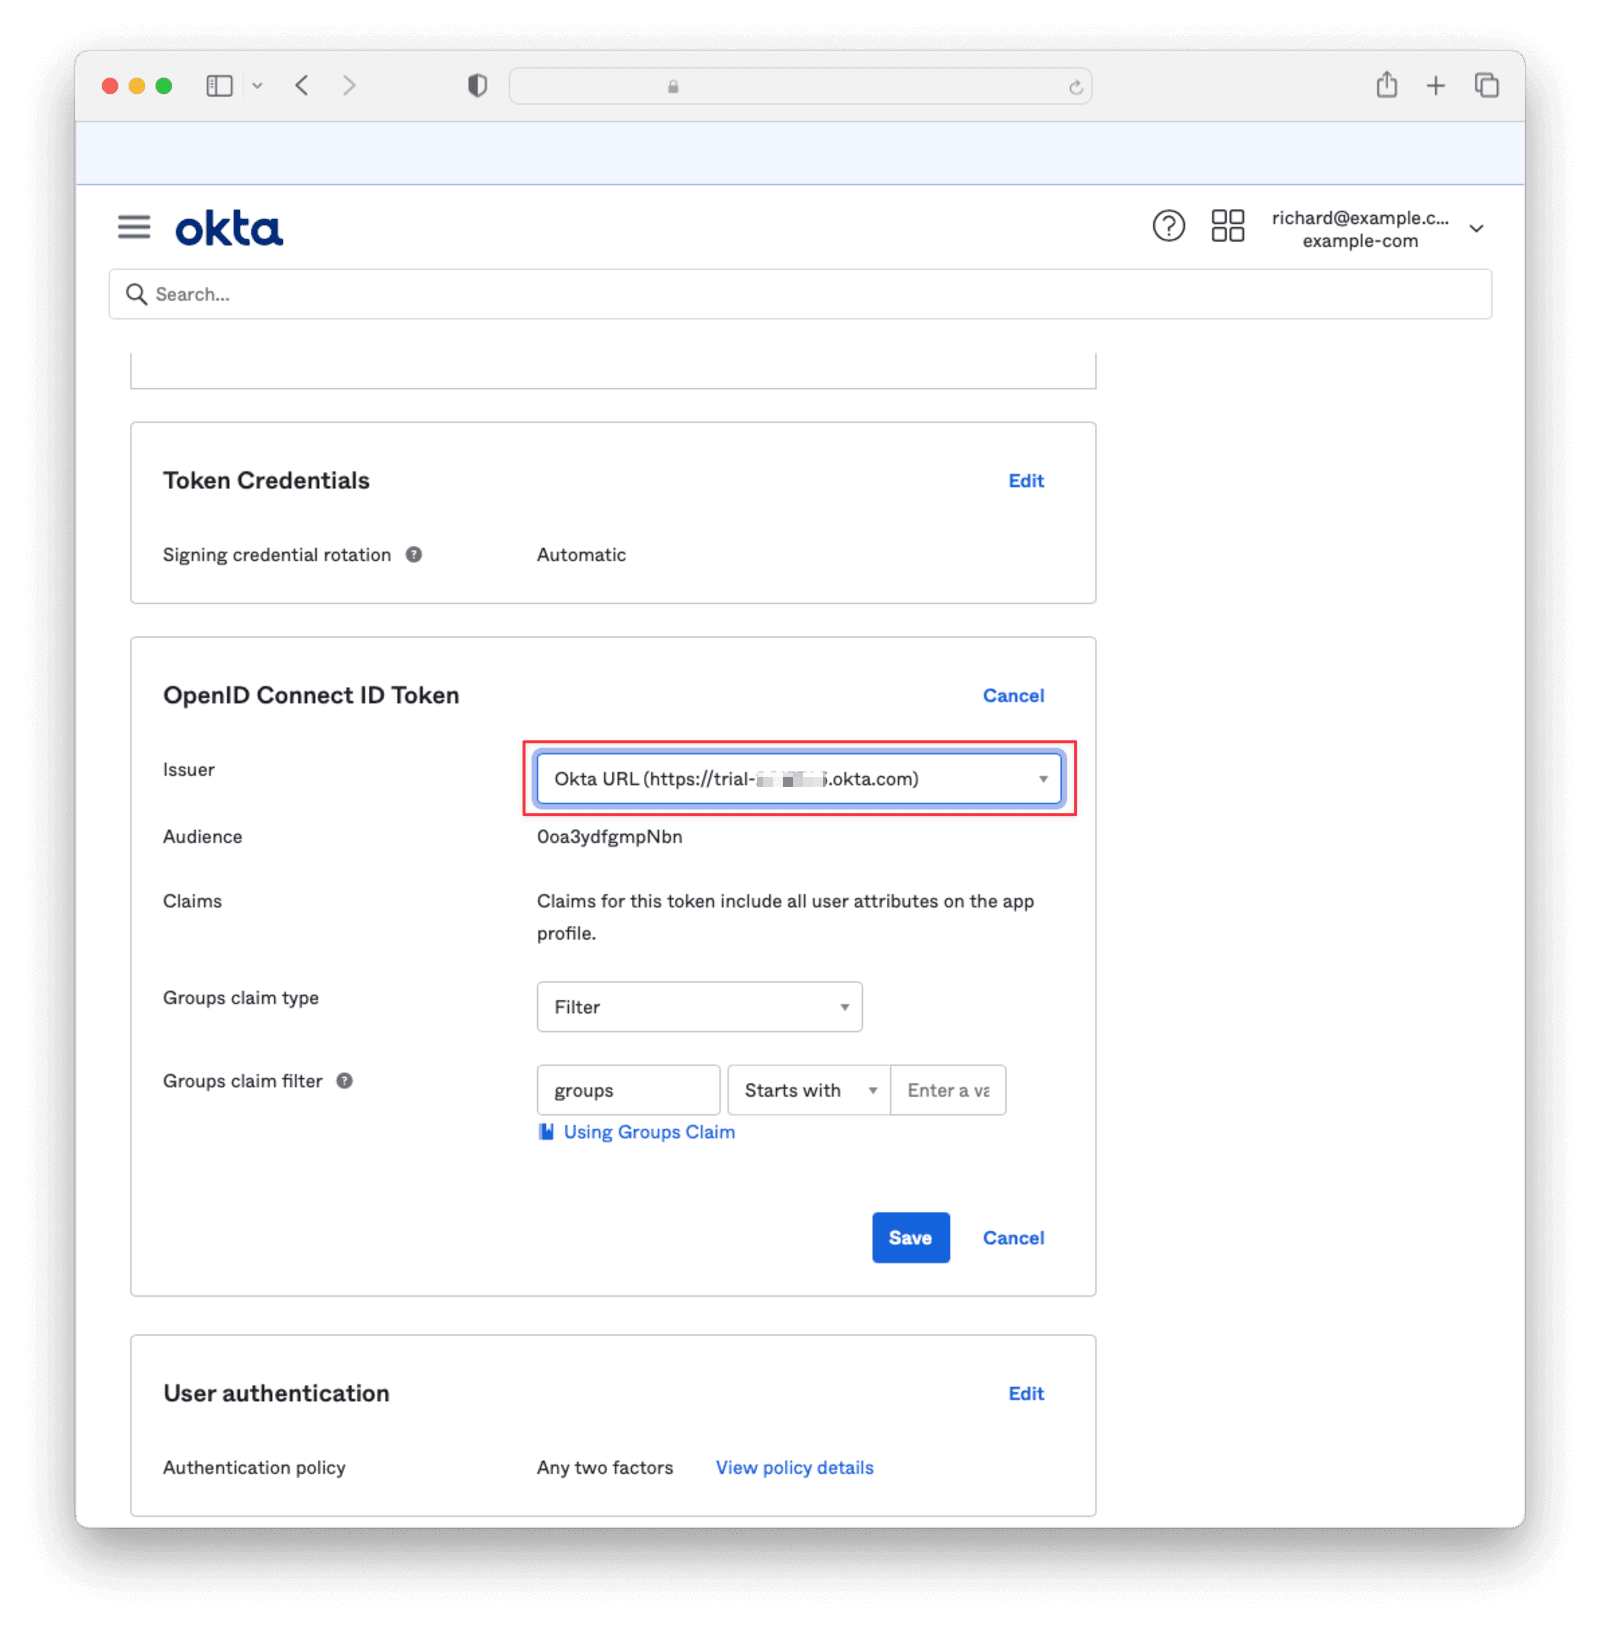
Under Sign On, navigate to the section OpenID Connect ID Token and change the Issuer to use the Okta URL. Hit Save and copy this URL into a text file
Navigate to Directory -> People and click on the username of the user you’d like to authenticate. Then click Assign Applications and hit the Assign button next to the one you created. Then click Save and Go Back and Done.