Pre-requisites
Before you proceed with the guide, please ensure that you have setup a Workspace. To deploy your service, you’ll need a workspace. If you don’t have one, you can create it using this guide: Creating a WorkspaceHTTP Service
We’ve already created a FastAPI service for the Iris classification problem, and you can find the code in our GitHub Repository. Please visit the repository to familiarize yourself with the code you’ll be deploying.Project Structure
The project files are organized as follows:Queue
We will be using SQS for this first example. You can use any of the other queue integrations if you want. To provision the AWS SQS Queue, you can refer to the AWS SQS guide.Initiating Deployment via UI
Use these configs for the deployment form:
- Repo URL: https://github.com/truefoundry/getting-started-examples
- Path to build context: ./deploy-model-with-fastapi/
- Command:
uvicorn server:app --host 0.0.0.0 --port 8000 - Path to requirements: requirements.txt
- Port: 8000
- Destination URL (Inside Sidecar): http://0.0.0.0:8000/predict (You can find this option in the
Advancedsection of the deployment form underSidecarsection)
What we did above:
In the example above, We firstly specified the details regarding our HTTP Service.Given we only had Python code and a requirements.txt. We didn’t have a prewritten docker file - so we chose the Python Code option - to let TrueFoundry templatize a Dockerfile from the details provided about the application and build the Docker image for us.We give these details in the Build context field, where we specify the directory in the GitHub repository where our service code resides (./deploy-model-with-fastapi/). We also specify the command that we need to use to run our service (uvicorn server:app --host 0.0.0.0 --port 8000).Next, we setup the AWS SQS Queue following the Creating and Utilizing an AWS SQS Queue documentation.We specify the port that we want our service to listen on (8000).Finally, we configure the Sidecar. Sidecar is a component that will consume message from a queue and forwards them as POST requests to your HTTP service.View your deployed service
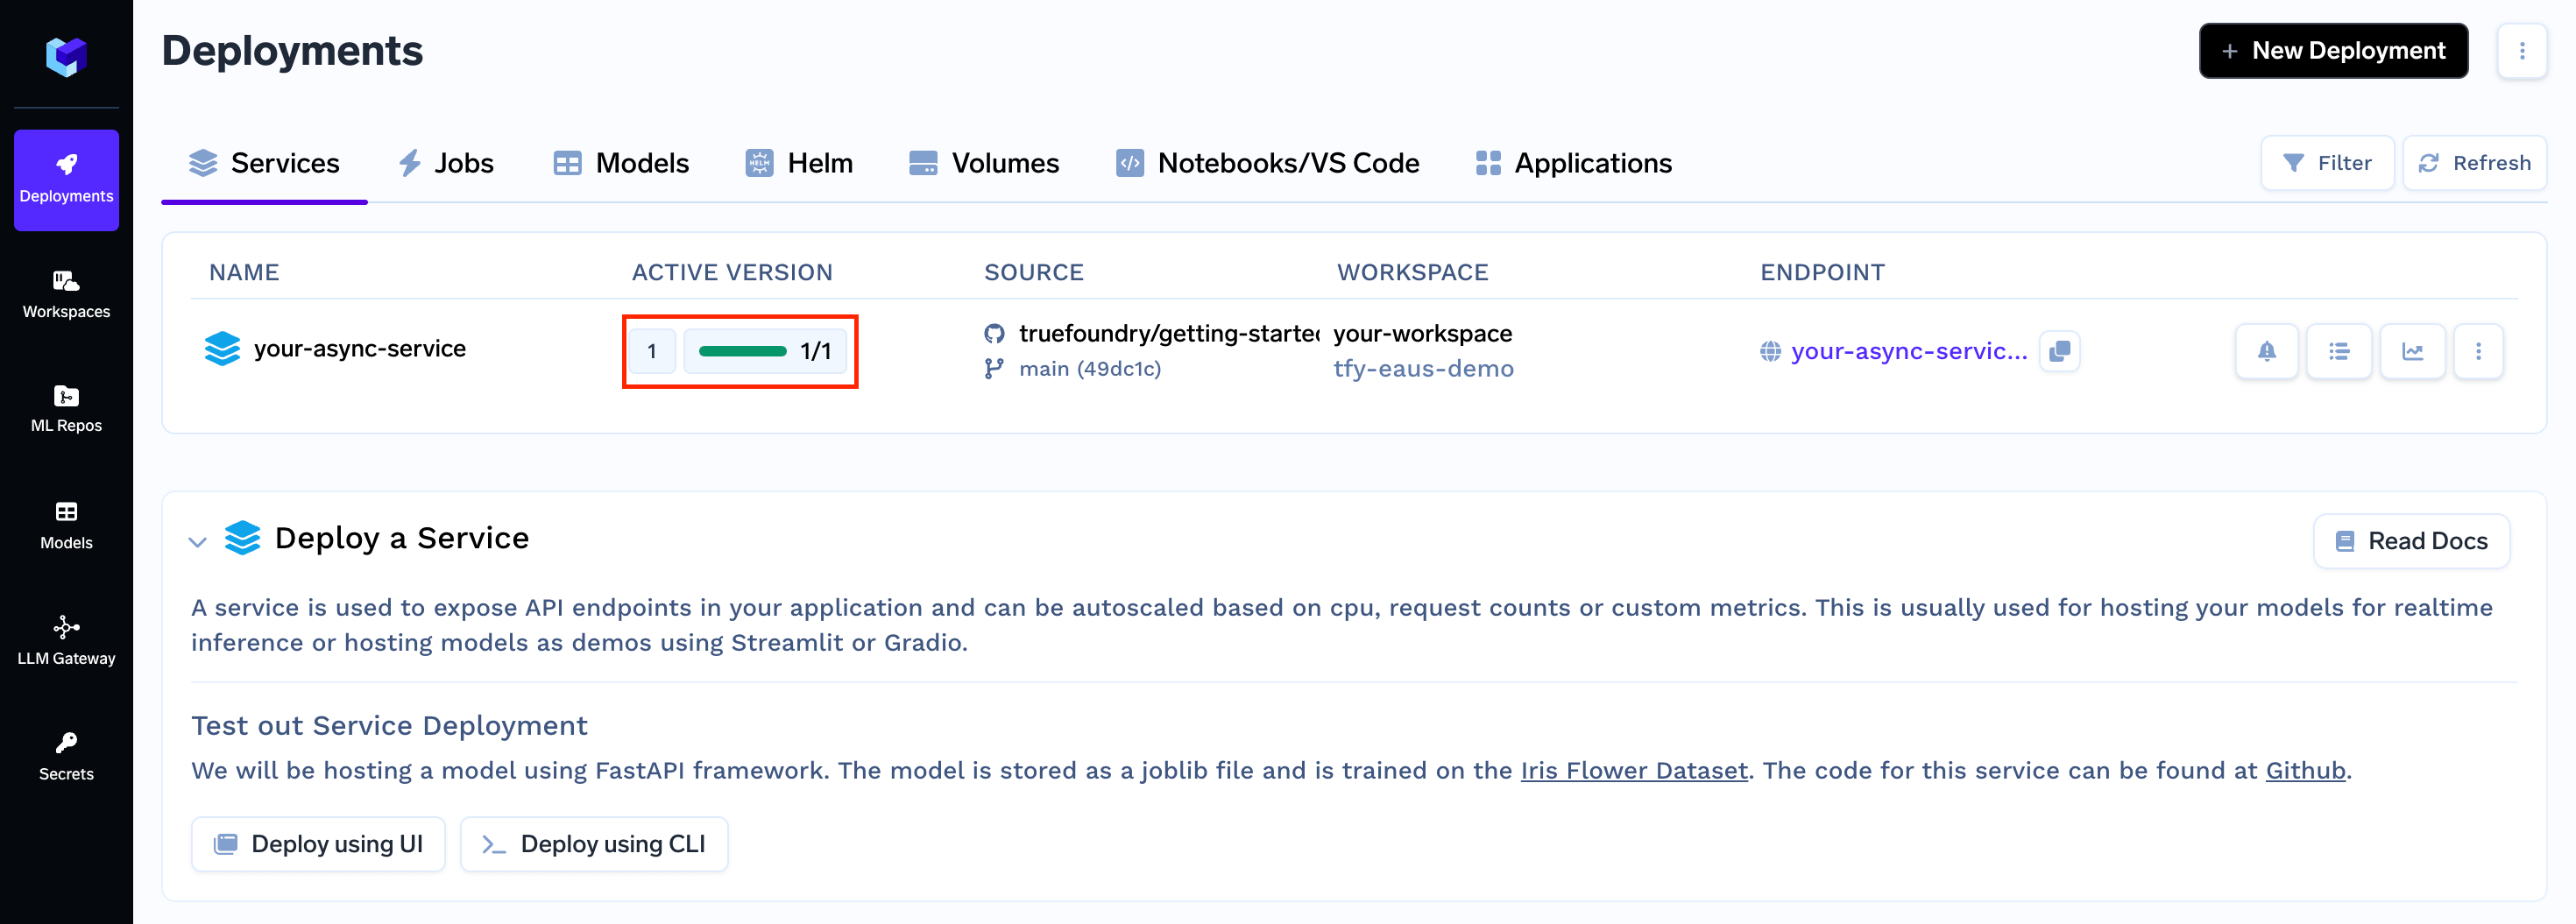
Once you clickSubmit, your deployment will be successful in a few seconds, and your Async Service will be displayed as active (green), indicating that it’s up and running.

Interacting with the Application
Async Service Specific Dashboard
Sending Requests to your Async Service
The way to trigger the async service will be to push messages to the queue so that the sidecar and pull messages from the queue and call the HTTP service that we have written above. We can verify if things are working by seeing the logs of the service. To dump messages into the queue, we will have to use the queue library to push messages to the queue. A sample code to push messages to the SQS queue is as follows:python send_async_request.py