Log the SkLearn model
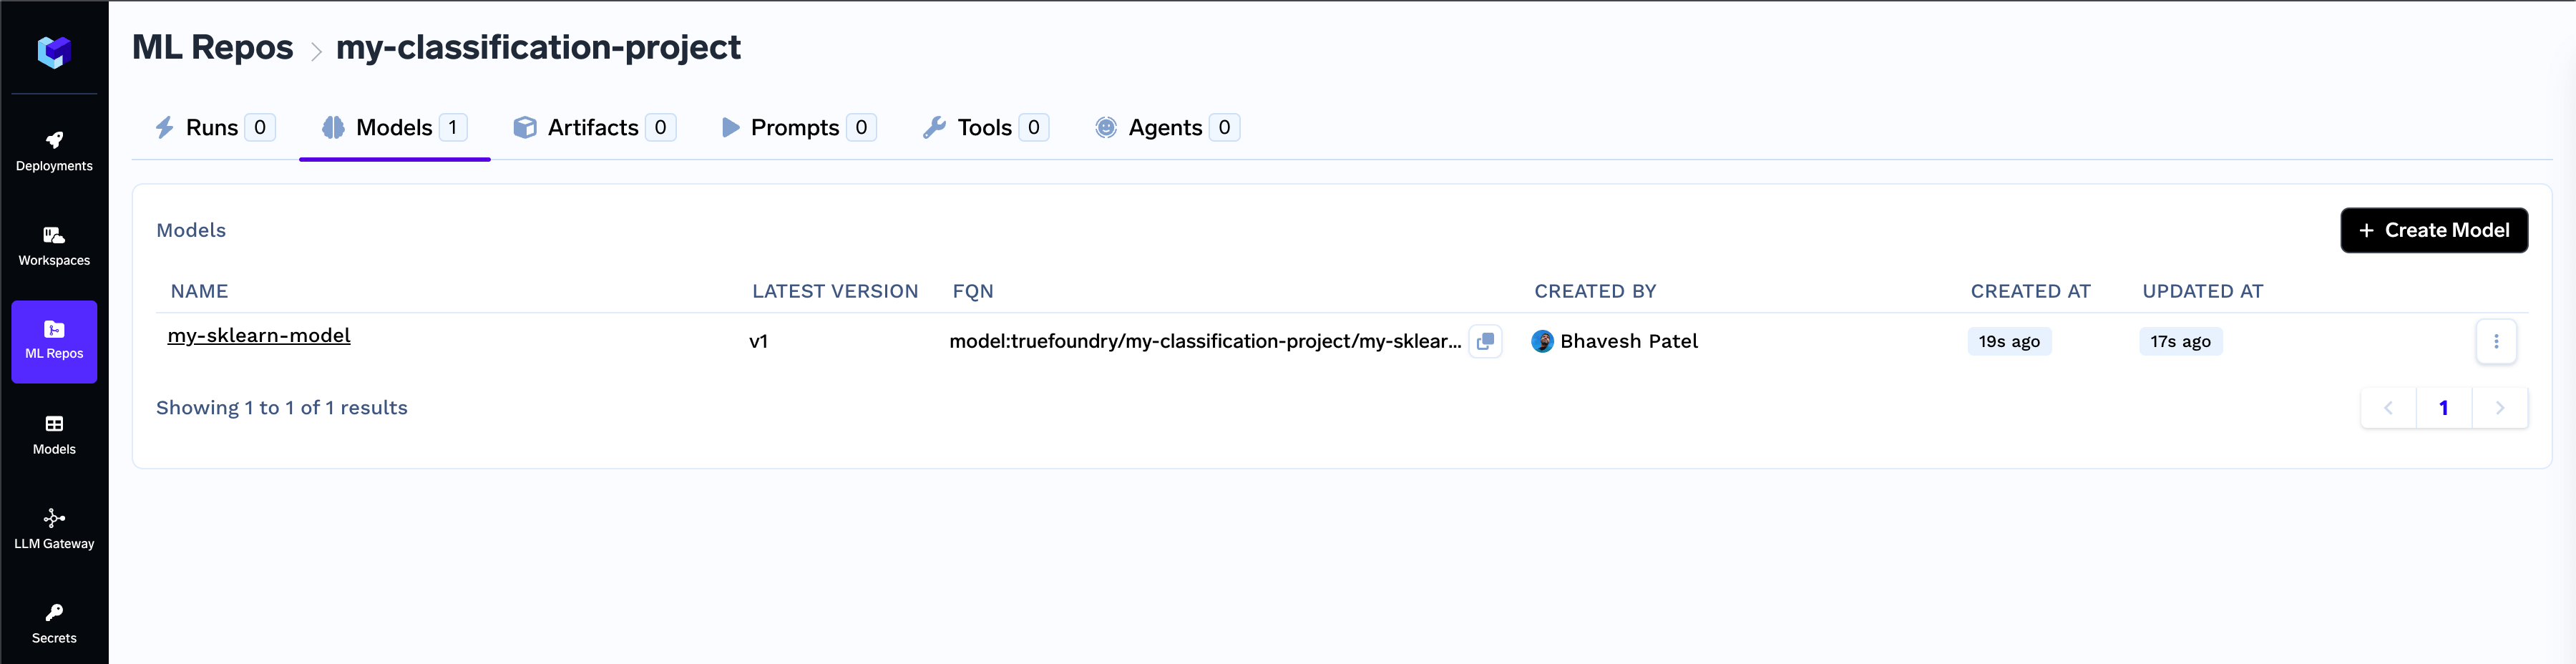
Below is an example of logging a model trained using Scikit-learn:View and manage models in Model Registry
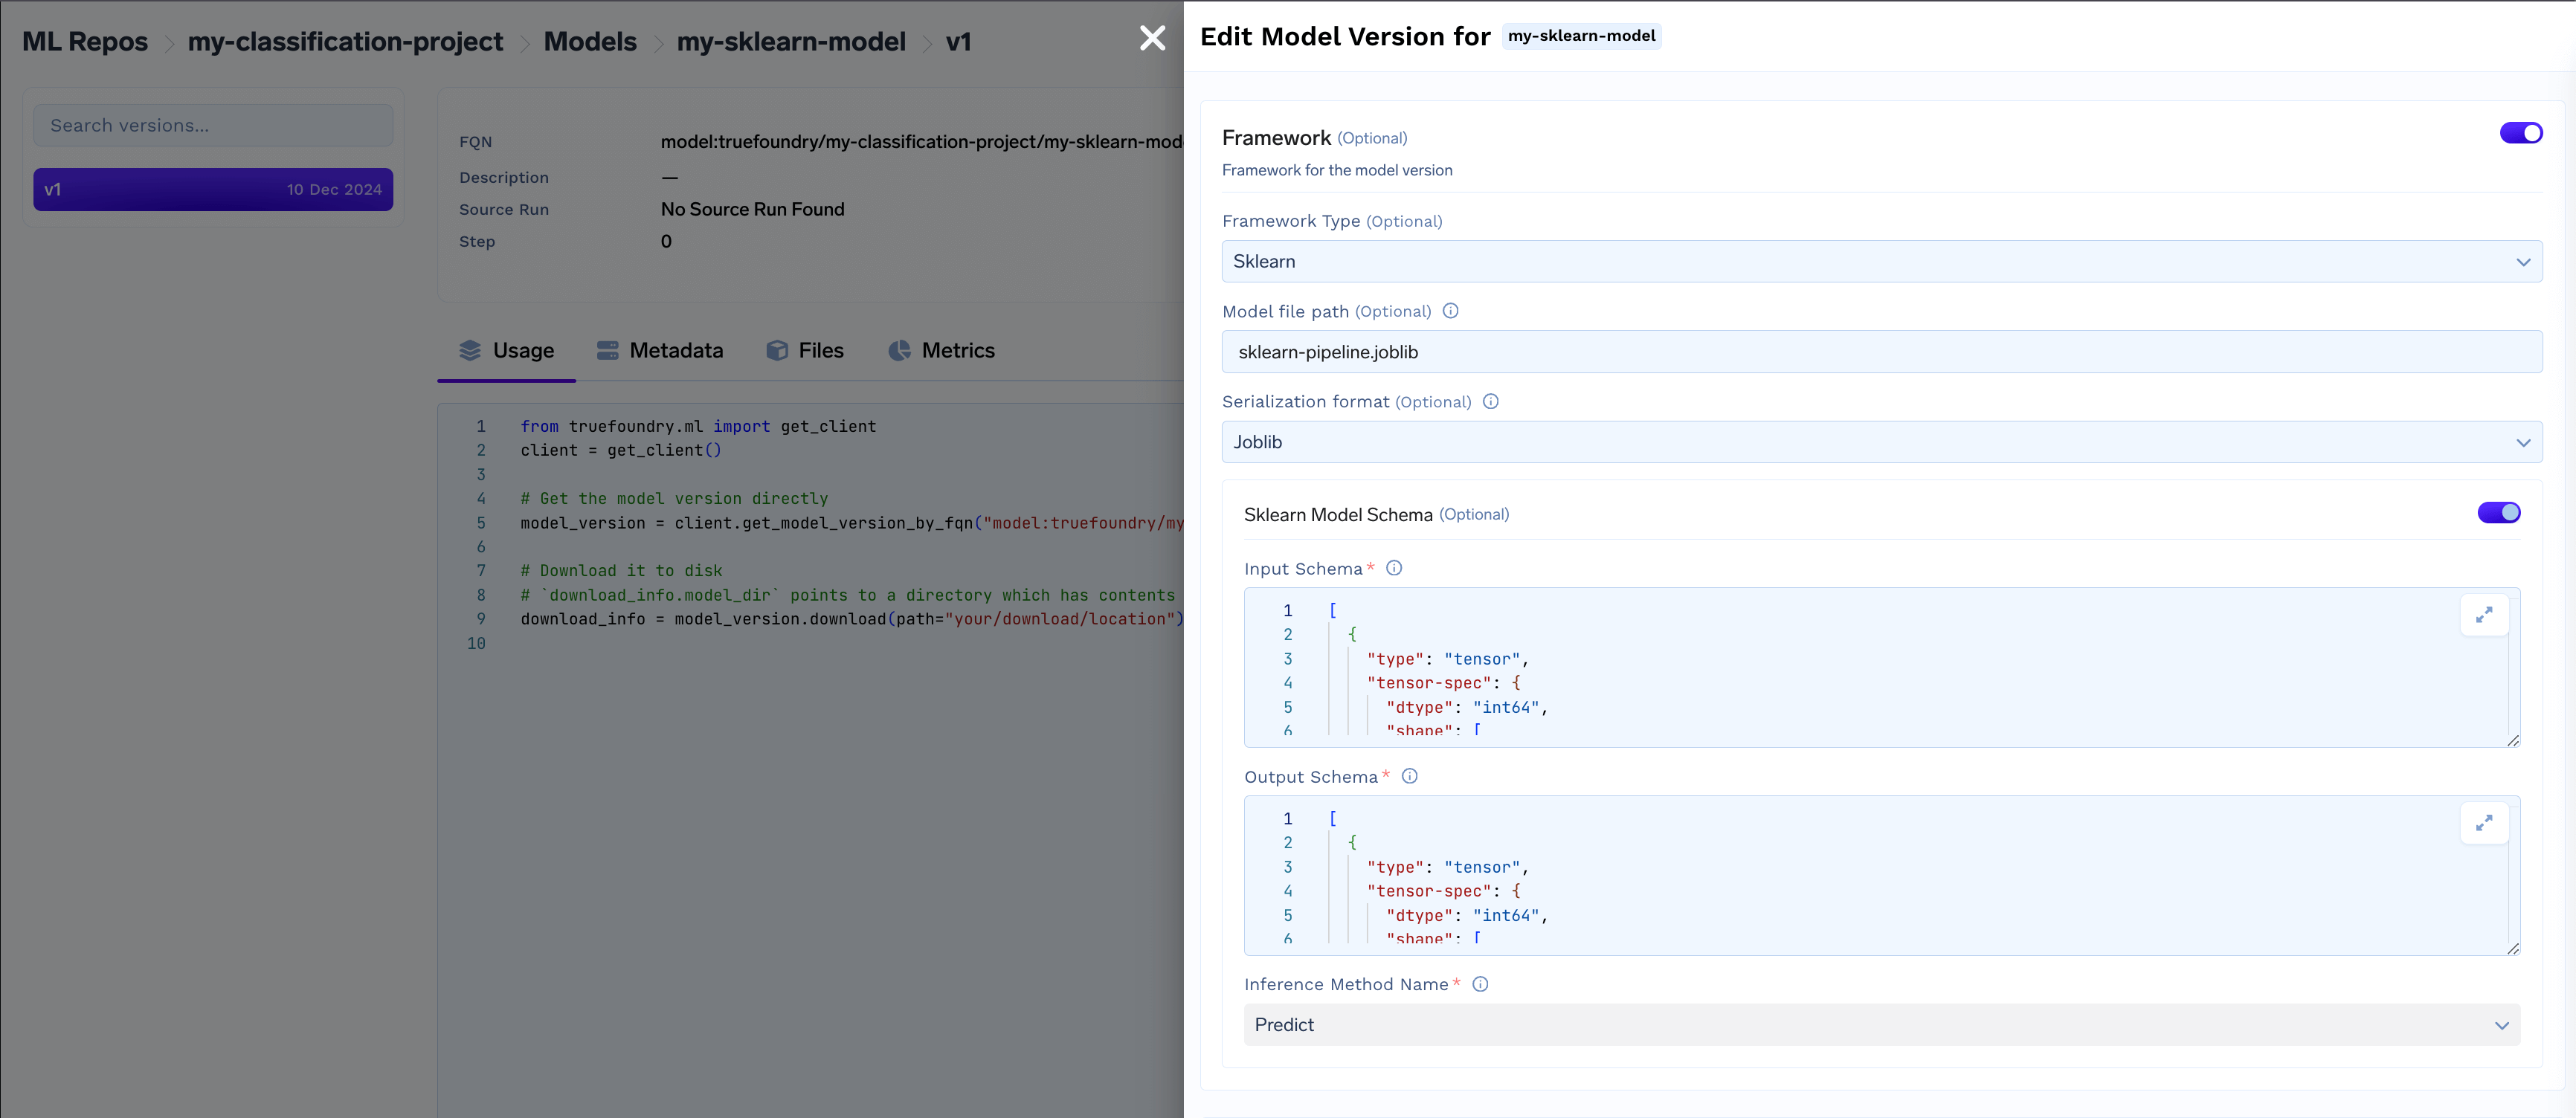
- Access framework details like serialization format, model schema, and inference method.
Deploy the model
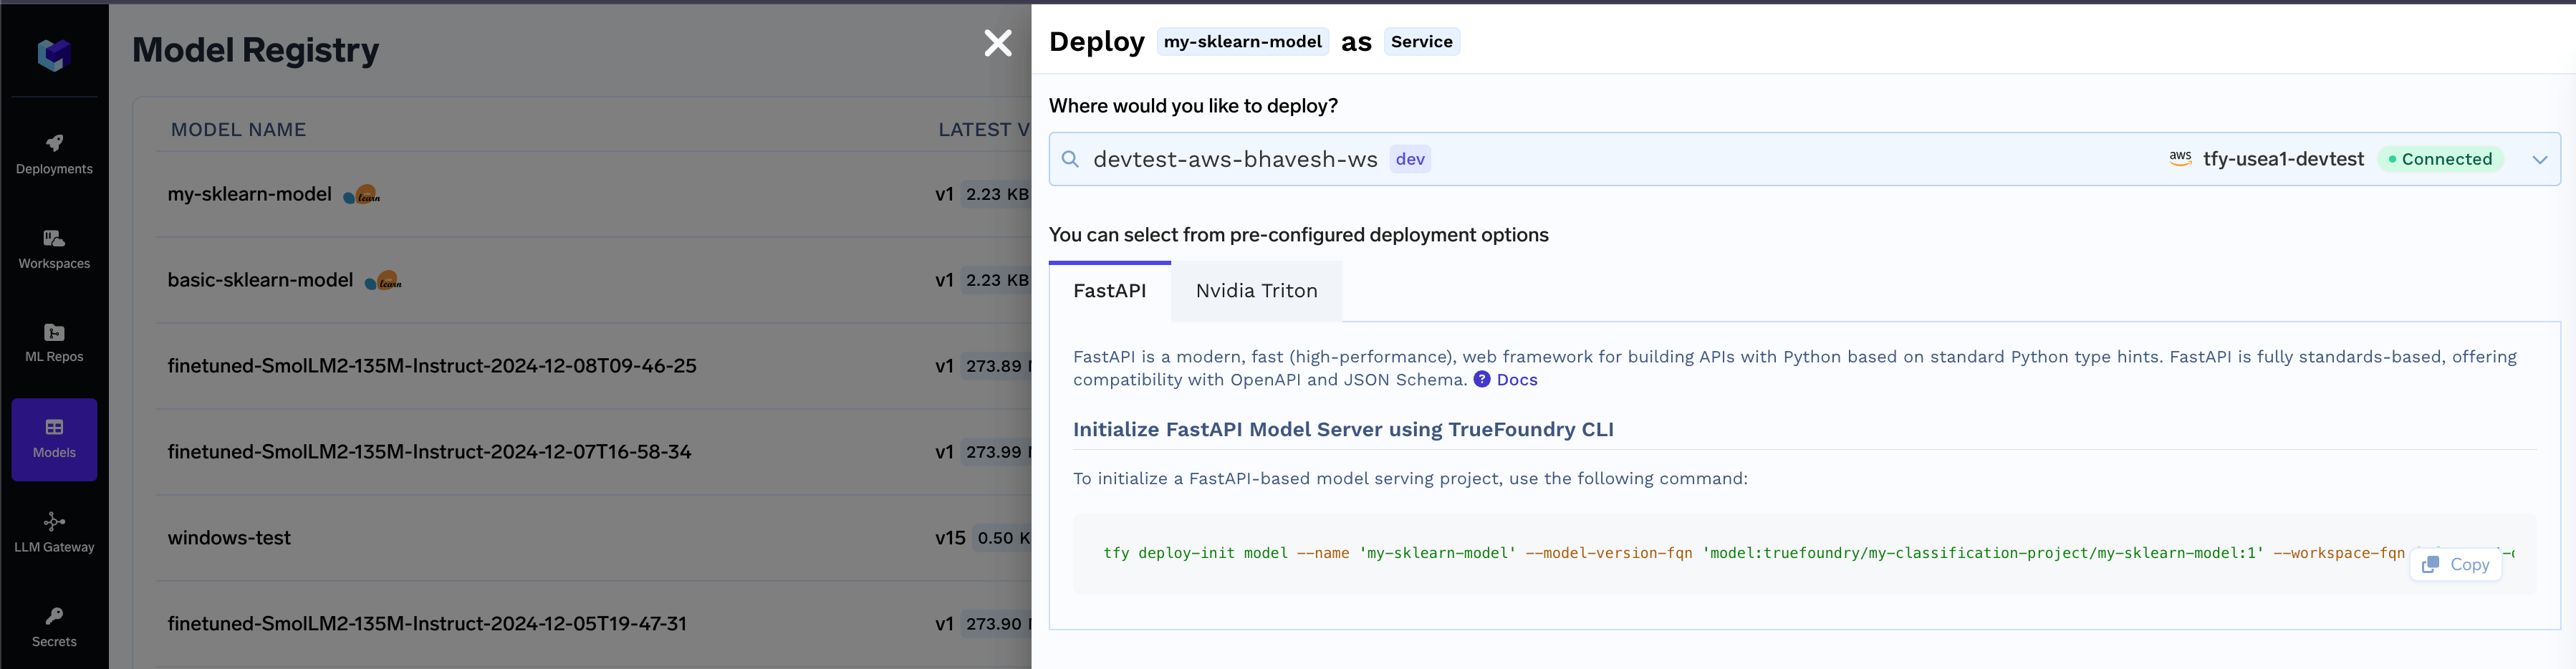
Once the model is deployable, you can start the deployment flow directly using the CLI. Navigate to the Model Registry- Locate the desired model in the list and click on the Deploy button

- Select the workspace for deployment, then click the copy icon to use the generated CLI command and initialize the model deployment package.
Common Model Deployment Issues and Troubleshooting Guide
Deploy Button Not Showing up for a logged SkLearn Model
Deploy Button Not Showing up for a logged SkLearn Model
Python version < 3.8 and > 3.12 is not supported for Triton deployment
Python version < 3.8 and > 3.12 is not supported for Triton deployment
The Triton deployment depends on the nvidia-pytriton library (https://pypi.org/project/nvidia-pytriton),
which supports Python versions >=3.8 and <=3.12. If you need to use a version outside this range, consider FastAPI as an alternative framework
for serving the model.
Numpy version must be specified for Triton deployment, Numpy version must be less than 2.0.0 for Triton deployment
Numpy version must be specified for Triton deployment, Numpy version must be less than 2.0.0 for Triton deployment
The nvidia-pytriton library does not support numpy versions >=2.0. If you need to use a version outside this range, consider FastAPI as an alternative framework for serving the model.