Share access with users, teams or everyone in your TrueFoundry account
As shown in the previous slides, you can share access of each integration with users, teams or everyone in your TrueFoundry account. This would allow them to view and use the integration. Only tenant-admins can edit the integrations.
Create a custom serviceaccount
- Create an IAM serviceaccount named
tfy-<short-region-name>-<name>-platform(name can be anything but add a prefixtfyto differentiate it with others), if not created before. - Once the IAM serviceaccount is created, make sure to create a key in JSON format.
- If you using the workflow propeller, you need to add the following permission to the service account:
Shell
Google Cloud Storage Integration
Follow the steps below to connect GCS storage to TrueFoundry:-
Create a GCP bucket.
- Make sure to add the lifecycle configurations on the bucket to delete multipart upload after 7 days.
- For this go to GCP bucket -> Lifecycle -> Add a rule
- Select
Delete multi-part uploadfor 7 days
-
We also need to add the CORS policy to the GCP bucket. Right now adding the CORS policy to the GCP bucket is not possible through the console so for this, we will use gsutil
- Create a file called
cors.jsonusing the below command
- Attach the above CORS policy to the service account by running the following command using gsutils
- Create a file called
-
Create a custom IAM role with the following permissions and add to the
serviceaccountcreated above: -
Add the following IAM condition -
resource.name.startsWith('projects/\_/buckets/<bucket name>}') - Navigate to Integrations tab and follow the steps shown the previous demo to integrate your storage.
Google Artifact registry Integration
-
Create a custom IAM role with the following permissions and add to the
serviceaccountcreated above: - Navigate to Integrations tab and follow the steps shown the previous demo to integrate your Artifact registry.
Google Secrets Manager Integration
-
Create a custom IAM role with the following permissions and add to the
serviceaccountcreated above: -
Add the following IAM condition-
resource.name.startsWith('projects/<GCP Project Number>/secrets/tfy') - Navigate to Integrations tab and follow the steps shown the previous demo to integrate your secret manager.
Google GKE cluster Integration
-
Create a custom IAM role with the following permissions and add to the
serviceaccountcreated above: - Navigate to Integrations tab and follow the steps shown the previous demo to integrate your secret manager.
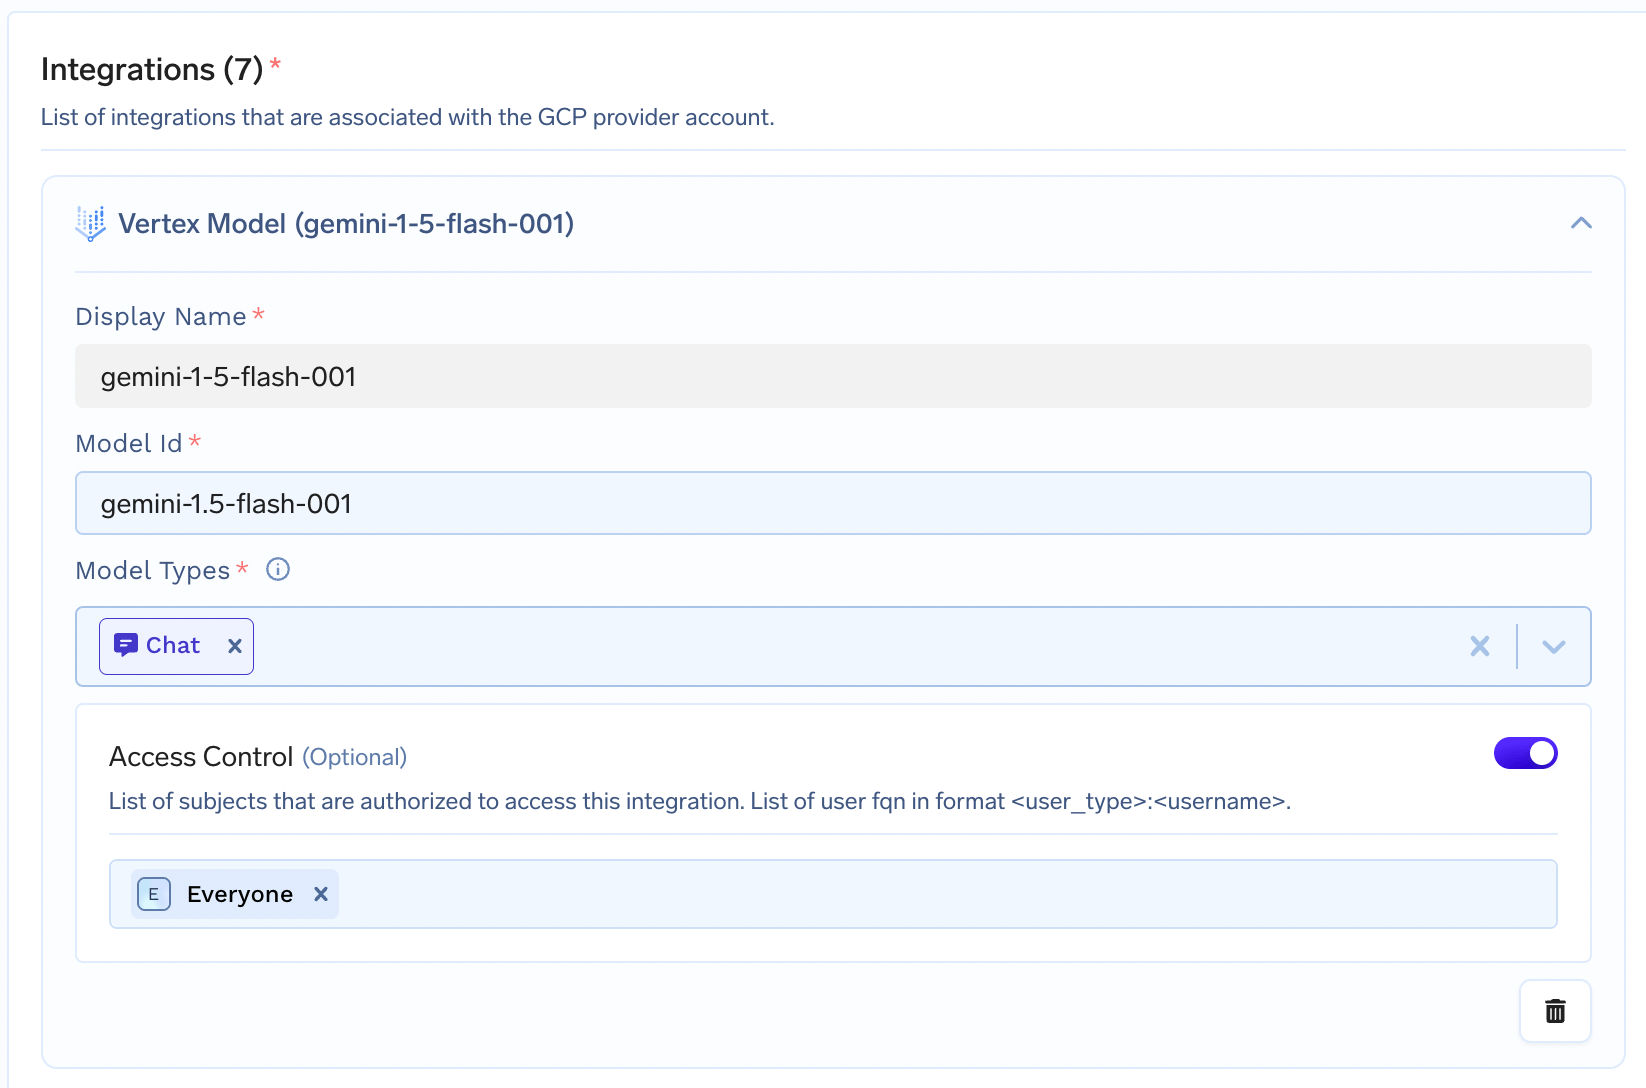
Google Vertex Model Integration
- Create the GCP Provider Account as described in the demo at the top of this document.
-
Create a custom IAM role with the following permission and add to the
serviceaccountcreated above: -
Navigate to Integrations tab and edit the GCP Provider Account previously created and add the required models using their
model idand they should start showing up in the AI Gateway. Here’s an example of addinggemini-1.5-flash-001.