QLoRA
For fine-tuning, TrueFoundry embraces the QLoRA technique, a cutting-edge technique that revolutionizes fine-tuning by balancing power and efficiency. This technique uses clever tricks to stay compact, so you can fine-tune on smaller hardware (even just one GPU), saving time, money, and resources, all while maintaining top performance.Pre-requisites
Before you begin, ensure you have the following:- Workspace:
To deploy your LLM, you’ll need a workspace. If you don’t have one, you can create it using this guide: Create a Workspace or seek assistance from your cluster administrator.
Setting up the Training Data
We support two different data formats:Chat
Data needs to be injsonl format with each line containing a whole conversation in OpenAI Chat format
Each line contains a key called messages. Each messages key contains a list of messages, where each message is a dictionary with role and content keys. The role key can be either user, assistant or system and the content key contains the message content.
Example:
Completion
Data needs to be injsonl format with each line containing a json encoded string containing two keys prompt and completion.
Example:
- TrueFoundry Artifact: Upload it as a TrueFoundry artifact for easy access.
- Cloud Storage: Upload it to a cloud storage service.
- Local Machine: Save it directly on your computer.
Upload to a TrueFoundry Artifact
If you prefer to upload your training data directly to TrueFoundry as an artifact, follow the Add Artifacts via UI, and Upload your.jsonl training data file.
Upload to a cloud storage
You can upload your data to a S3 Bucket using the following command:
Output of uploading file to AWS S3 and getting the pre-signed URL
Fine-Tuning a LLM
Now that your data is prepared, you can start the fine-tuning. Once your data is ready, you can now start fine-tuning your LLM. Here you have two options, deploying a fine-tuning notebook for experimentation or launching a dedicated fine-tuning job.- Notebooks: Experimentation Playground
- Jobs: Reliable and Scalable
Hyperparameters
Fine-tuning an LLM requires adjusting key parameters to optimize its performance on your specific task. Here are some crucial hyperparameters to consider:- Epochs: This determines the number of times the model iterates through the entire training dataset.
Too many epochs can lead to overfitting, and too few might leave the model undertrained. You should start with a moderate number and increase until the validation performance starts dropping. - Learning Rate: This defines how quickly the model updates its weights based on errors.
Too high can cause instability and poor performance, and too low can lead to slow learning. Start small and gradually increase if the finetuning is slow. - Batch Size: This controls how many data points the model processes before adjusting its internal parameters. Choose a size based on memory constraints and desired training speed. Too high can strain resources, and too low might lead to unstable updates.
- Lora Alpha and R: These control the adaptive scaling of weights in the Lora architecture, improving efficiency for large models. These are useful parameters for generalization. High values might lead to instability, low values might limit potential performance.
- Max Length : This defines the maximum sequence length the model can process at once.
Choose based on your task’s typical input and output lengths. Too short can truncate context, and too long can strain resources and memory.
Fine-Tuning using a Notebook
Fine-Tuning using a Job
Before you start, you will first need to create an ML Repo (this will be used to store your training metrics and artifacts, such as your checkpoints and models) and give your workspace access to the ML Repo. You can read more about ML Repo’s here
Now that your ML Repo is set up, you can create the fine-tuning job.
Deploying the Fine-Tuned Model
Once your Fine-tuning is complete, the next step is to deploy the fine-tuned LLM.
You can learn more about how to send requests to your Deploy LLM using the following guide
Advanced: Merging LoRa Adapters and uploading merged model
Currently the finetuning Job/Notebook only converts the best checkpoint to a merged model to save GPU compute time. But sometimes we might want to pick an intermediate checkpoint, merge it and re-upload it as a model. First, let’s make sure we have following requirements installed--help to see help
artifact:truefoundry/llm-experiments/ckpt-finetune-2024-03-14T05-00-55:7 with its base model stas/tiny-random-llama-2 and uploads it as finetuned-tiny-random-llama-checkpoint-7 to run finetune-2024-03-14T05-00-55 in ML Repo llm-experiments
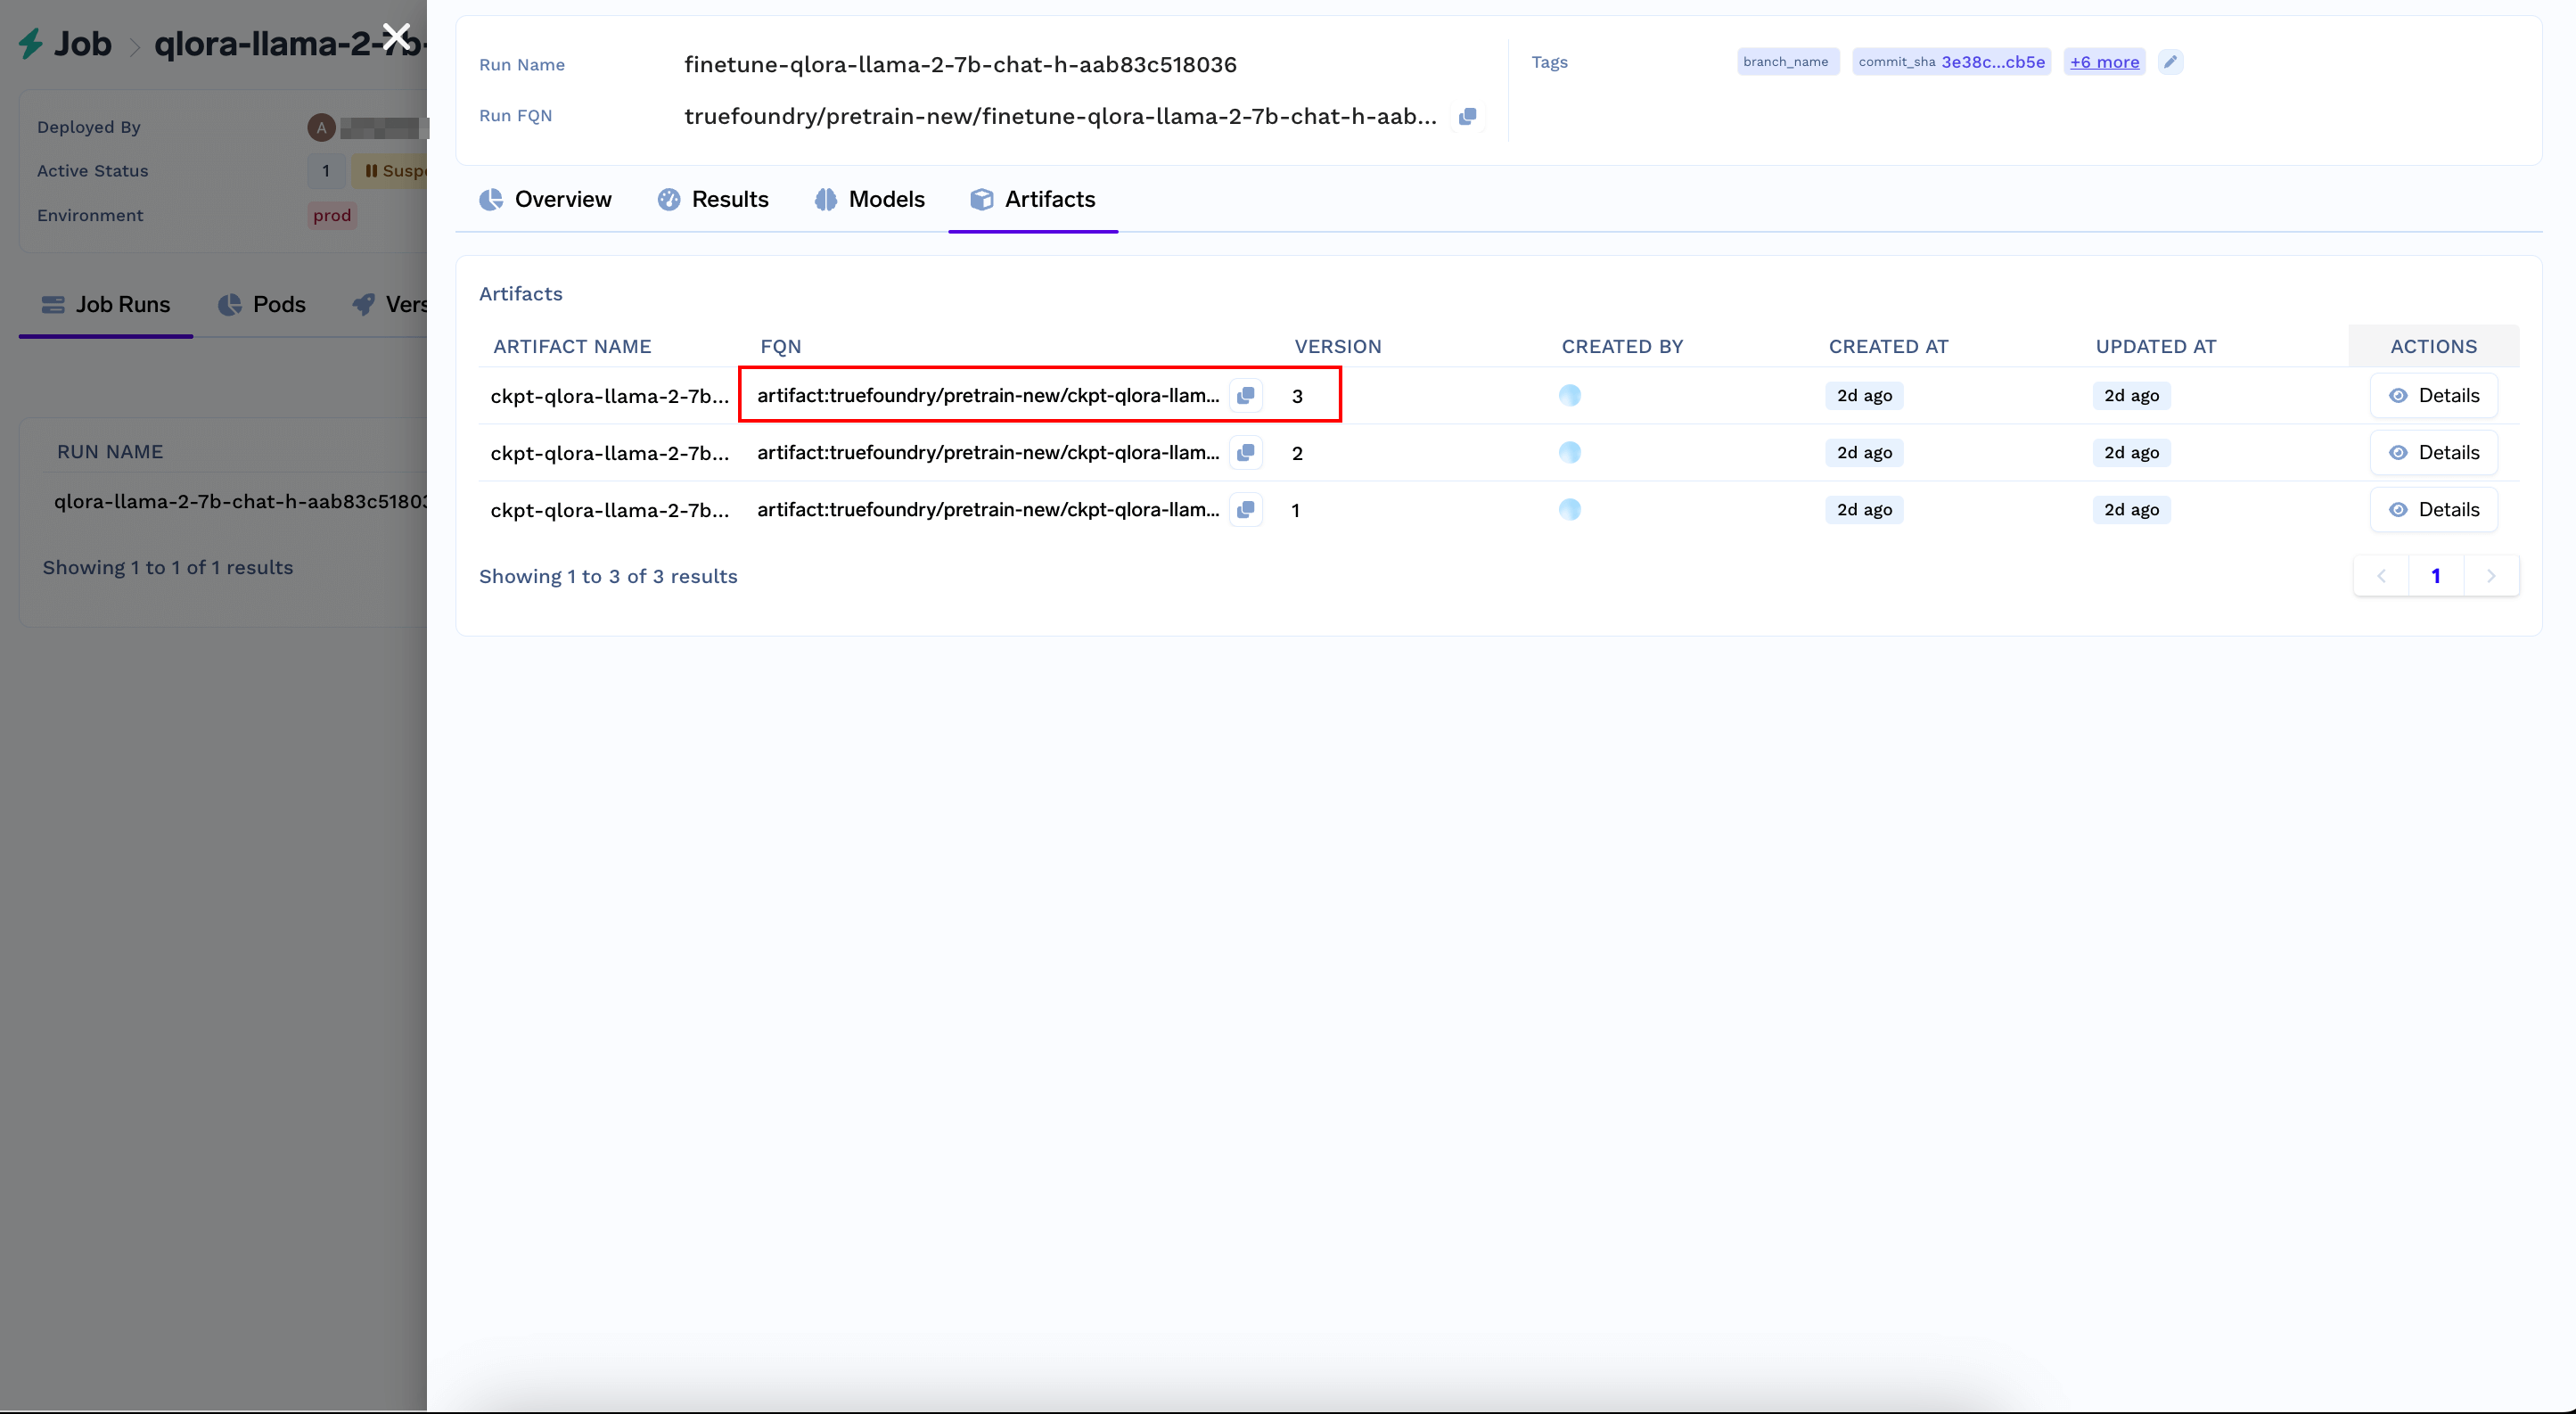
Grab the checkpoint's artifact version FQN from the Artifacts Tab of your Job Run Output