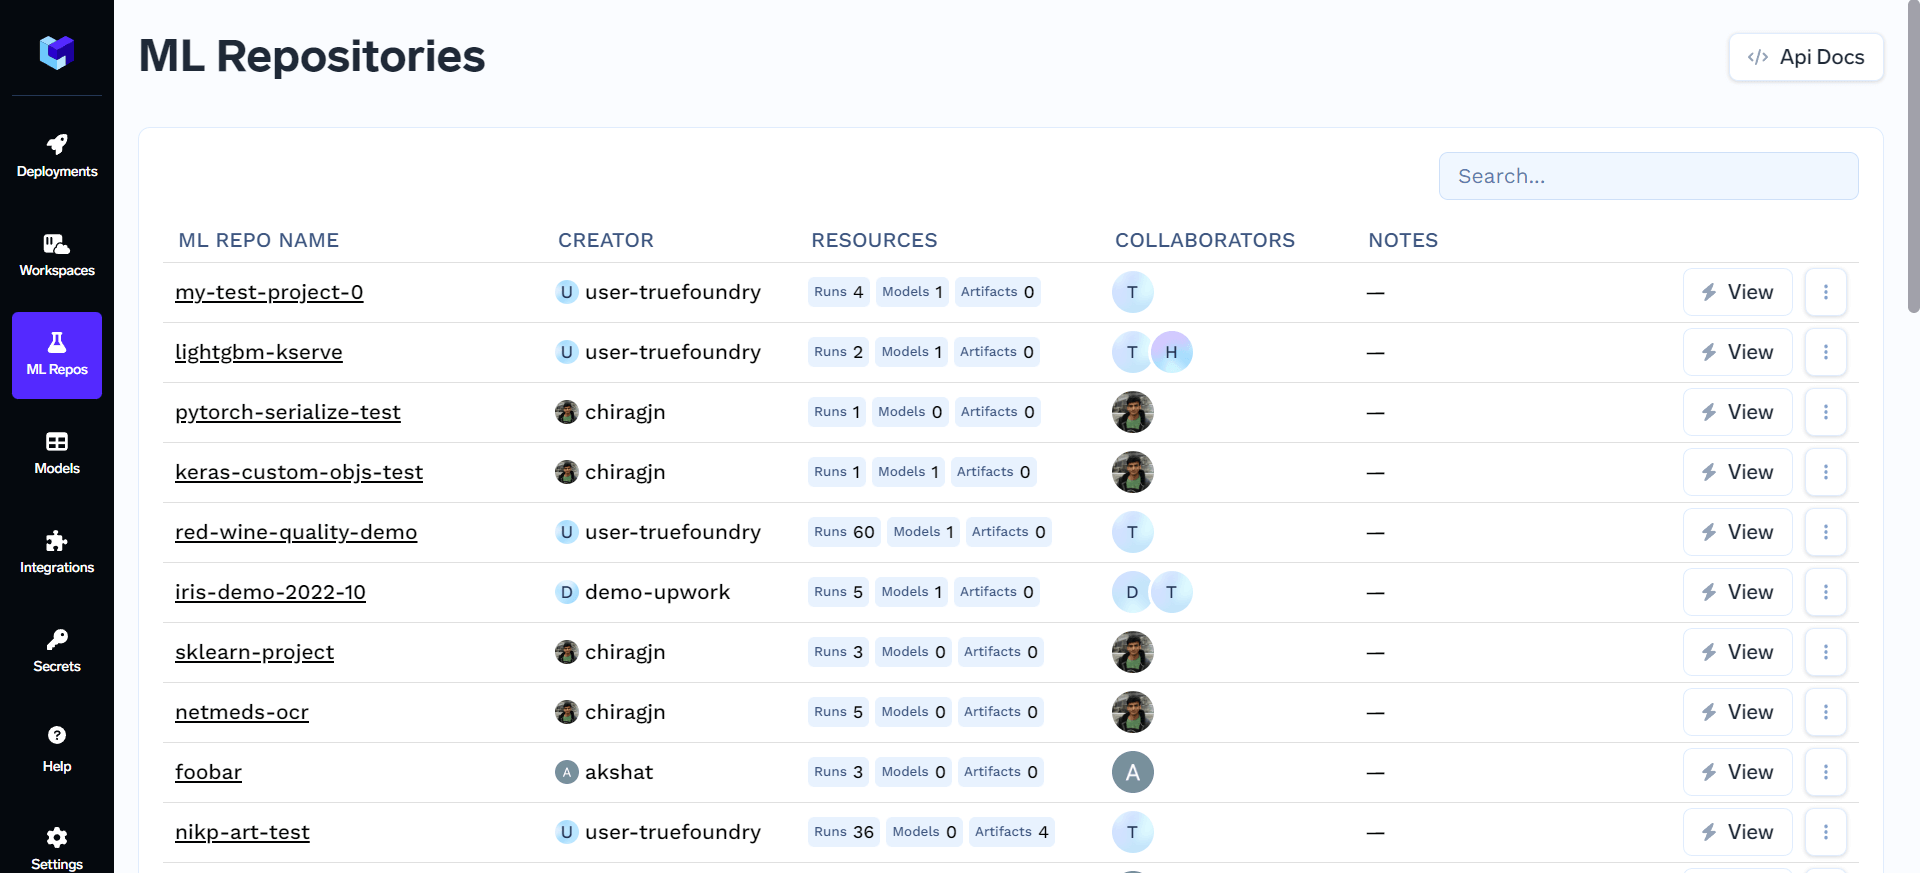
Create a ML Repo
ML Repositories are backed by a blob storage. So, you need to have atleast one blob storage integration to create an ML Repo. You can follow the guides to integrate AWS S3, Google Cloud Storage, Azure Blob Storage or any S3 compatible storage to TrueFoundry.
Setup the TrueFoundry CLI
To get started, we need to have the truefoundry library installed. You can install it following the instructions in the CLI Setup docs.Add Log Lines to your code
You can use the code below to create a run, log metrics and parameters and then finally end the run.Python
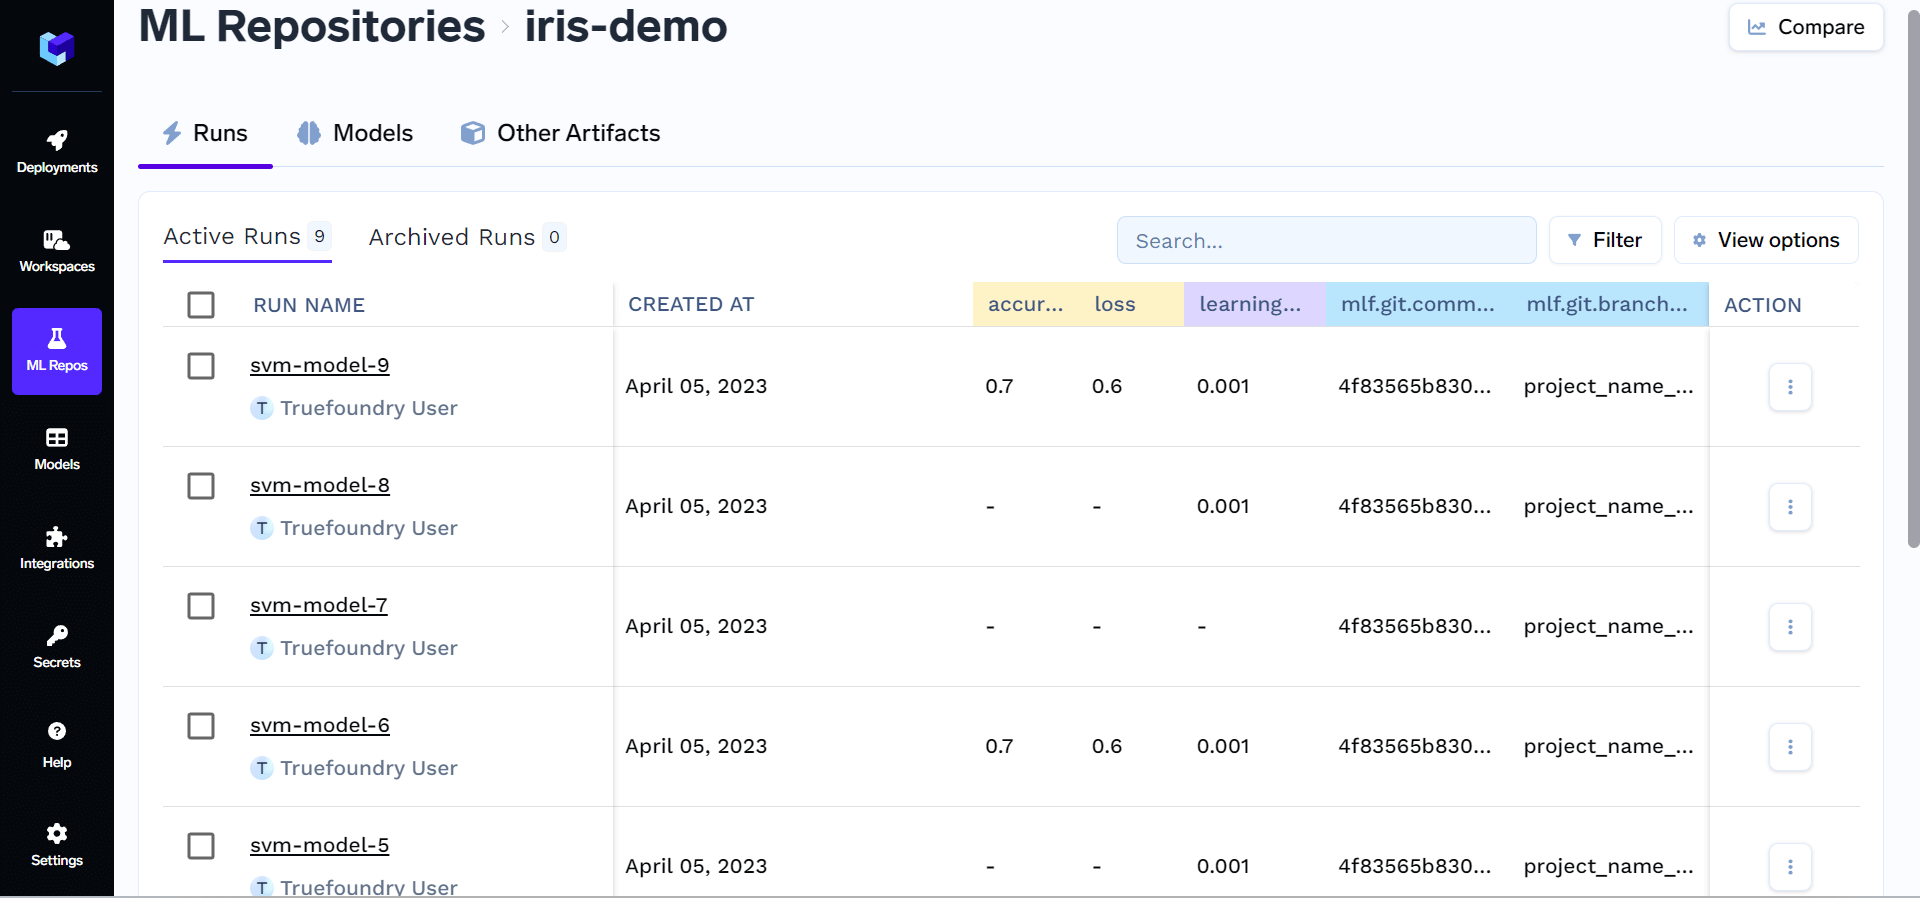
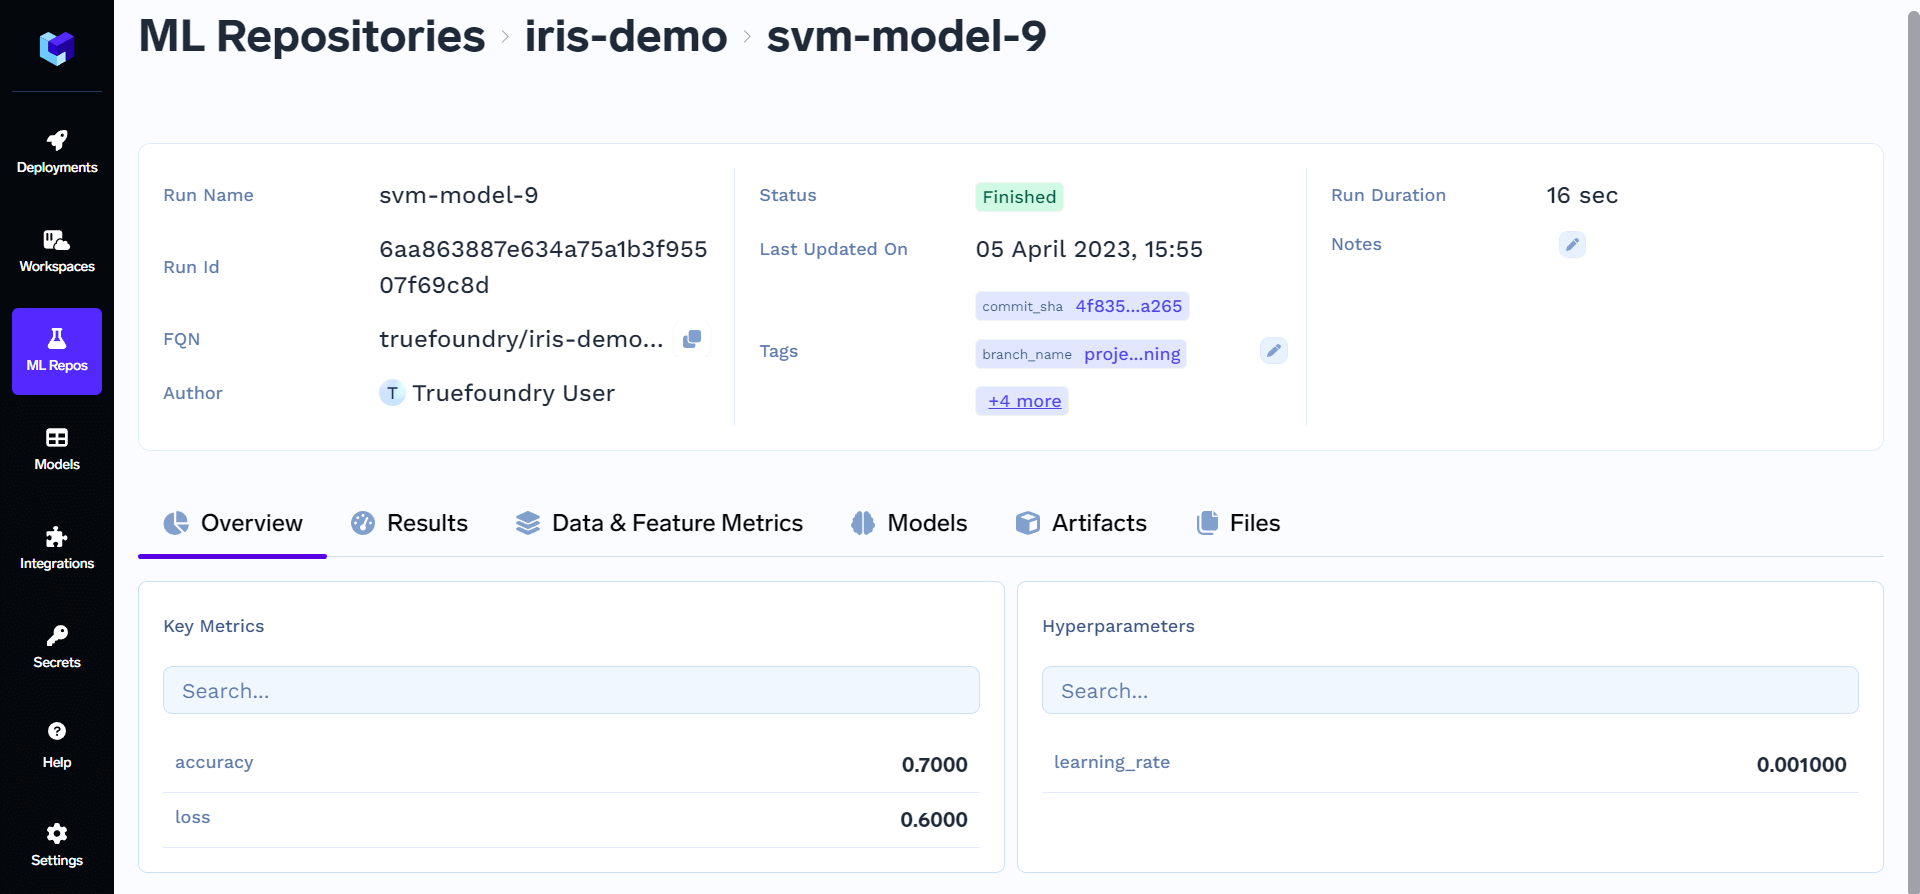
Create and end a run
Create and end a run
Python
Add tags to a run
Add tags to a run
Log parameters
Log parameters
Log metrics
Log metrics
Log Artifacts
Log Artifacts
Log Models
Log Models