LoadBalancer. This is fundamentally an ingress gateway which automatically brings up the load balancer in the respective cloud provider.
Istio is currently mandatory for the Truefoundry components to work. We will be adding support for other ingress controllers in the future.

Getting the load balancer IP address
Using the below command you can get the load balancer IP address. You need to point this IP address to your domain in your DNS provider as an A record. For AWS - this will be a CNAME record.Modifying your load balancer configuration
Below are the condiguration for the loadbalancers for the different cloud providers.- AWS
- GCP
- Azure
- On-Prem
Below are the various load balancer types that are supported for AWS.
To add multiple domains to the load Balancer, just add it in the hosts section. You can also use
AWS Network Load Balancer
AWS Network Load Balancer
By default, the istio gateway creates a network load balancer for the ingress traffic. Functionality of the load balancer can be modified using the NLB annotations listed hereDefault annotations for the NLB are as follows:To add multiple domains to the load Balancer, just add it in the hosts section. You can also use
Making the load balancer internal
To make the load balancer internal, add the following annotation:Restricting the access to the load balancer to a specific IP address
To restrict the access to the load balancer to a specific IP address, add the following annotation:Adding multiple certificates to the load balancer
To add multiple certificates to the load balancer, add the following annotation:* to match all subdomains.AWS Application Load Balancer
AWS Application Load Balancer
To use an application load balancer for the ingress traffic, make the following changes in the tfy-istio-ingress helm chart values. Ensure you have replaced cluster name, load balancer name, certificate arn and ingress class name is
alb. Functionality of the load balancer can be modified using the ALB annotations listed hereMaking the load balancer internal
To make the load balancer internal, add the following annotation:Restricting the access to the load balancer to a specific IP address
To restrict the access to the load balancer to a specific IP address, add the following annotation:Adding multiple certificates to the load balancer
To add multiple certificates to the load balancer, add the following annotation:* to match all subdomains.Adding base domain to the TrueFoundry platform
If you want to add the base domain(s) to the TrueFoundry platform to expose your services via your domain, you can do so by editing theCluster Page from the Platform section and adding the domain in the Base Domain URLs field. You can also add multiple domains.
Adding base domain for workbench config
Adding base domain for workbench config
If you want to use notebooks and SSH servers, you need to add the domain URL for them in the cluster’s page by enabling workbench config toggle.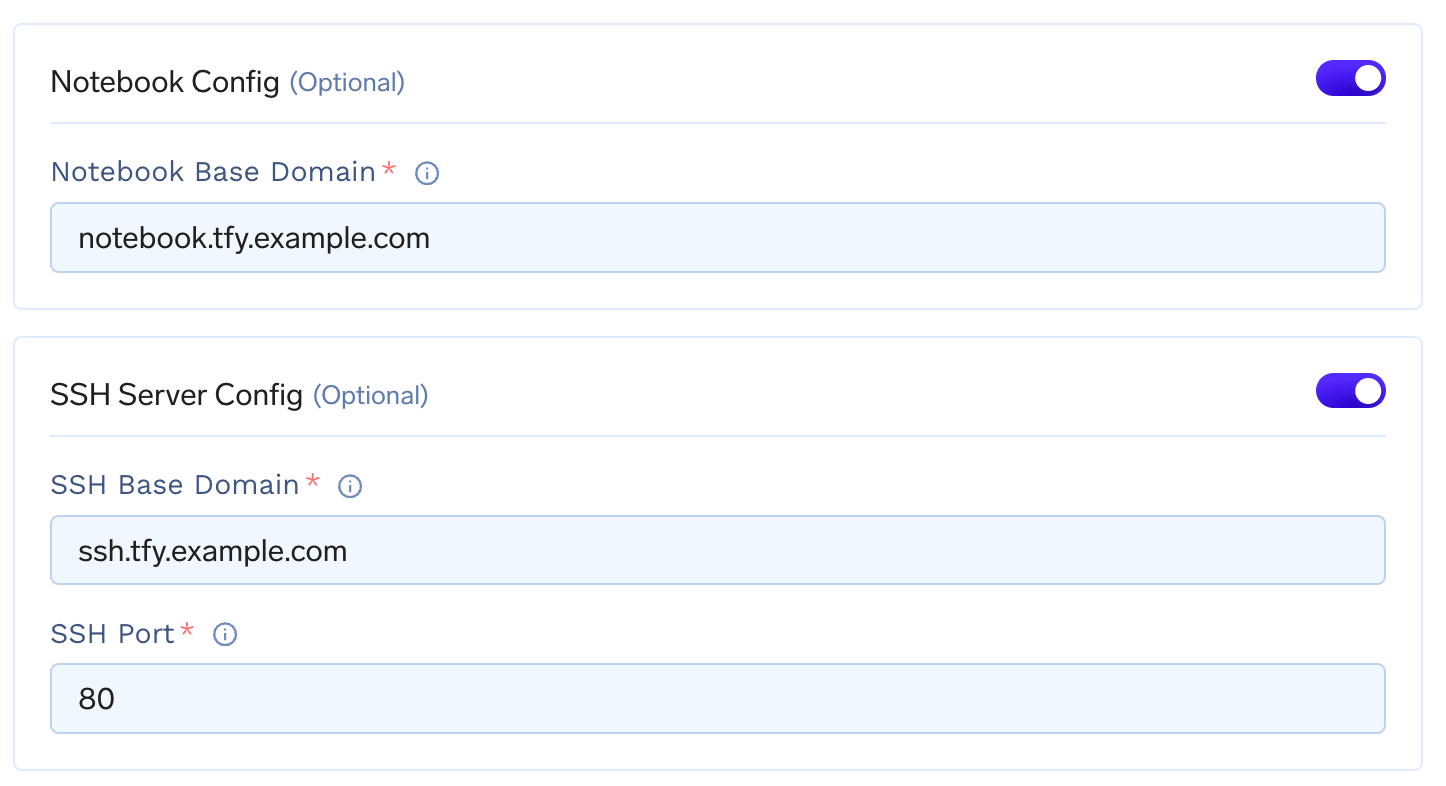
notebook.tfy.example.com and ssh.tfy.example.com with port 80 if *.tfy.example.com is your base domain. Feel free to customize the domain names as per your needs.Adding base domain for spark
Adding base domain for spark
If you want to expose your spark job, you need to add the domain URL in the cluster’s page by enabling spark config toggle.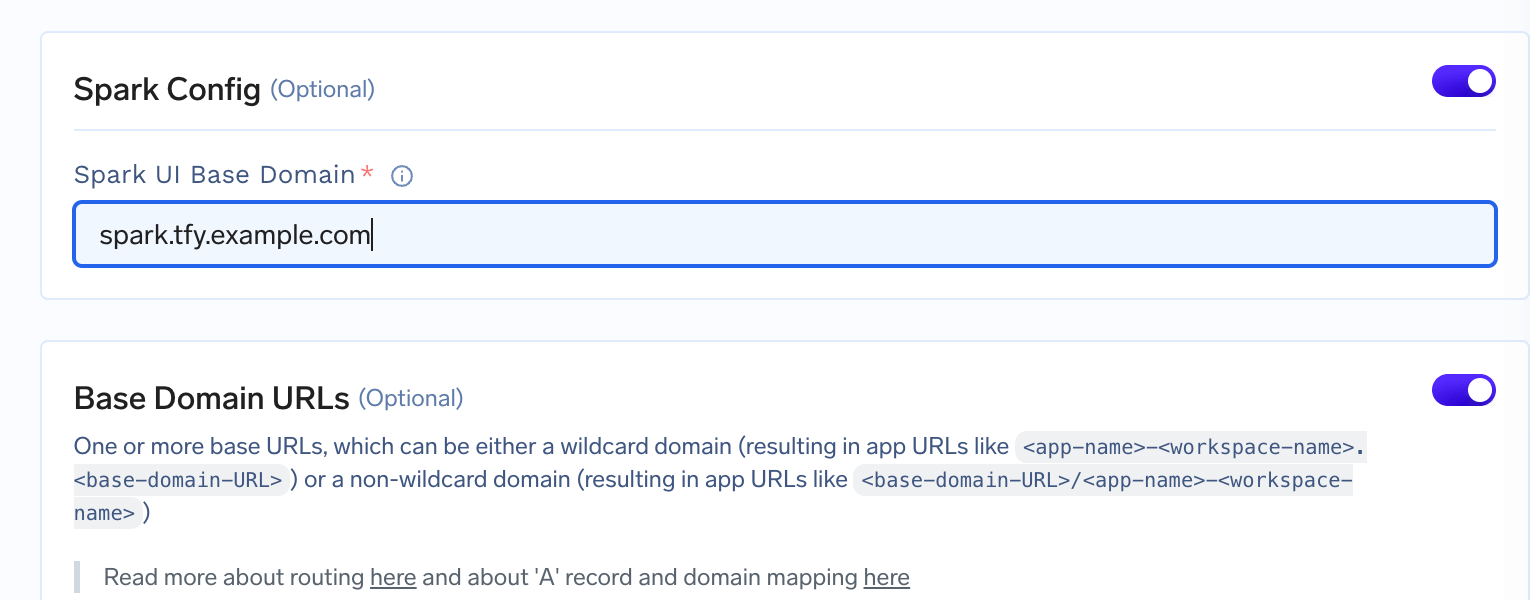
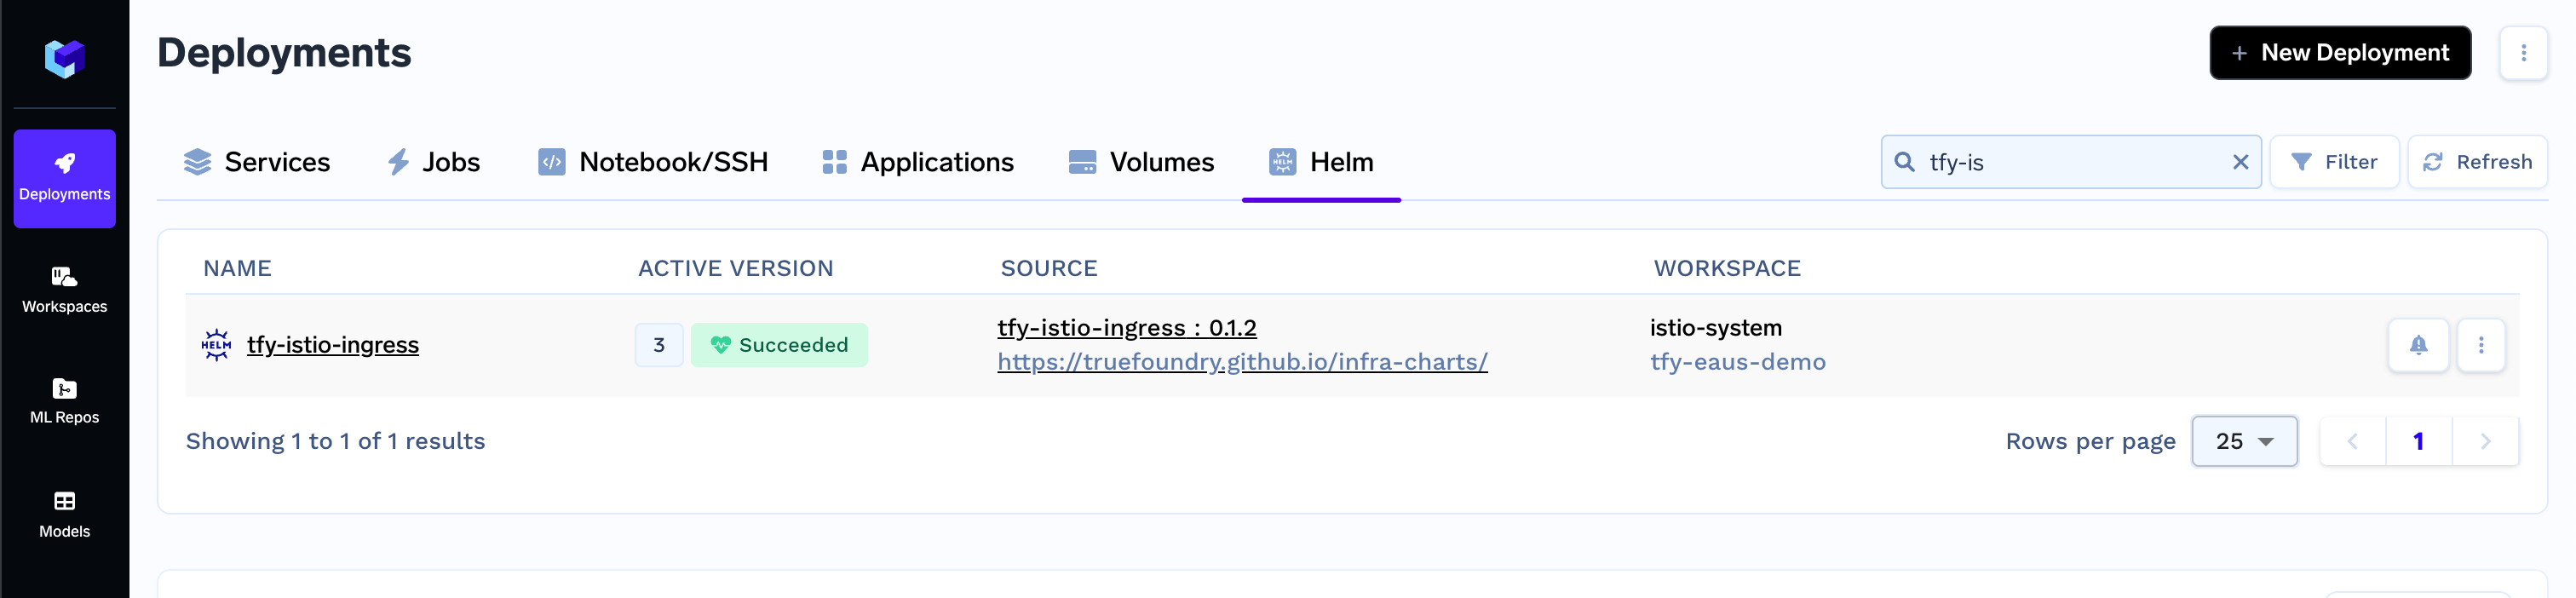
Deploy multiple load balancers
Each installation oftfy-istio-ingress creates a load balancer. If you want to deploy multiple multiple load-balancers, for e.g. one internal and one external, you can clone the current tfy-istio-ingress application in the same namespace istio-system, change the tfyGateway.Name to something else other then default tfy-wildcard and update the tfyGateway.spec.Selector with the new name of the application.
For e.g. if you clone the tfy-istio-ingress a new application with the name tfy-istio-ingress-1 will be created , update the tfyGateway.Name to a new name and the tfyGateway.spec.Selector to
Add authentication to all services behind a load balancer
We can configure Istio to apply authentication at a gateway level. This will work only if you are accessing the service using the DNS provided in Istio and not access the service directly from within the cluster. This process is a bit complicated, and you should only do this if you really want to enable authentication at an istio gateway level.Istio will validate if the JWT is valid. If not valid, it will return an Unauthorized Error.
-
Create a RequestAuthentication resource to ensure that the JWT issuer and Audience are correct.
- Authentication will be only done if there is an Authorization header. This is pass-through if no Authorization header is present in the Request or it gets an empty string after removing the prefix.
- Create an AuthorizationPolicy that will reject any requests with an empty JWT.