GCP Post Cluster Configurations
Once your cluster is configured following steps needs to be done.
Creating record for your load balancer
Once all the applications are created and the cluster is connected in the control plane, the endpoint where the applications are to be served must resolve to the endpoint of the load balancer's hostname. To get the load balancer's hostname run the following command
kubectl get svc -n istio-system tfy-istio-ingress -ojsonpath='{.status.loadBalancer.ingress[0].ip}'Once you get the hostname you can create a CNAME record with the address of your endpoint to the load balancer's address. For .e.g If you want your applications to host at *.apps.example.com, then create a CNAME record in your DNS provider resolving *.apps.example.com to the load balancer's hostname from the above command. You can keep the TTL to1m or 60 seconds.
Once it is done you can use the following command to check if the CNAME record is correct or not
dig -t CNAME +short something.apps.example.comOnce done you can add the Base domain URL in the Integrations tab by editing the cluster
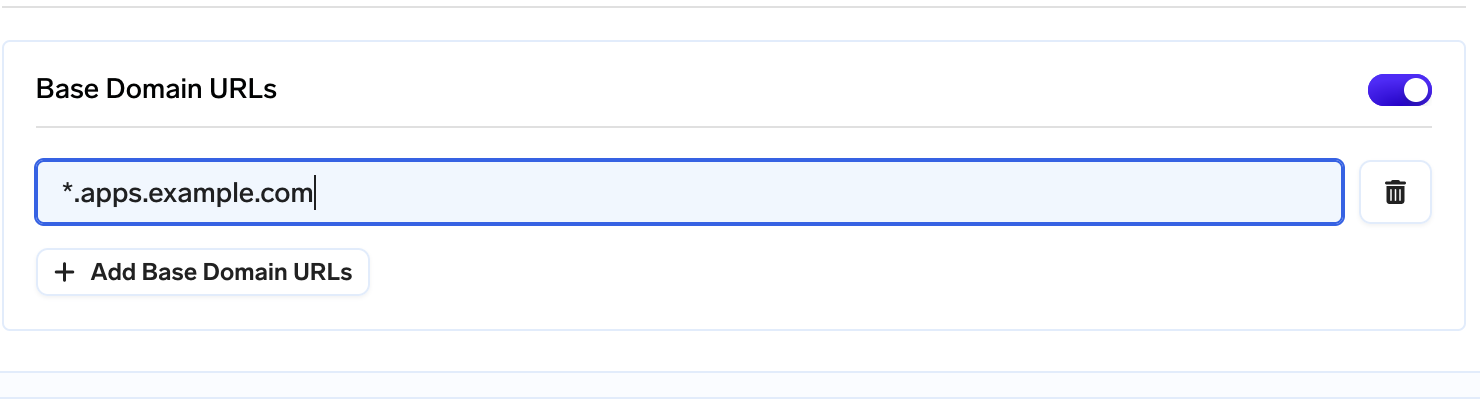
Adding base domain URL
Attaching a blob storage
Google Cloud Storage is a scalable and durable object storage service provided by Google Cloud Platform (GCP). It offers secure, cost-effective storage solutions for various data types, enabling seamless integration with GCP services. Users can store and retrieve data globally, while its flexibility and advanced features facilitate efficient data management and distribution.
Attaching Blob storage to Truefoundry's control plane
- Create a GCP bucket.
- Make sure to add the lifecycle configurations on the bucket to delete multipart upload after 7 days.
- For this go to GCP bucket -> Lifecycle -> Add a rule
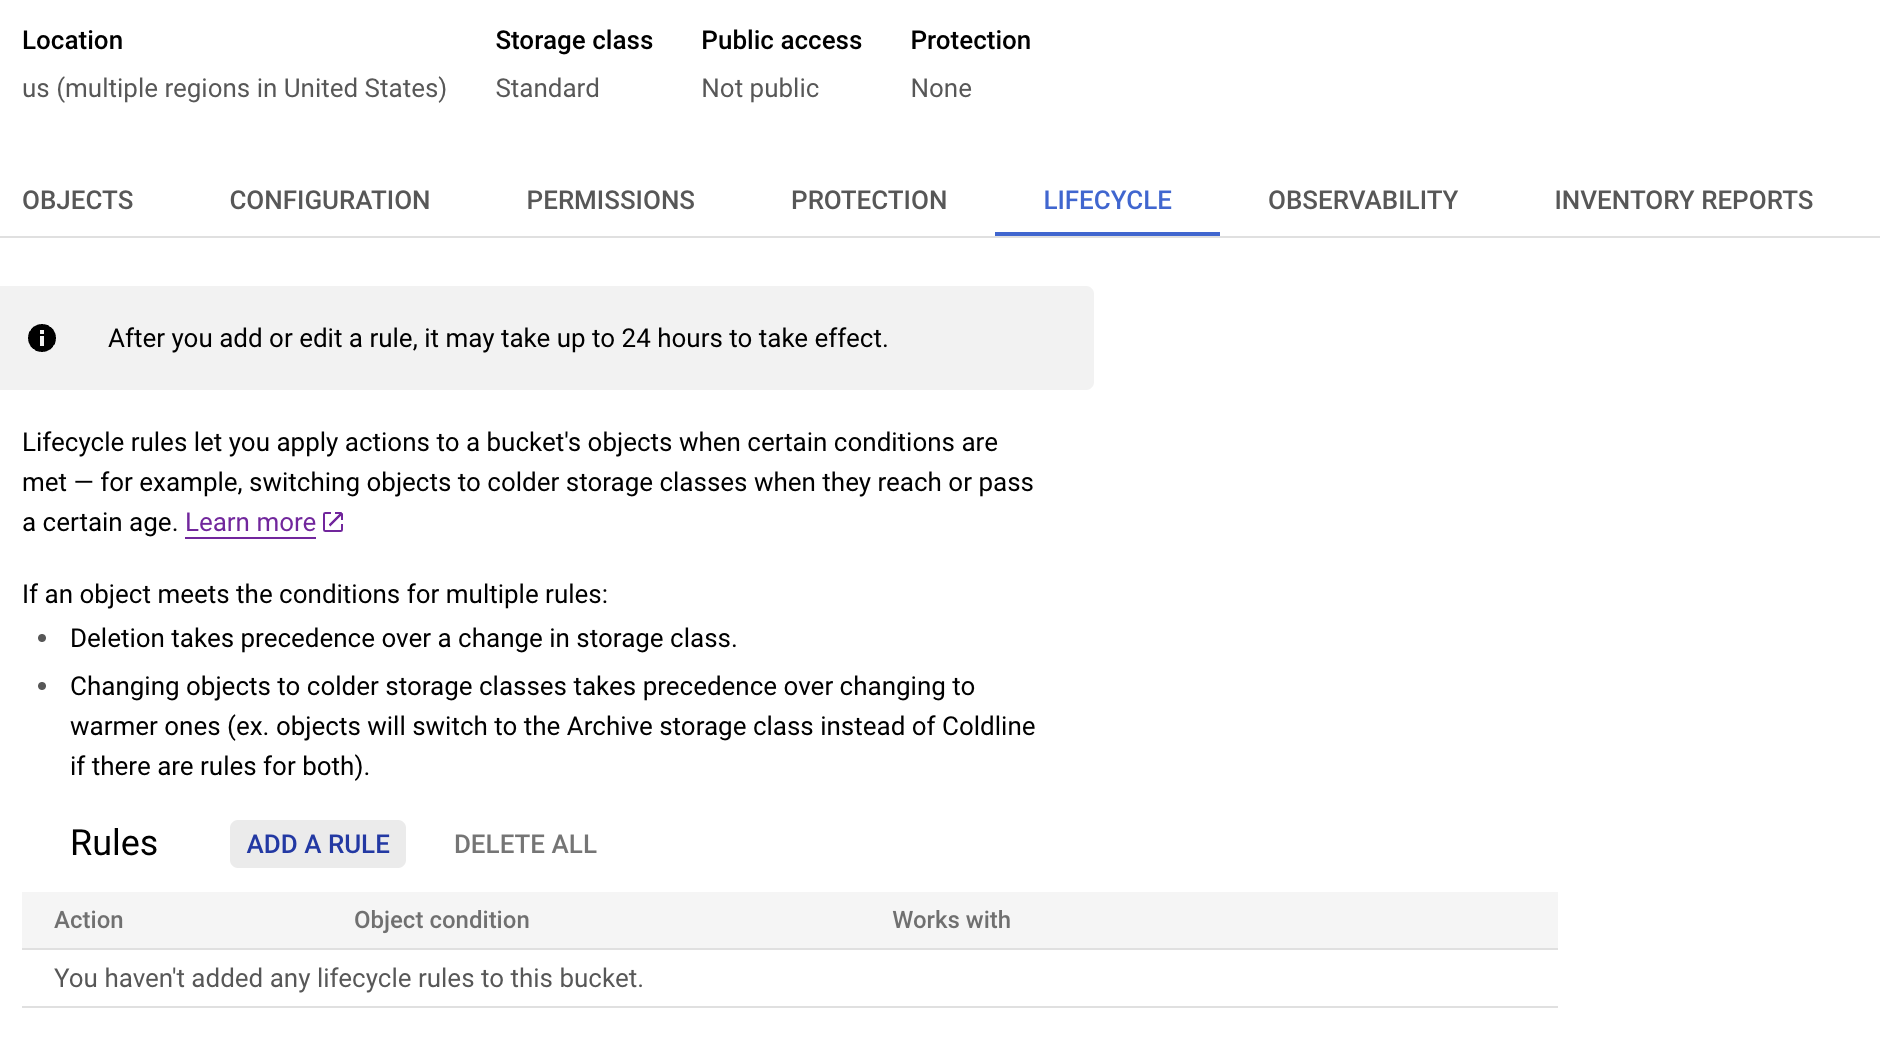
Lifecycle rule on GCP bucket
Select Delete multi-part upload for 7 days
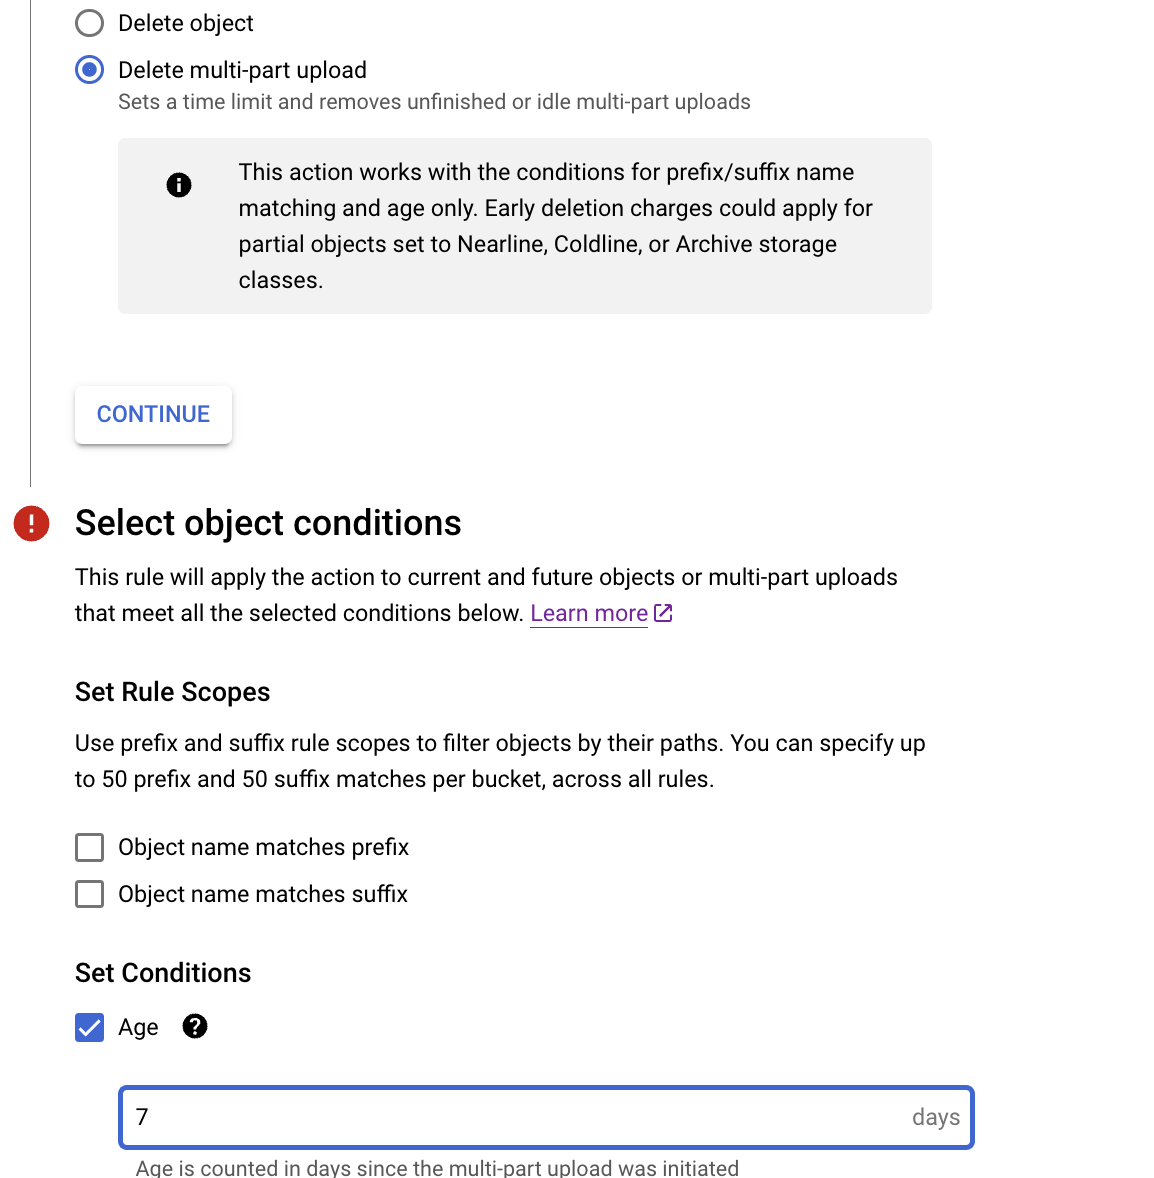
Delete multipart upload
We also need to add CORS policy to the GCP bucket. Right now adding the CORS policy to the GCP bucket is not possible through the console so for this we will use
- Create a file called
cors.jsonusing the below commandcat > cors.json <<EOF [ { "origin": ["*"], "method": ["GET", "POST", "PUT"], "maxAgeSeconds": 3600 } ] EOF- Attach the above CORS policy to the serviceaccount by running the following command using gsutils
gsutil cors set cors.json gs://BUCKET_NAME
- Attach the above CORS policy to the serviceaccount by running the following command using gsutils
- Create an IAM serviceaccount, if not created before.
- Attach IAM role of Storage Admin to the bucket create above.
- Once the IAM serviceaccount is created, make sure to create a key in JSON format.
- Once this is done, head over to Integrations tab and then click Connect Storage.
- Fill in the details
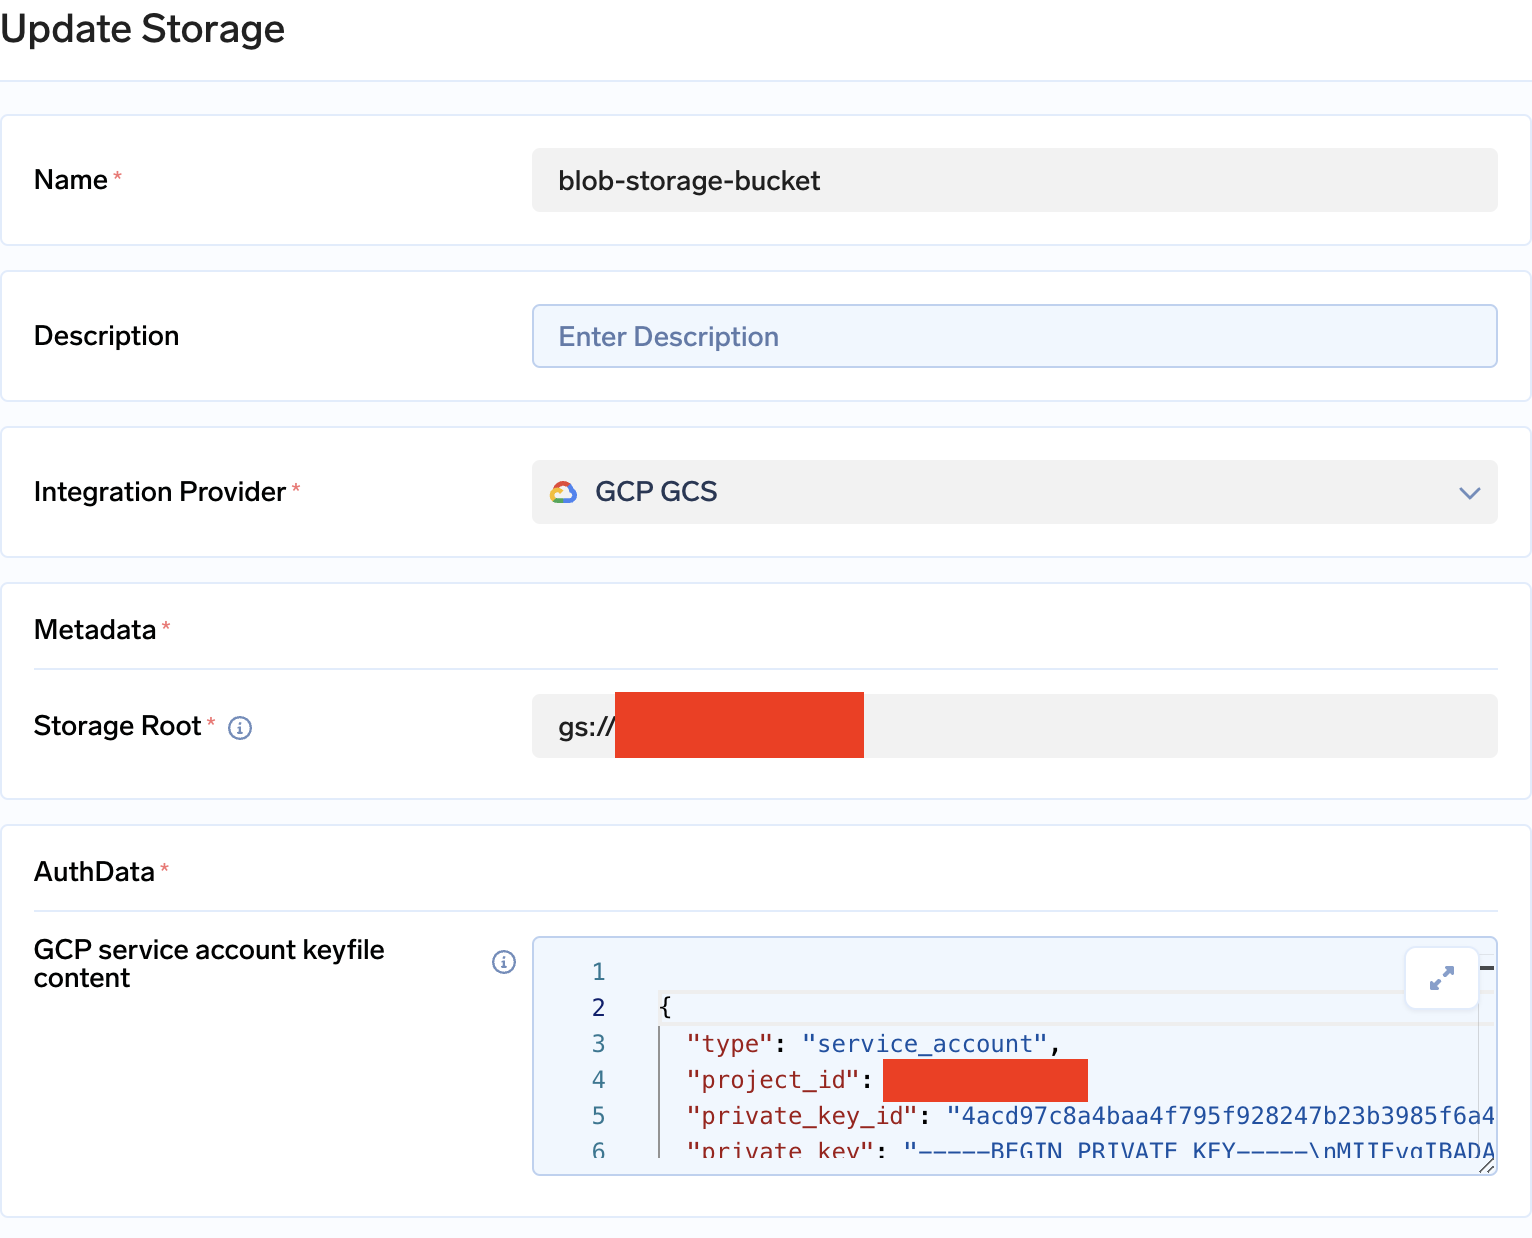
Adding GCP bucket
Google Secrets Manager
Google Cloud Platform's (GCP) Secret Manager (GSM) is a secure and centralized solution for managing sensitive information like API keys, passwords, and certificates. It provides robust access controls, versioning, and audit trails, enhancing security and simplifying secret management across GCP services, applications, and infrastructure.
Attaching Google Secrets Manager
- Create an IAM serviceaccount, if not created before.
- Attach IAM role of Secret Manager Admin to the bucket create above.
- Once the IAM serviceaccount is created, make sure to create a key in JSON format.
- Go to Integrations tab in the control plane and click on Connect Secret Store. Paste the GCP serviceaccount keyfile.
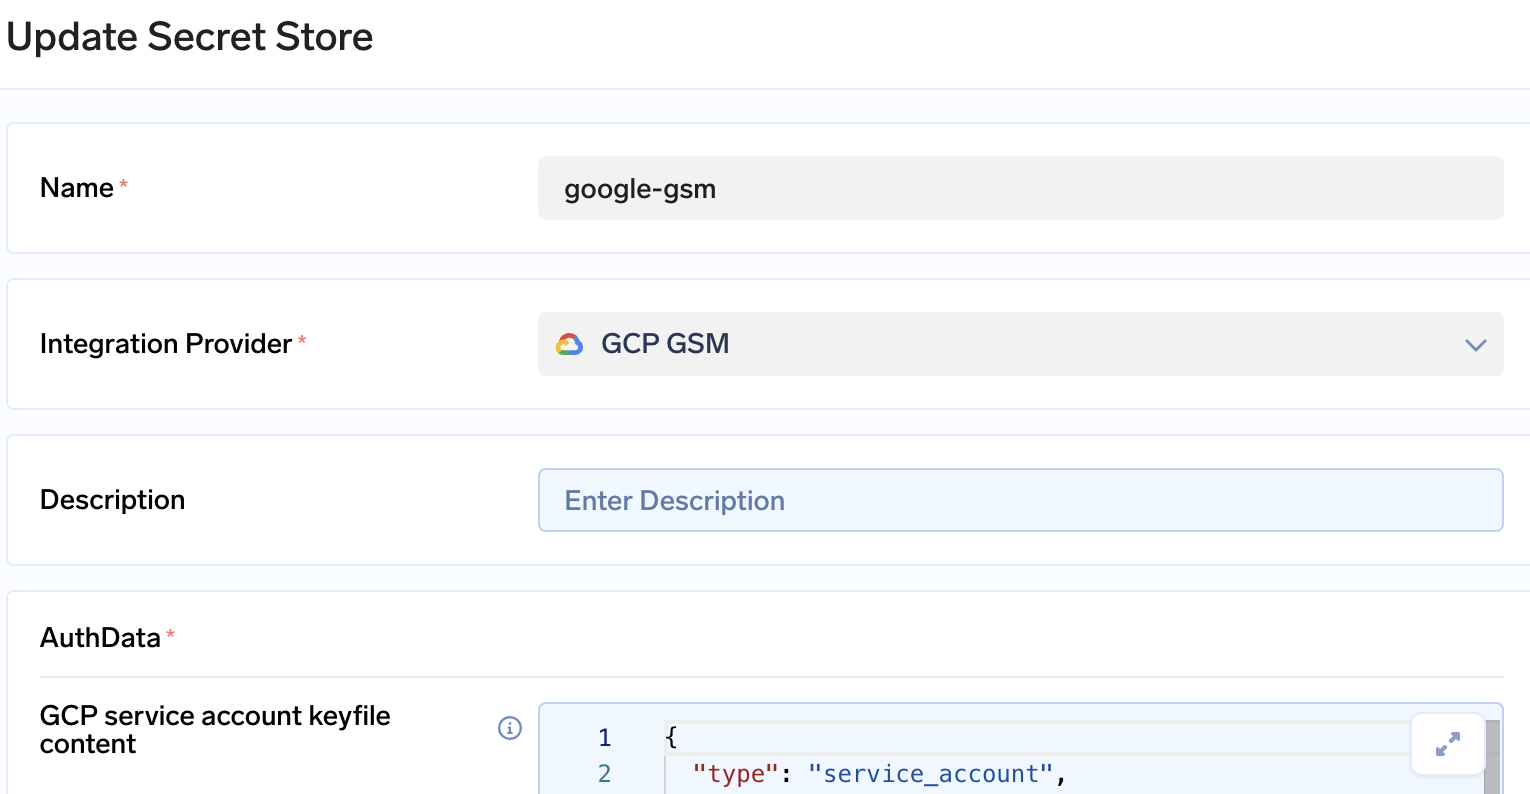
GCP GSM
Artifact registry
Google Artifact Registry is a developer-friendly, scalable solution within Google Cloud Platform for managing container images and software packages. It provides a secure and centralized repository, facilitating versioning, distribution, and access control. By seamlessly integrating with DevOps tools, it enhances software development and deployment processes.
Attaching Artifact registry
- Create an IAM serviceaccount, if not created before.
- Attach IAM role of
- Artifact Registry Administrator
- Service Account Token Creator
- Once the IAM serviceaccount is created, make sure to create a key in JSON format.
- You can also use the above serviceaccount and add some permissions to this IAM role
- Attach IAM role of
- Go to Integrations tab in the control plane and click on Connect Secret Store. Paste the GCP serviceaccount keyfile.
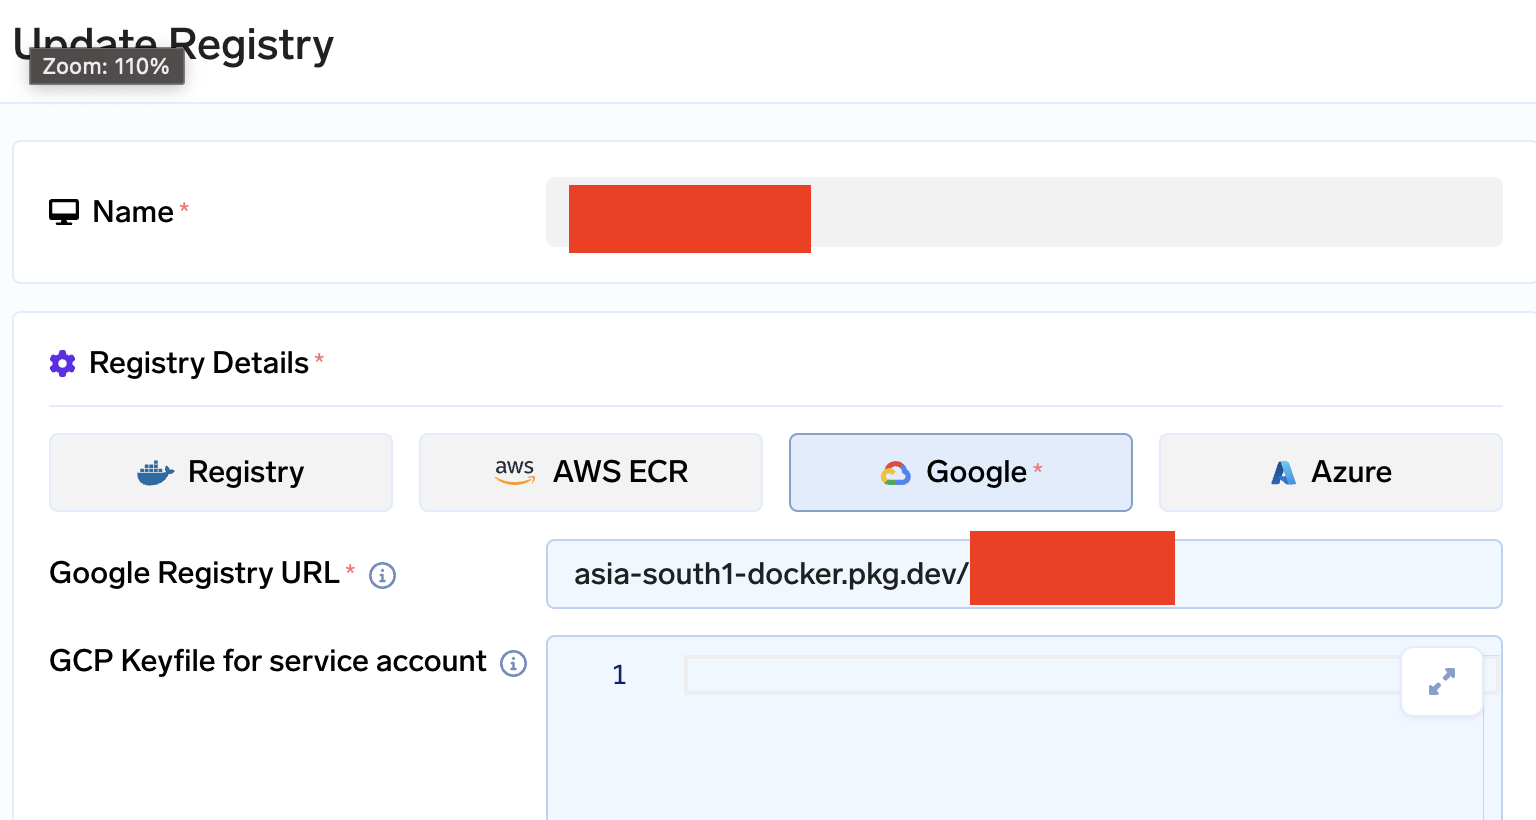
GCP Artifact registry
Cloud integration
We also need read only access to the cluster so that we can check if there are any custom node pools that are attached to the cluster. For this below permissions can be attached
roles/container.clusterViewer
roles/container.viewer
Updated 3 months ago