Deploy Service from a public Github repository
In this guide, we'll deploy a FastAPI service for solving the Iris classification problem. This problem involves predicting the species of an iris flower based on its sepal length, sepal width, petal length, and petal width. There are three species: Iris setosa, Iris versicolor, and Iris virginica.

Project Setup
We've already created a FastAPI service for the Iris classification problem, and you can find the code in our GitHub Repository.
Please visit the repository to familiarize yourself with the code you'll be deploying.
Project Structure
The project files are organized as follows:
.
├── app.py - Contains FastAPI code for inference.
├── iris_classifier.joblib - The model file.
└── requirements.txt - Lists dependencies.
All these files are located in the same directory.
Prerequisties
Before you proceed with the guide, please ensure that you have setup a Workspace. To deploy your service, you'll need a workspace. If you don't have one, you can create it using this guide: Creating a Workspace or seek assistance from your cluster administrator.
Initiating Deployment via UI
Use these configs for the deployment form:
- Repo URL: https://github.com/truefoundry/getting-started-examples
- Path to build context: ./deploy-ml-model/
- Command: uvicorn app:app --host 0.0.0.0 --port 8000
- Port: 8000
What we did above:
In the example above, we only had Python code and a requirements.txt. We didn't have a prewritten docker file - so we chose the Python Code option - to let Truefoundry templatize a Dockerfile from the details provided about the application and build the Docker image for us.
We give these details in the Build context field, where we specify the directory in the GitHub repository where our service code resides (
./deploy-ml-model/). We also specify the command that we need to use to run our service (uvicorn app:app --host 0.0.0.0 --port 8000).Finally, we specify the port that we want our service to listen on (
8000).
View your deployed service
Once you click Submit, your deployment will be successful in a few seconds, and your service will be displayed as active (green), indicating that it's up and running.
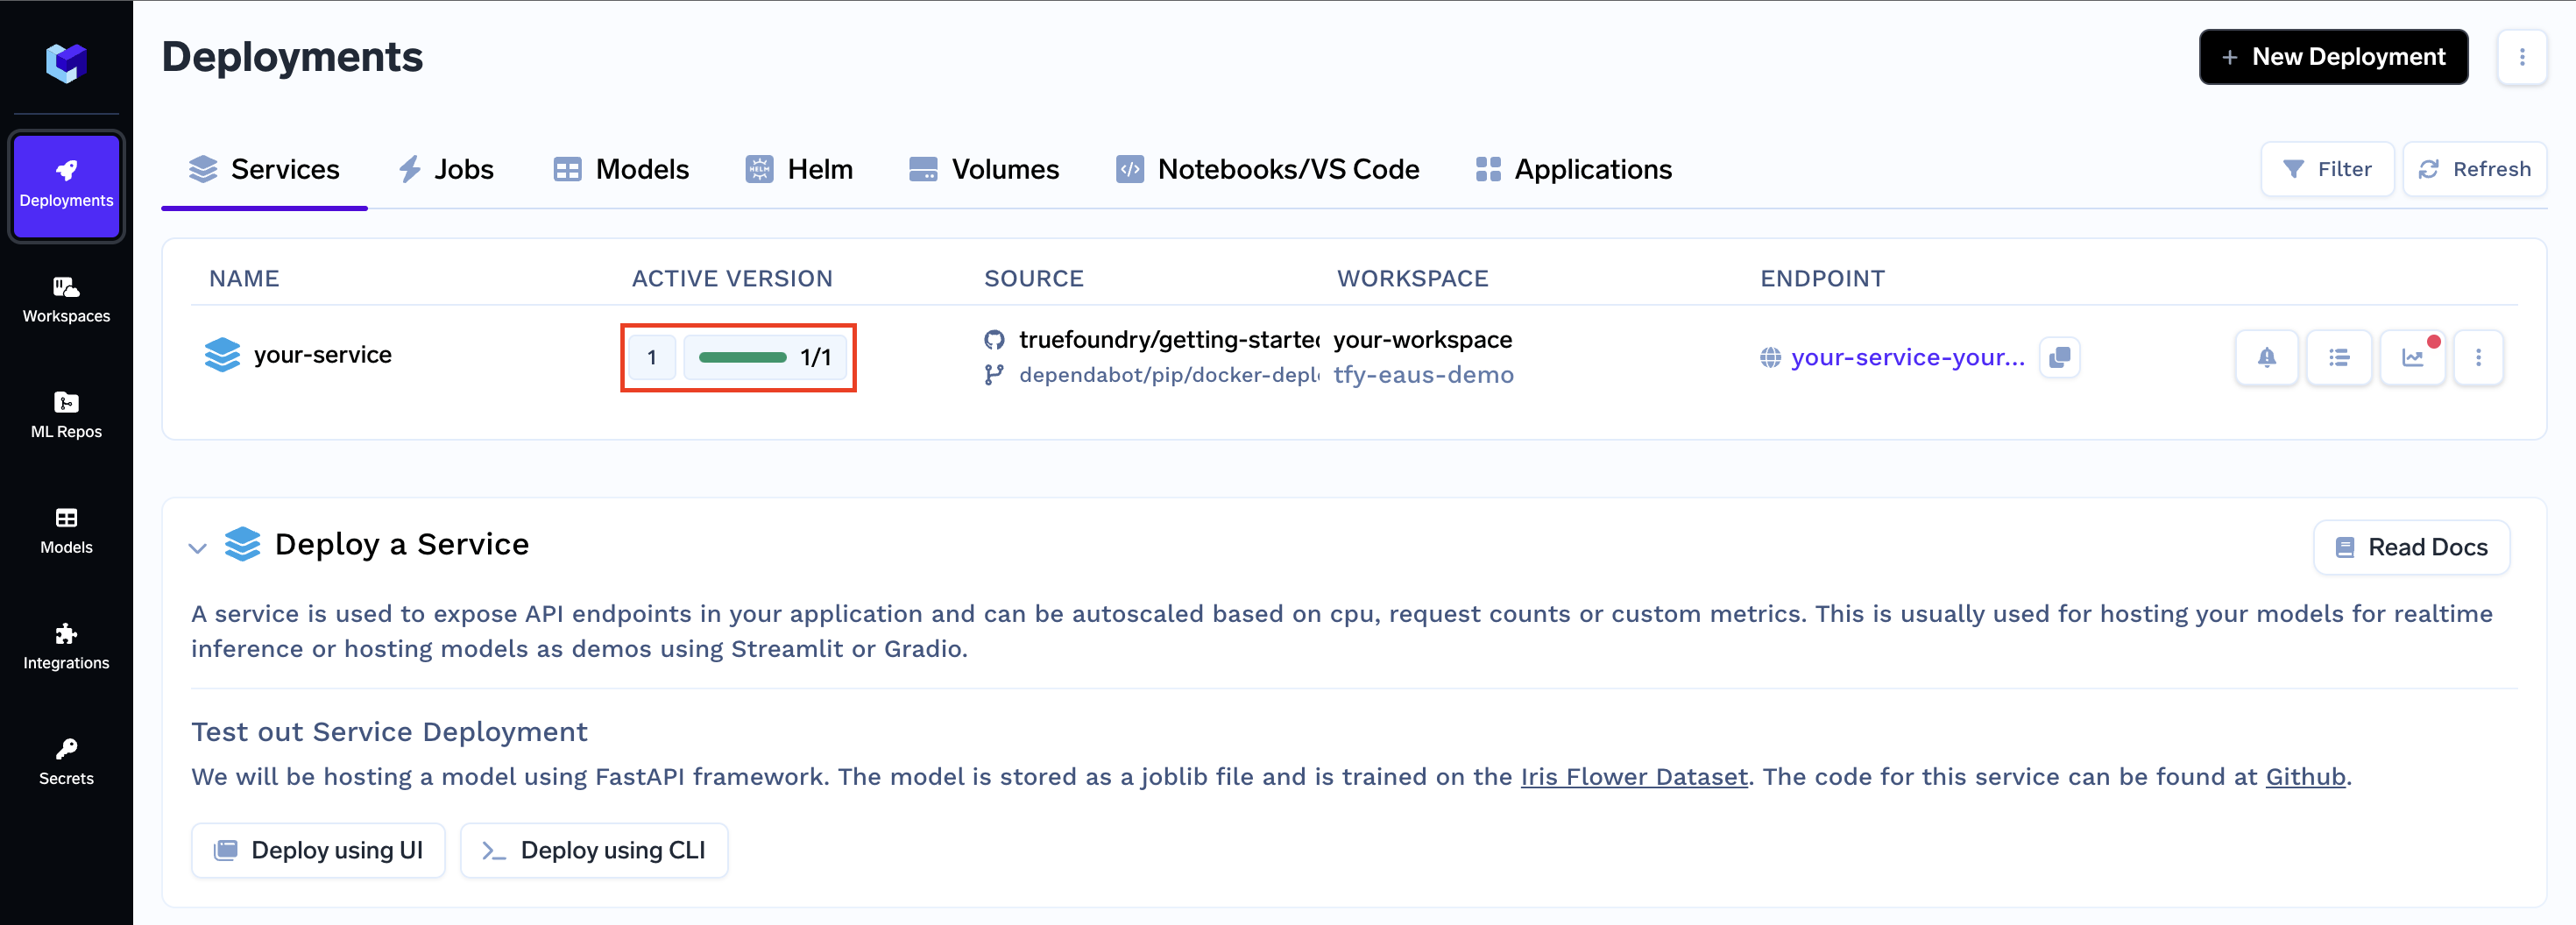
Congratulations! You've successfully deployed your FastAPI service.
To learn how to use your service-specific dashboard and send requests to your service, check out this guide:
Interacting with your Service
Updated 3 months ago