Hosted Notebooks and VSCode FAQs
Do I create a separate VS Code Server per user?
Yes, typically, we recommend setting up a separate VS Code server for each user. Users can stop their instance when not in use. You can read this guide in detail to go through the best practices while setting up VSCode server.
Getting an error 'cluster not configured to use ssh server'.How to fix this?
You can visit the Integrations section > Edit the cluster > At the bottom Enable SSH Config
Enter port 80
Enter a host - The host should match your base domain url pattern of the cluster
e.g. ssh-proxy.gcp.smhai.com for *.gcp.smhai.com
How can I access data stored in S3 in my Jupyter Notebooks?
You can enable S3 access through either
- Credential-Based Access through environment variables
- IAM Role-Based Access through Service Account
Read the detailed implementation here
How can I use my own custom images for Notebooks?
- To create a custom image, start by using the TrueFoundry Jupyter Notebook Image as a base. Base docker image details here
- Make necessary changes and push it to your Docker Registry. Ensure it's already integrated.
- Select 'Custom Image' while deploying notebooks and select your image in the docker registry dropdown.
Read the detailed guide here
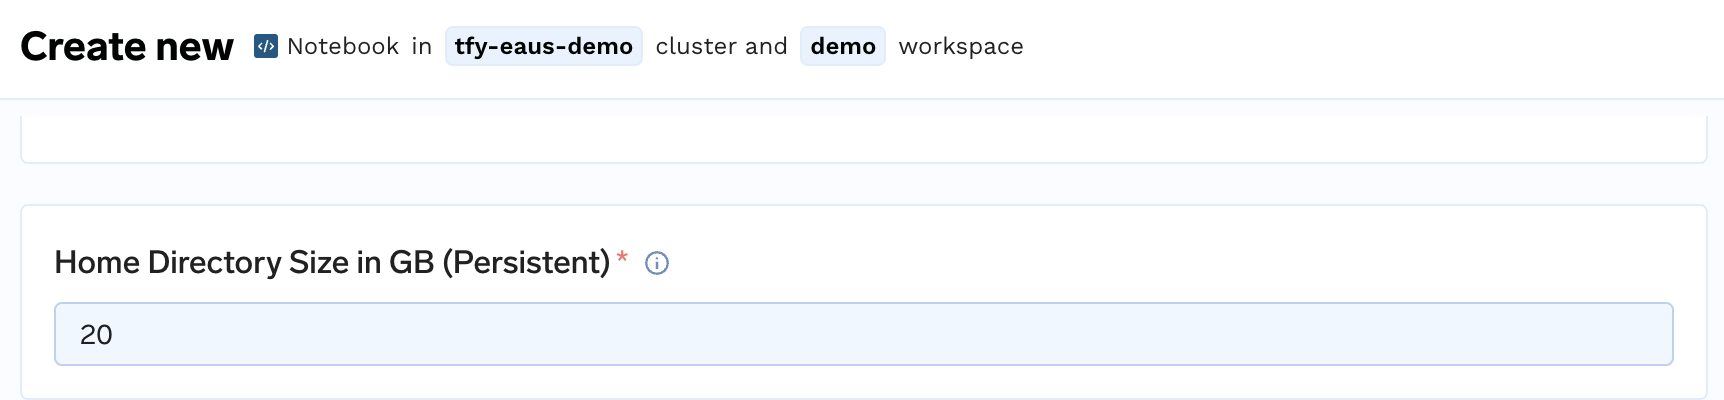
My notebook is running into out of memory error. How do I solve it?
If you are saving large artifacts, such as fine-tuned models, ensure the Home Directory size is set appropriately to avoid notebook launch failures due to insufficient space.
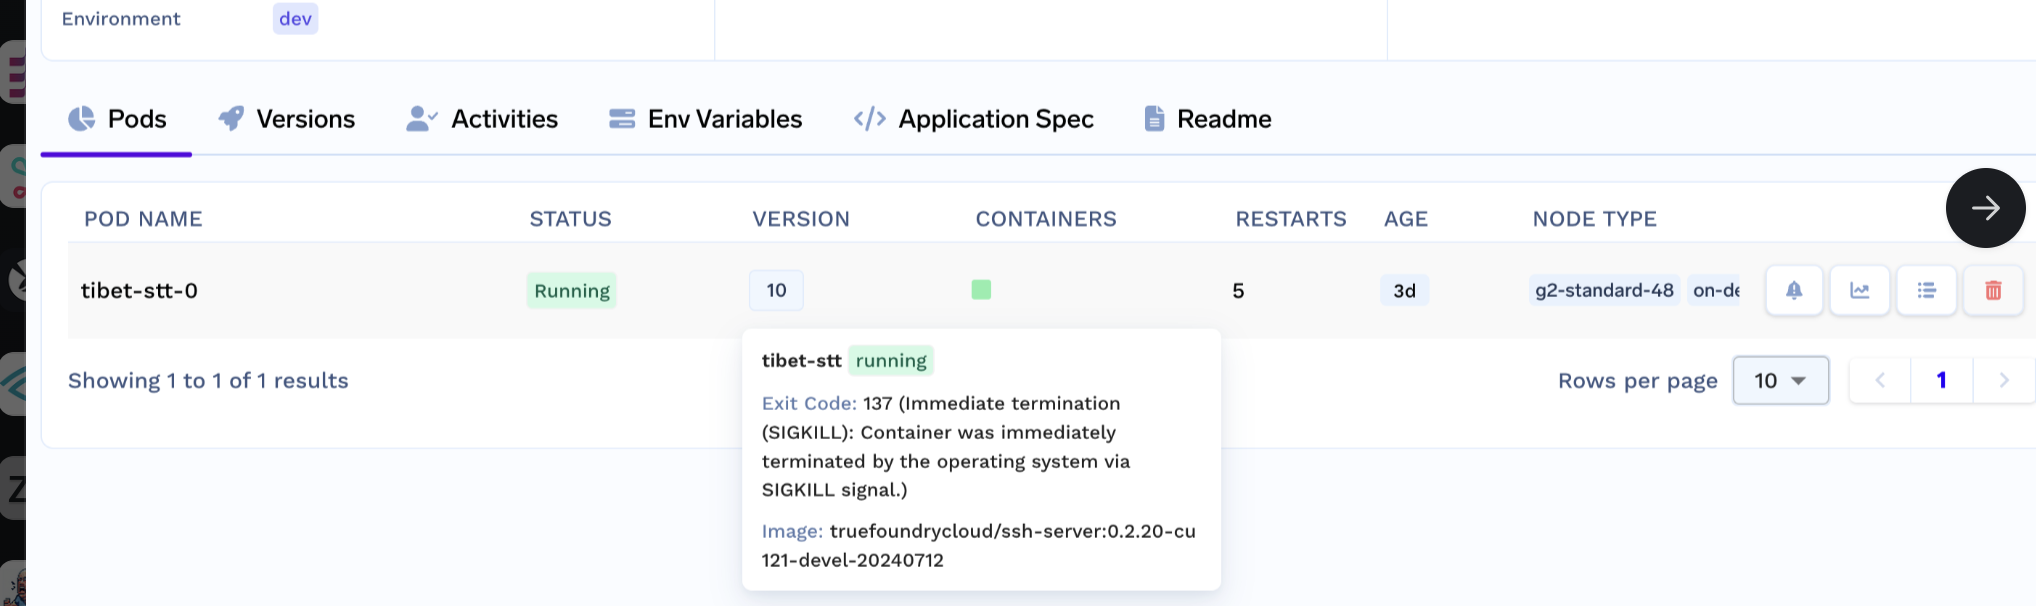
In one of the training runs using SSH, the machine keeps crashing. I suspect it is due to memory issues, how do I debug and fix it?
- In your run details page when you hover over the container, you will see Exit code 137 which indicates that the container was terminated because it ran out of memory (OOM)
- Additionally, you might check in the 'Metrics' section, if there was a memory spike and the the 'Requested' memory was breached.
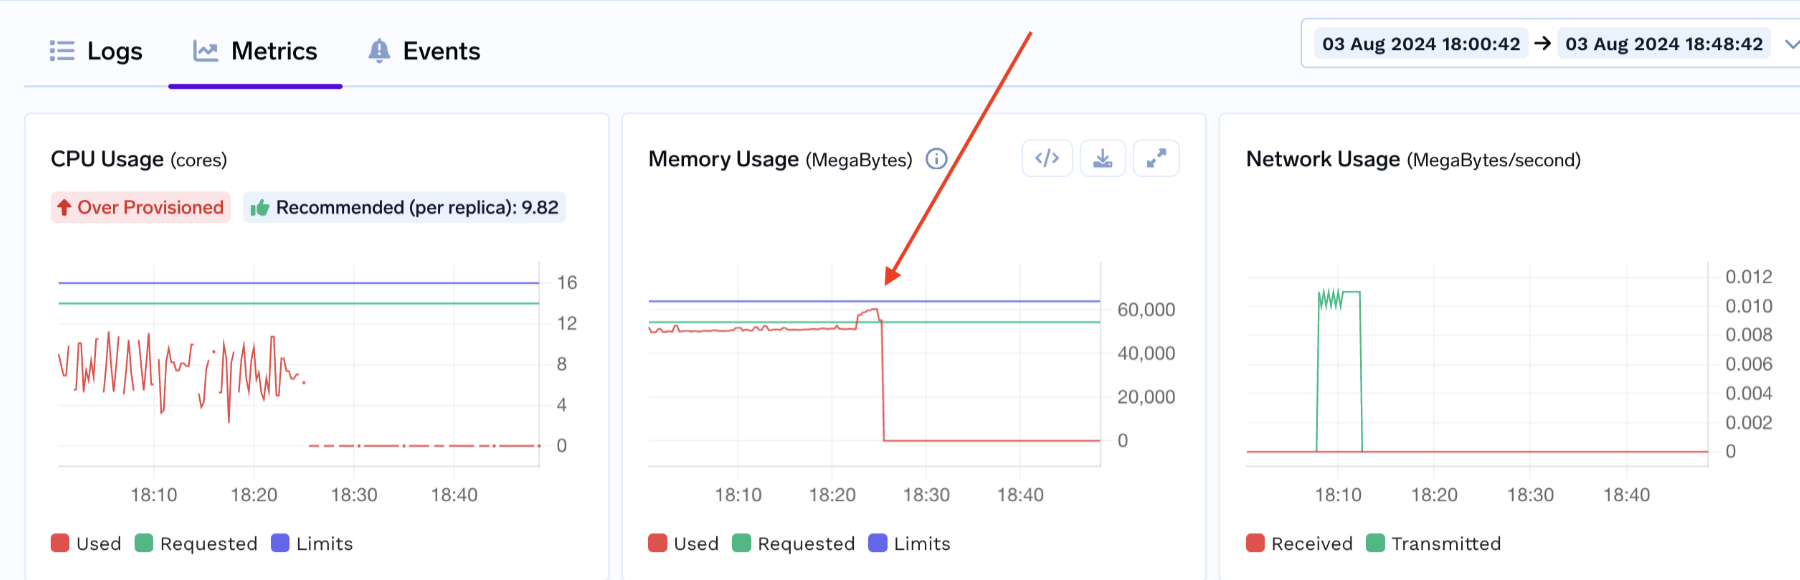
Requested vs. Limit Values:
Requested Value: This is the amount of memory that the container is guaranteed to get. Kubernetes schedules the pod based on this request, ensuring that this much memory is available.
Limit Value: This is the maximum amount of CPU or memory that the container is allowed to use. The container can use resources up to this limit if they are available, but once it reaches this limit, Kubernetes may restrict the usage or, in the case of memory, kill the pod.
Best Practices for Resource Allocation
Avoid setting Requests and Limits the same. Keep the memory “Request” slightly lower than the “Limit” to give the container some buffer for system-level pods and Kubernetes components, which typically require around 800-1000MB of memory and a small amount of CPU.
So a good practice for you will be to put resources like:
cpu:
  request: 15.5
  limit: 16
memory:
  request: 63000
  limit: 64000
Updated about 1 month ago