via Servicefoundry CLI
What you'll learn
- How to Deploy your Training Code as a Job via ServiceFoundry CLI.
- How to add Params configuration to your Jobs for ease of experimentation
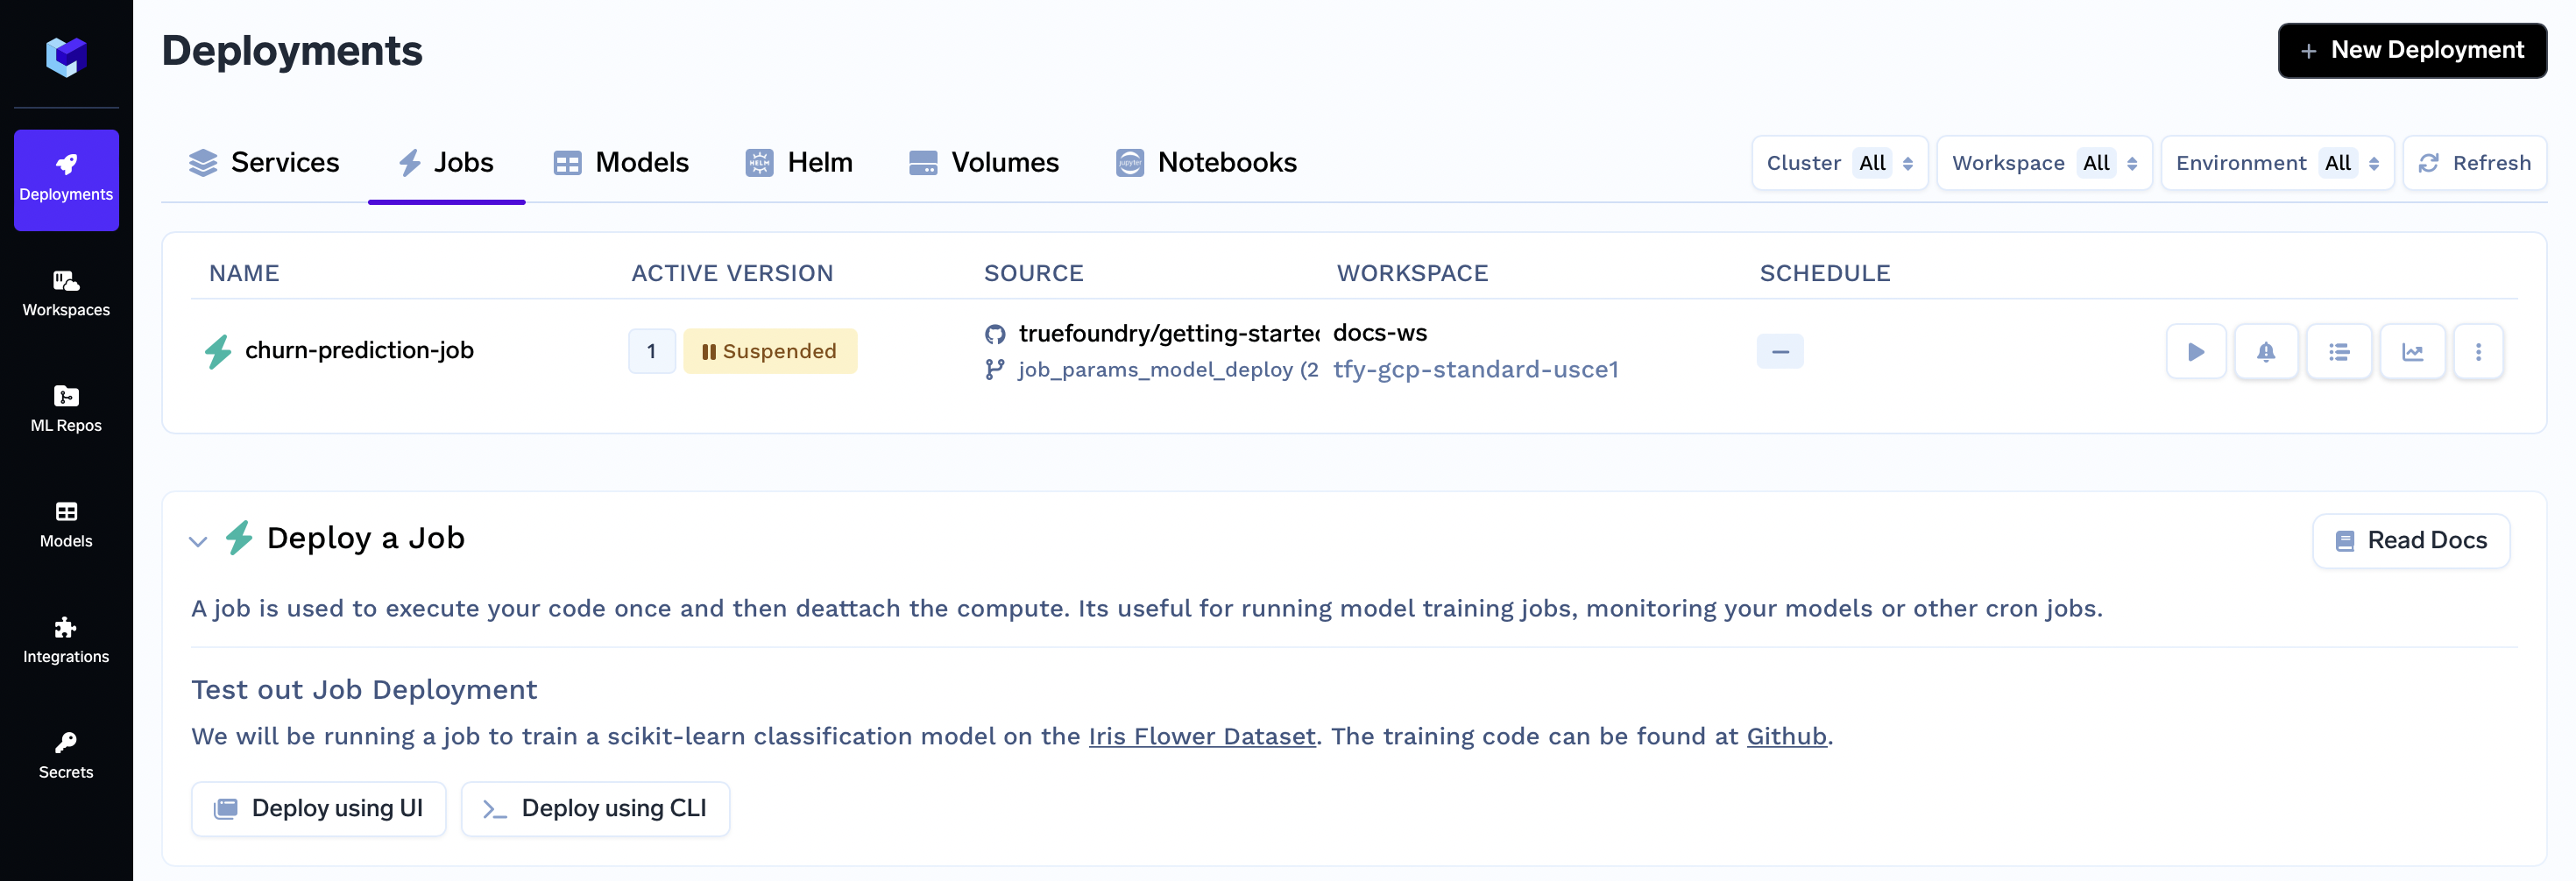
After you complete the guide, you will have successfully deployed a job to train a model on the customer churn dataset. Your jobs deployment dashboard will look similar to this:
ML Repo Setup
Step 1: ML Repo Creation
In TrueFoundry, an ML Repository collects runs, models, and artifacts for a high-level Machine Learning use-case. Access controls are configured at the ml-repo level.
After creating the ML Repo, it centralizes storing experiment runs, hyperparameters, metrics, and models. Log each run's details in the corresponding ML Repo for easy analysis. Deploy top models via Model Deployment for efficient workflow enhancement.
Creating an ML Repo:
- On the left panel of the TrueFoundry user interface, locate and click on the "ML Repos" tab.
- You'll find a "+ New ML Repo" button at the top. Click this button to start the process of creating a new ML Repo.
- In the creation form, you'll need to provide the following details:
- Name: Unique identifier for your ML Repo.
- Description: Write a brief description that outlines the purpose and goals of this ML Repo.
- Storage Integration: Choose a storage integration where the data will be stored.
For this guide fill the following
Name:
churn-pred
- Click the "Create" button to finalize the creation of your ML Repo.
Step 2: Give ML Repo access to your Workspace
You will also need to provide access to your ML Repo within the Workspace where you intend to deploy your training code as a Job and utilize the ModelDeployment feature on the logged model.
Follow these steps to configure access:
- On the left panel of the TrueFoundry user interface, locate and click on the "Workspaces" tab.
- In the list of workspaces, find and select the specific workspace that you intend to use for your deployments. If you don't have a workspace yet, you can refer to this guide to create one. While creating the workspace, make sure to grant ML Repo access to the workspace.
- Click on the "Edit" symbol associated with the selected workspace. This will open up the workspace settings for editing.
- Within the workspace settings, locate the option to enable ML Repo access. Toggle the button to enable this feature and then click on the "+ Add ML Repo Access" button.
- In the dropdown labeled "Search ML Repo ..." choose the
churn-predML Repo we had created in the previous step. And in dropdown labeled "Select Role ..." choose theProject Admin - Click the "Update" button to save your changes. This now provides the access of the ML Repo to your workspace.
Starting the Mnist Service Deployment Notebook on TrueFoundry
Step 1: Initiating Deployment via UI
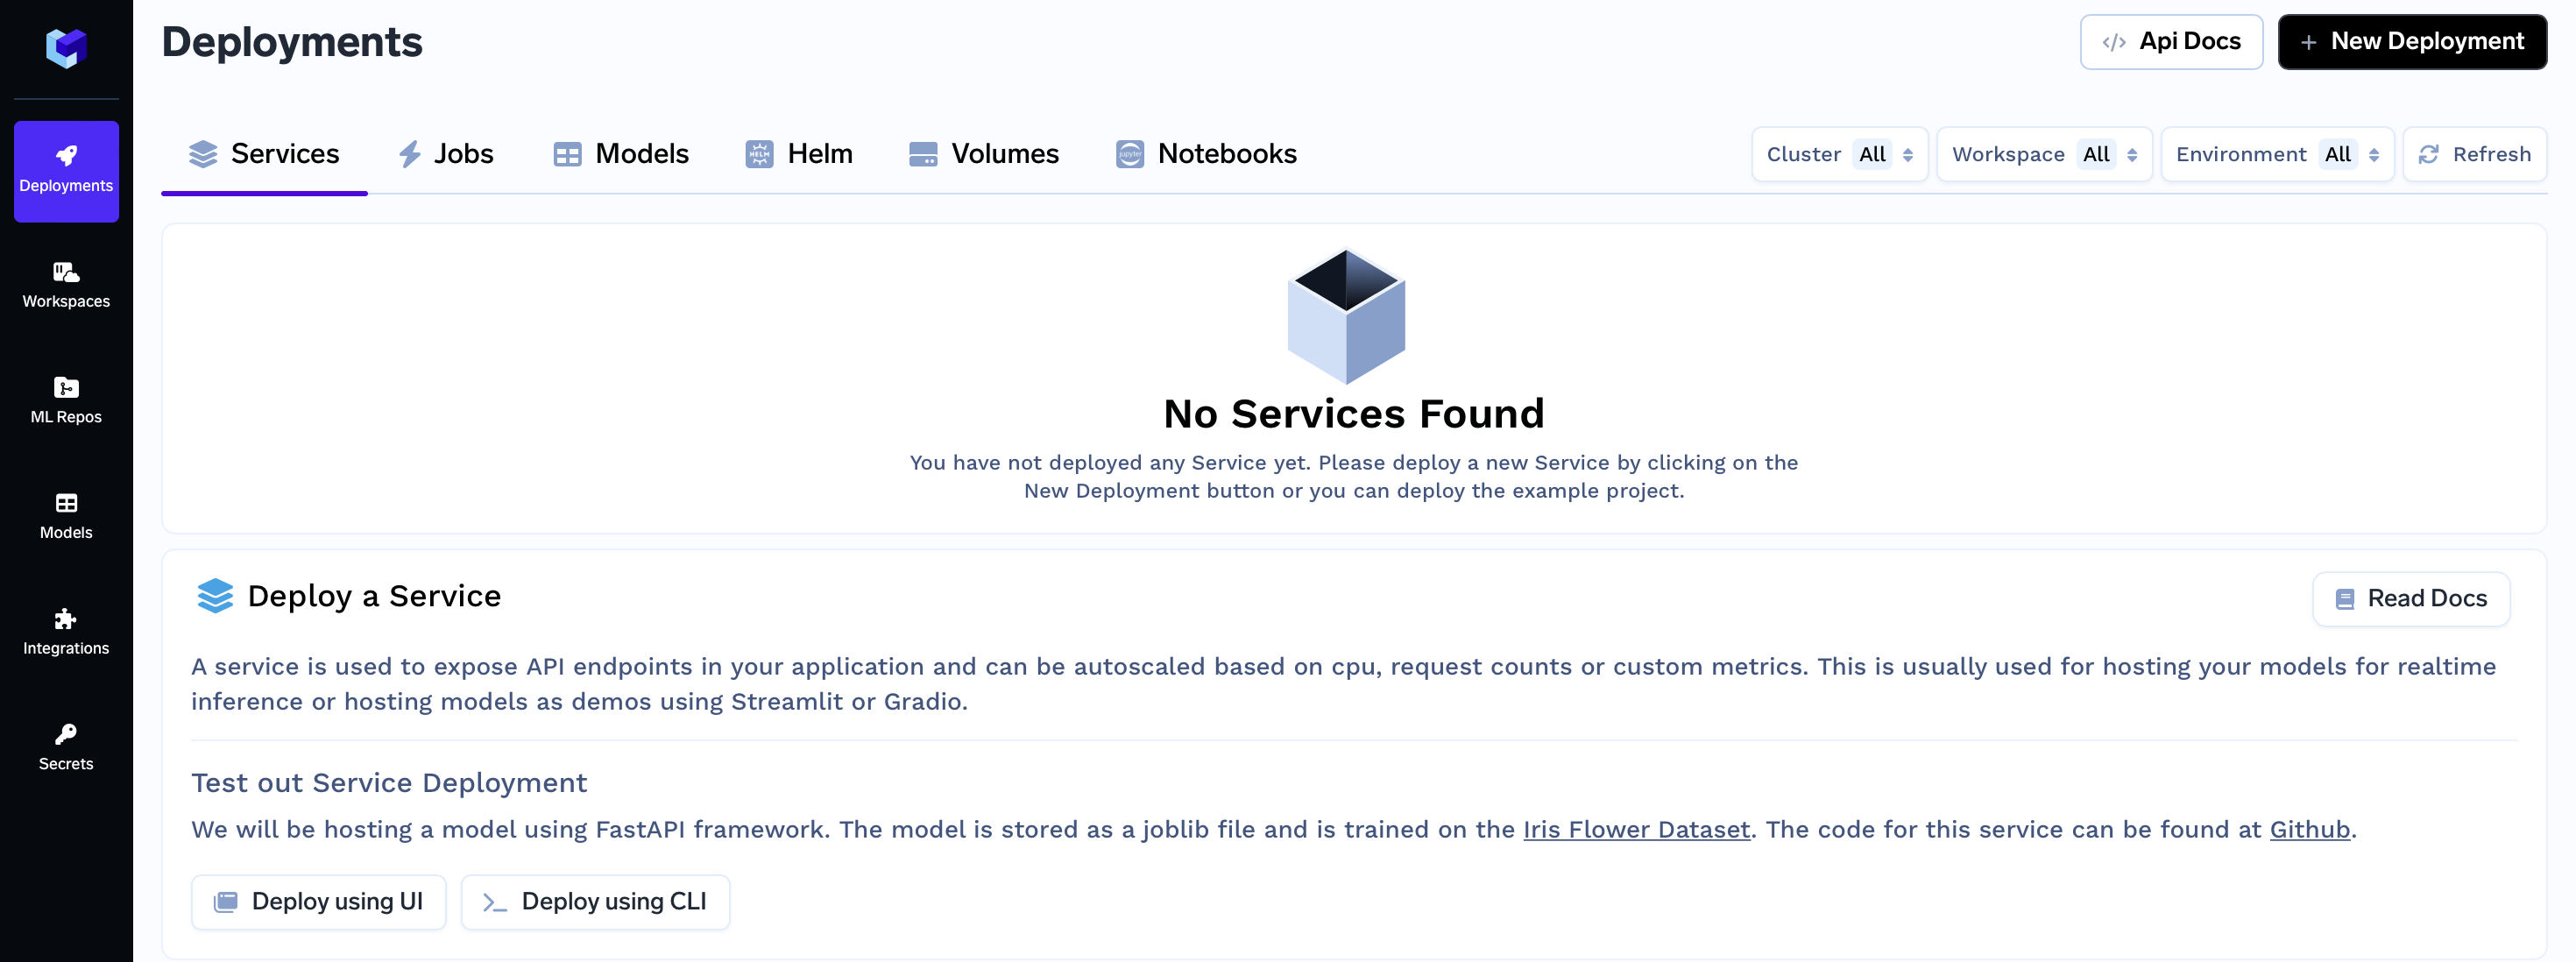
- On the left panel of the TrueFoundry user interface, locate and click on the "Deployments" tab. From here, navigate to the "Services" tab located in the top bar.
- Click on the "New Deployment" button, and a form will appear with various deployment options. Click on the "Service" button to select service deployment (will be pre-selected)
- In the same form there will be a field "Where would you like to deploy?" option. Click on the "Search Workspace" bar, and select the desired workspace for your deployment.
Note:
If you don't have any workspace right now, you can create a new workspace by clicking the Create New Workspace link and following along this Documentation or contact your cluster admin in case of some issues
- Once selected click on the "Next Step" button to continue with the deployment.
Step 2: Configure the Deployment
Once you initiate the deployment, a form will appear with the configurations for your Jupyter Lab instance. Follow these steps to configure your deployment:
- In the deployment form, you will need to provide a name for your notebook.
- Leave the other configurations as the defaults.
- Click on the "Submit" button.
This action will initiate the process of bringing up your JupyterLab instance. After waiting for a few seconds, your notebook should become available.
Step 3: Open the Notebook in JupyterLab
- With the notebook successfully launched, you'll see the endpoint URL for accessing your JupyterLab instance. Click on the endpoint URL.
- This action will open the JupyterLab interface in your browser.
- In the JupyterLab navigation, locate the "getting-started" folder, then go to the "customer-churn" subfolder.
- Inside the "customer-churn" subfolder, find and click on the notebook named "servicefoundry-cli-customer-churn.ipynb".
Follow along with the notebook to continue with the deployment process using the ServiceFoundry CLI.
Updated about 1 month ago