Deploy from Huggingface Hub
What you'll learn
- How to Deploy a Hugging Face Model as a Model Deployment via Truefoundry User Interface.
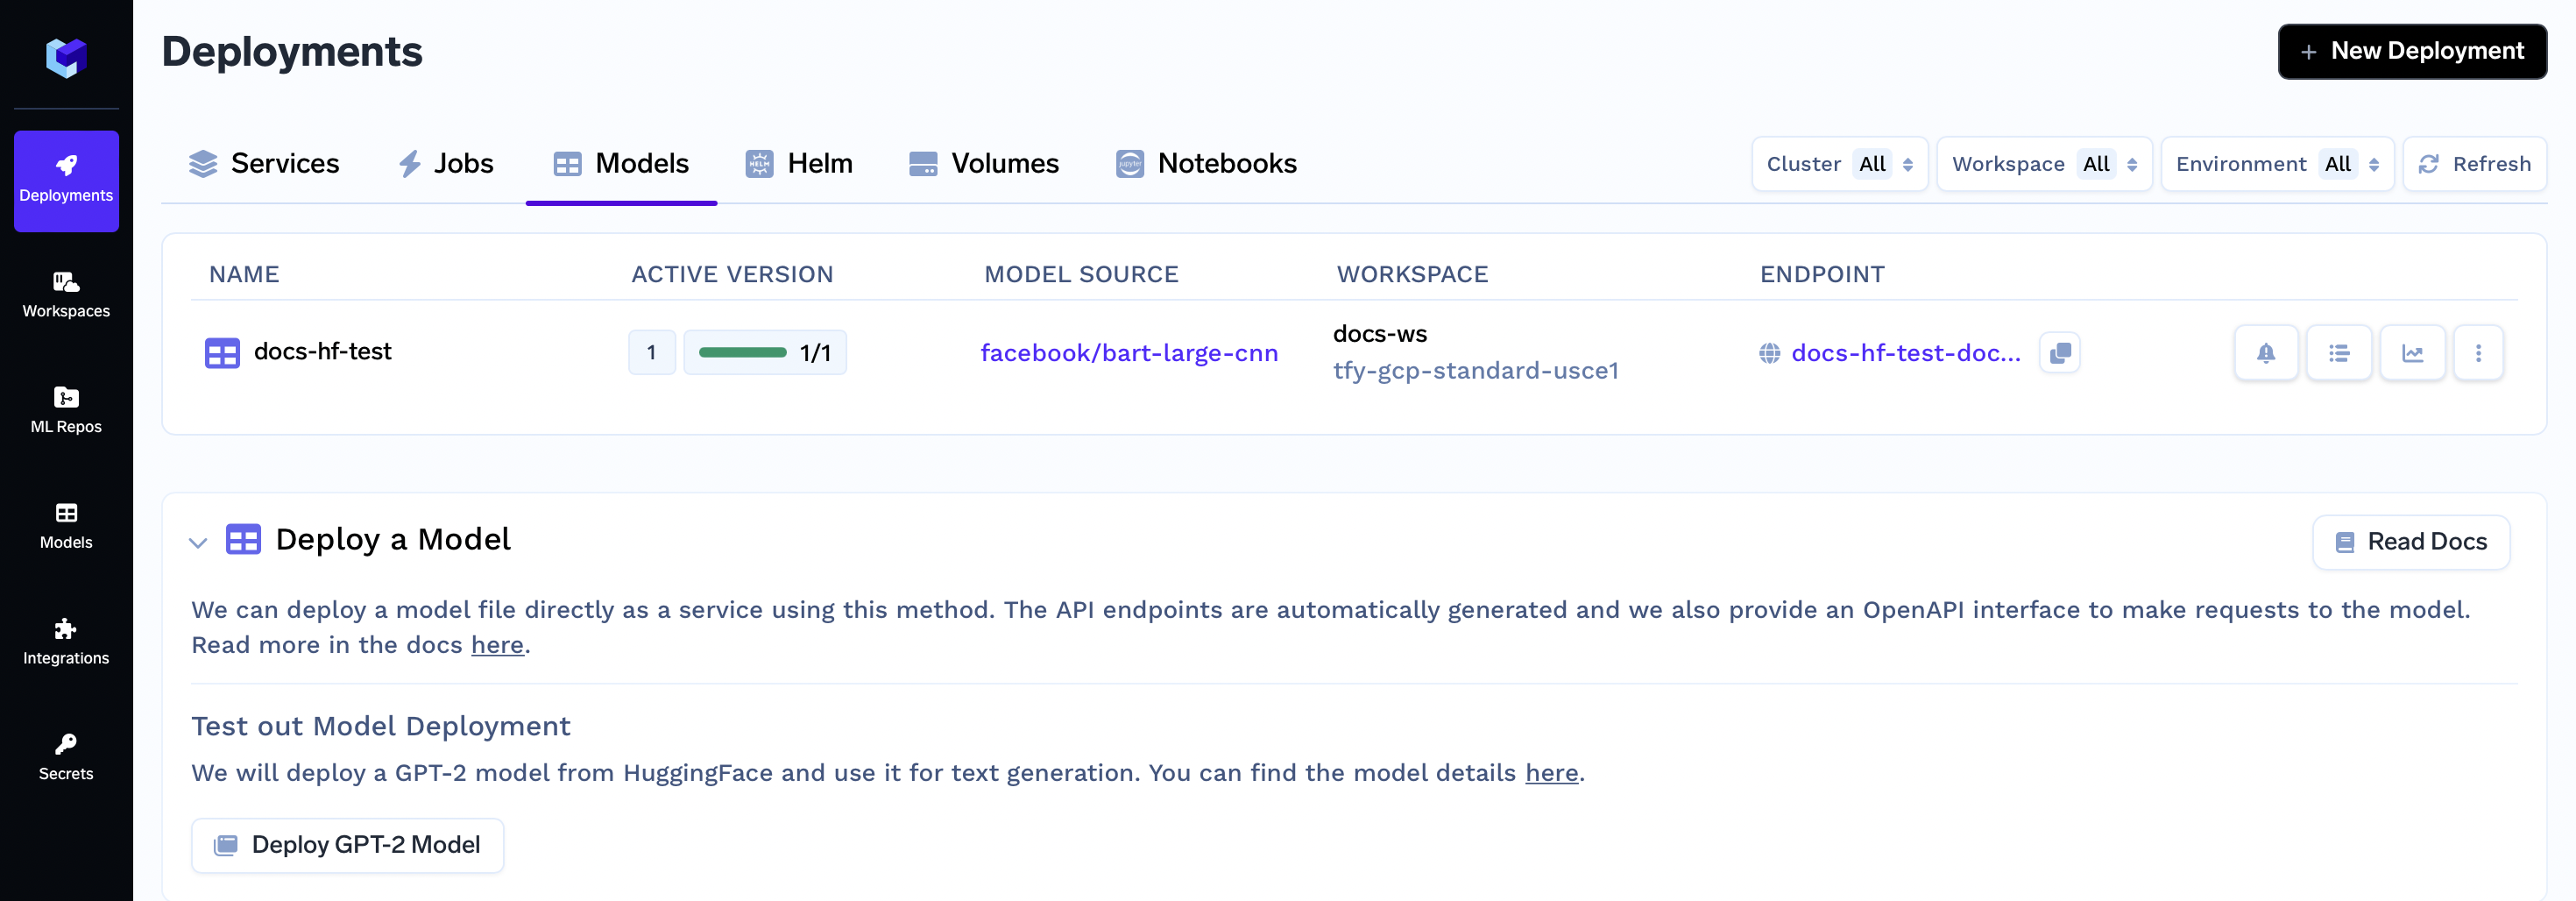
After you complete the guide, you will have successfully deployed a hugging face model. Your model deployment dashboard will look similar to this:
Deploying your Huggingface model
Step 1: Get the model details
Before you initiate the deployment, you need to gather essential details about the Hugging Face model you want to deploy.
In general, for the model you want to deploy you will need to get the Model's
- Model Library the model runs with. One of
transformers,sentence-transformers - Id on Hub: (e.g.
philschmid/bart-large-cnn-samsum) - Pipeline Tag to run the model with (e.g.
summarization,text-generation,text-classification)
For this example, we will be deploying the BART-Large CNN SamSum model.
- Model Library:
transformers - Id:
philschmid/bart-large-cnn-samsum - Pipeline:
summarization

Step 2: Initiating Deployment via UI
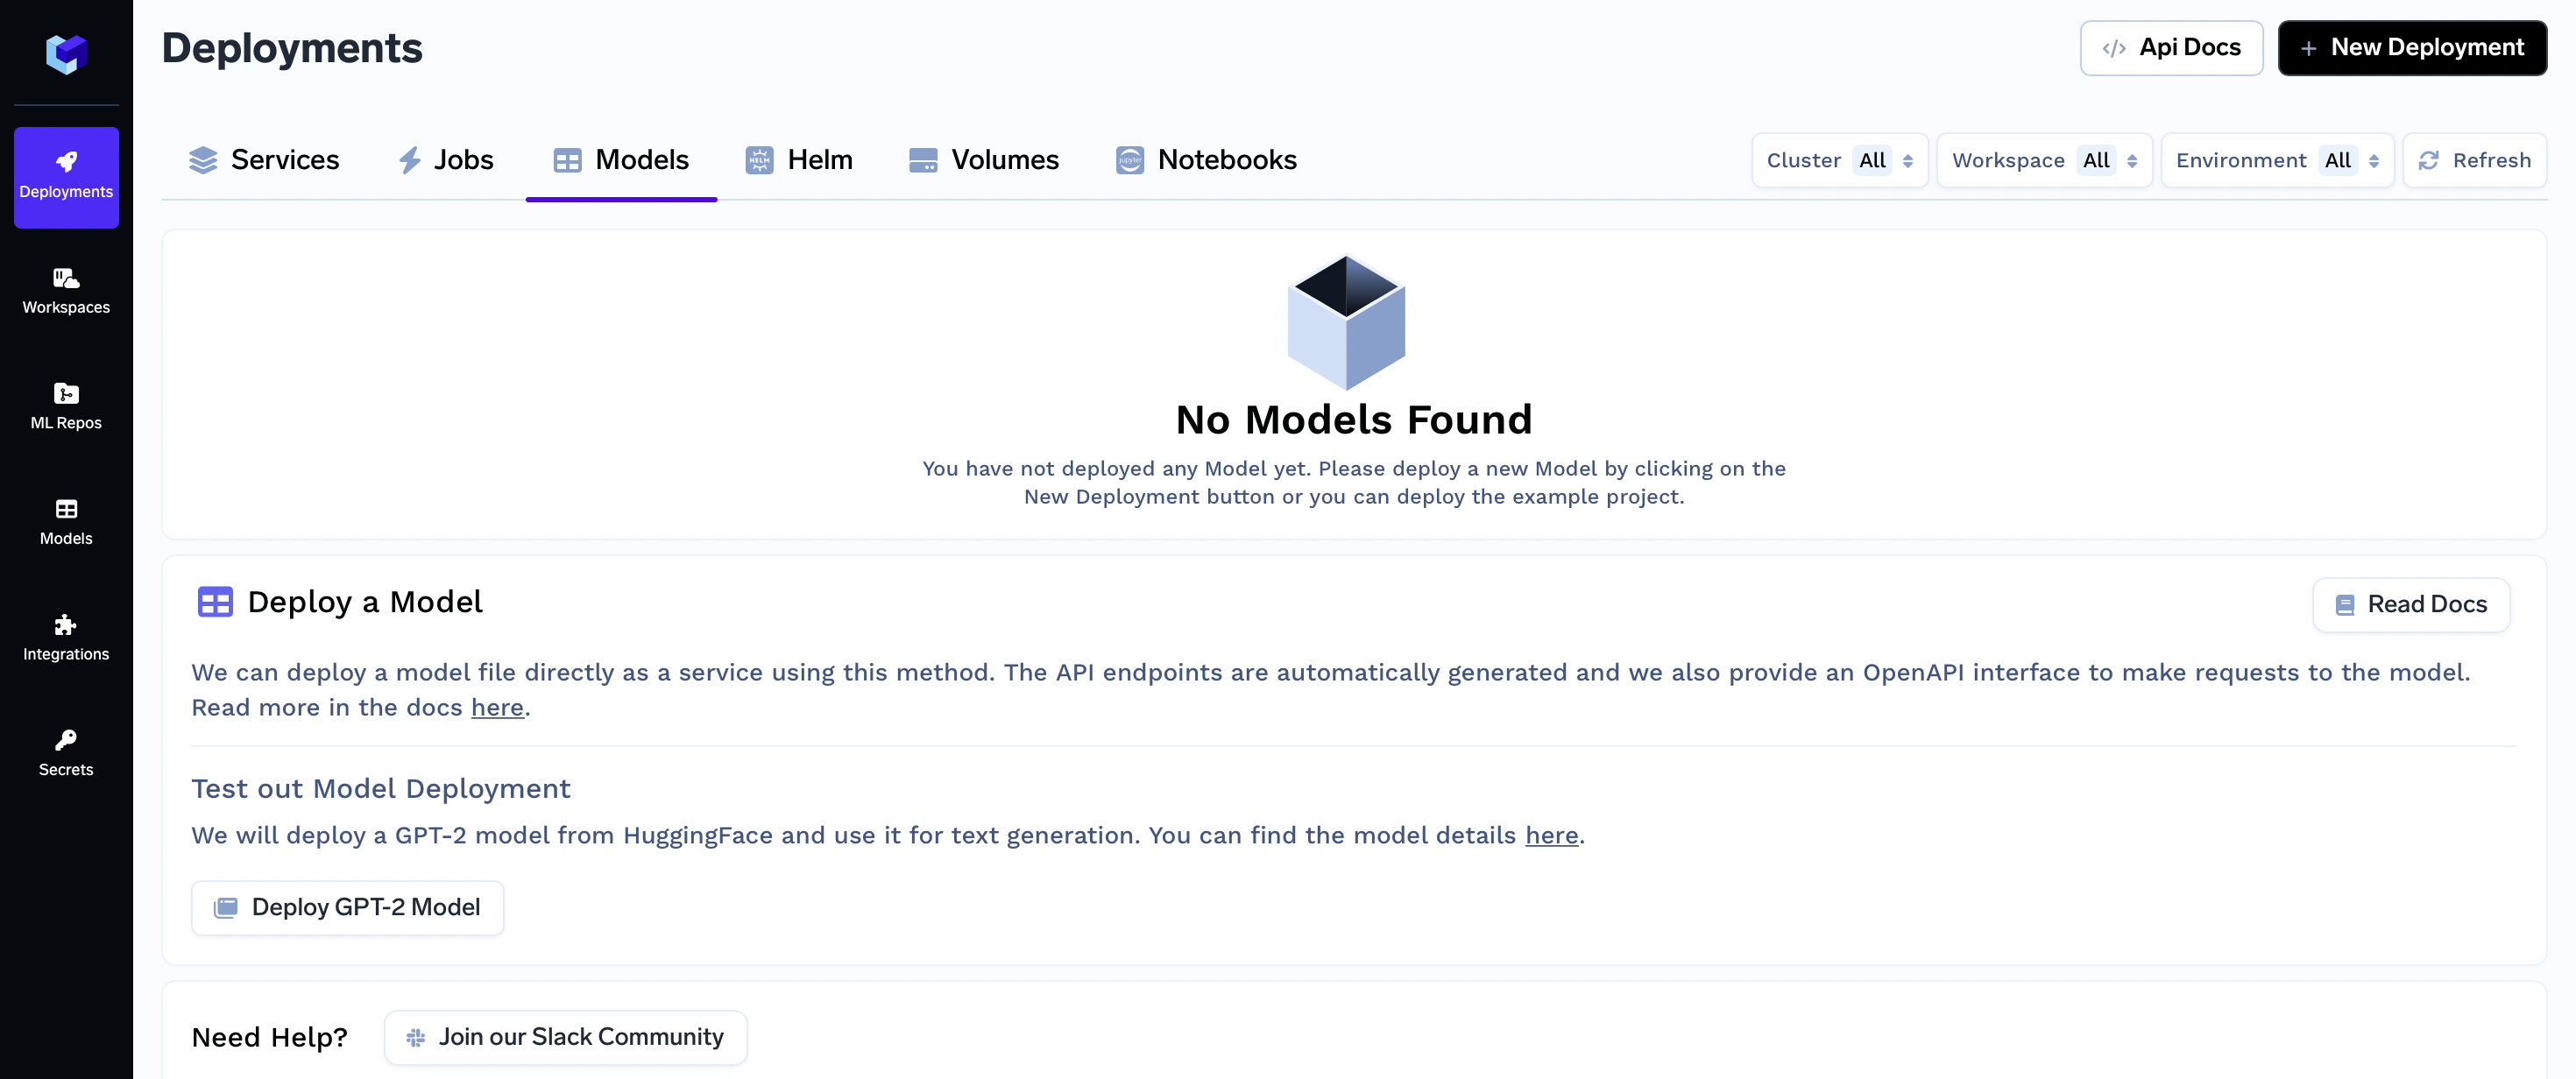
- On the left panel of the TrueFoundry user interface, locate and click on the "Deployments" tab. From here, navigate to the "Models" tab in the top bar.
- Click on the "New Deployment" button, and a form will appear with various deployment options. Click on the "Model" button to select job deployment (will be pre-selected)
- In the same form, there will be a field "Where would you like to deploy?" option. Click on the "Search Workspace" bar, and select the desired workspace for your deployment.
Note:
If you don't have any workspace right now, you can create a new workspace by clicking the Create New Workspace link and following along this Documentation or contact your cluster admin in case of some issues
- Once selected click on the "Next Step" button to continue with the deployment.
Step 3: Configure Deployment
Now, let's dive into the configuration options for your deployment form. Each of these options plays a crucial role in shaping how your job is deployed and executed.
We will not only explain these options to you but also provide clear instructions on what to fill in each field to ensure a seamless deployment process.
Name
Enter a name for your model deployment
Model to Deploy
The Model to Deploy option lets you specify whether you want to deploy a model from Truefoundry model registry or deploy a model from Huggingface Model Hub. Choose "Huggingface model hub" and enter the model details we collected earlier.
For our example, we enter:
- Model Library:
transformers - Model repository name:
facebook/bart-large-cnn - Pipeline:
summarization
Deploying
sentence-transformersembedding modelsIf you are deploying a model with
sentence-transformersenterfeature-extractionin thePipelinefield
Resources
Allocate computing resources (CPU, memory, storage) for your model using the Resources option.
- CPU refers to the computing power available to your application
- Memory refers to how much space your application has to hold and work with data while it's running
- Ephemeral storage is where your application can temporarily store files and data
Requests and Limits:
- Request is like asking for a certain amount of a resource. It's what your application initially asks for to start working properly.
- Limit is like setting a maximum value. It restricts how much of a resource (like CPU or memory) your application can use.
So for each category of resource, you specify the Request and Limits
For our example, we set:
- CPU Request: 1
- CPU Limit: 1
- Memory Request: 4000 (MB)
- Memory Limit: 6000 (MB)
- Storage Request: 8000 (MB)
- Storage Limit: 8000 (MB)
Step 4: Submit the form
Now that all the deployment options are filled, you can proceed by clicking the "Create" button. This will initiate your deployment process. After clicking "Create," your Models Dashboard will resemble the following:
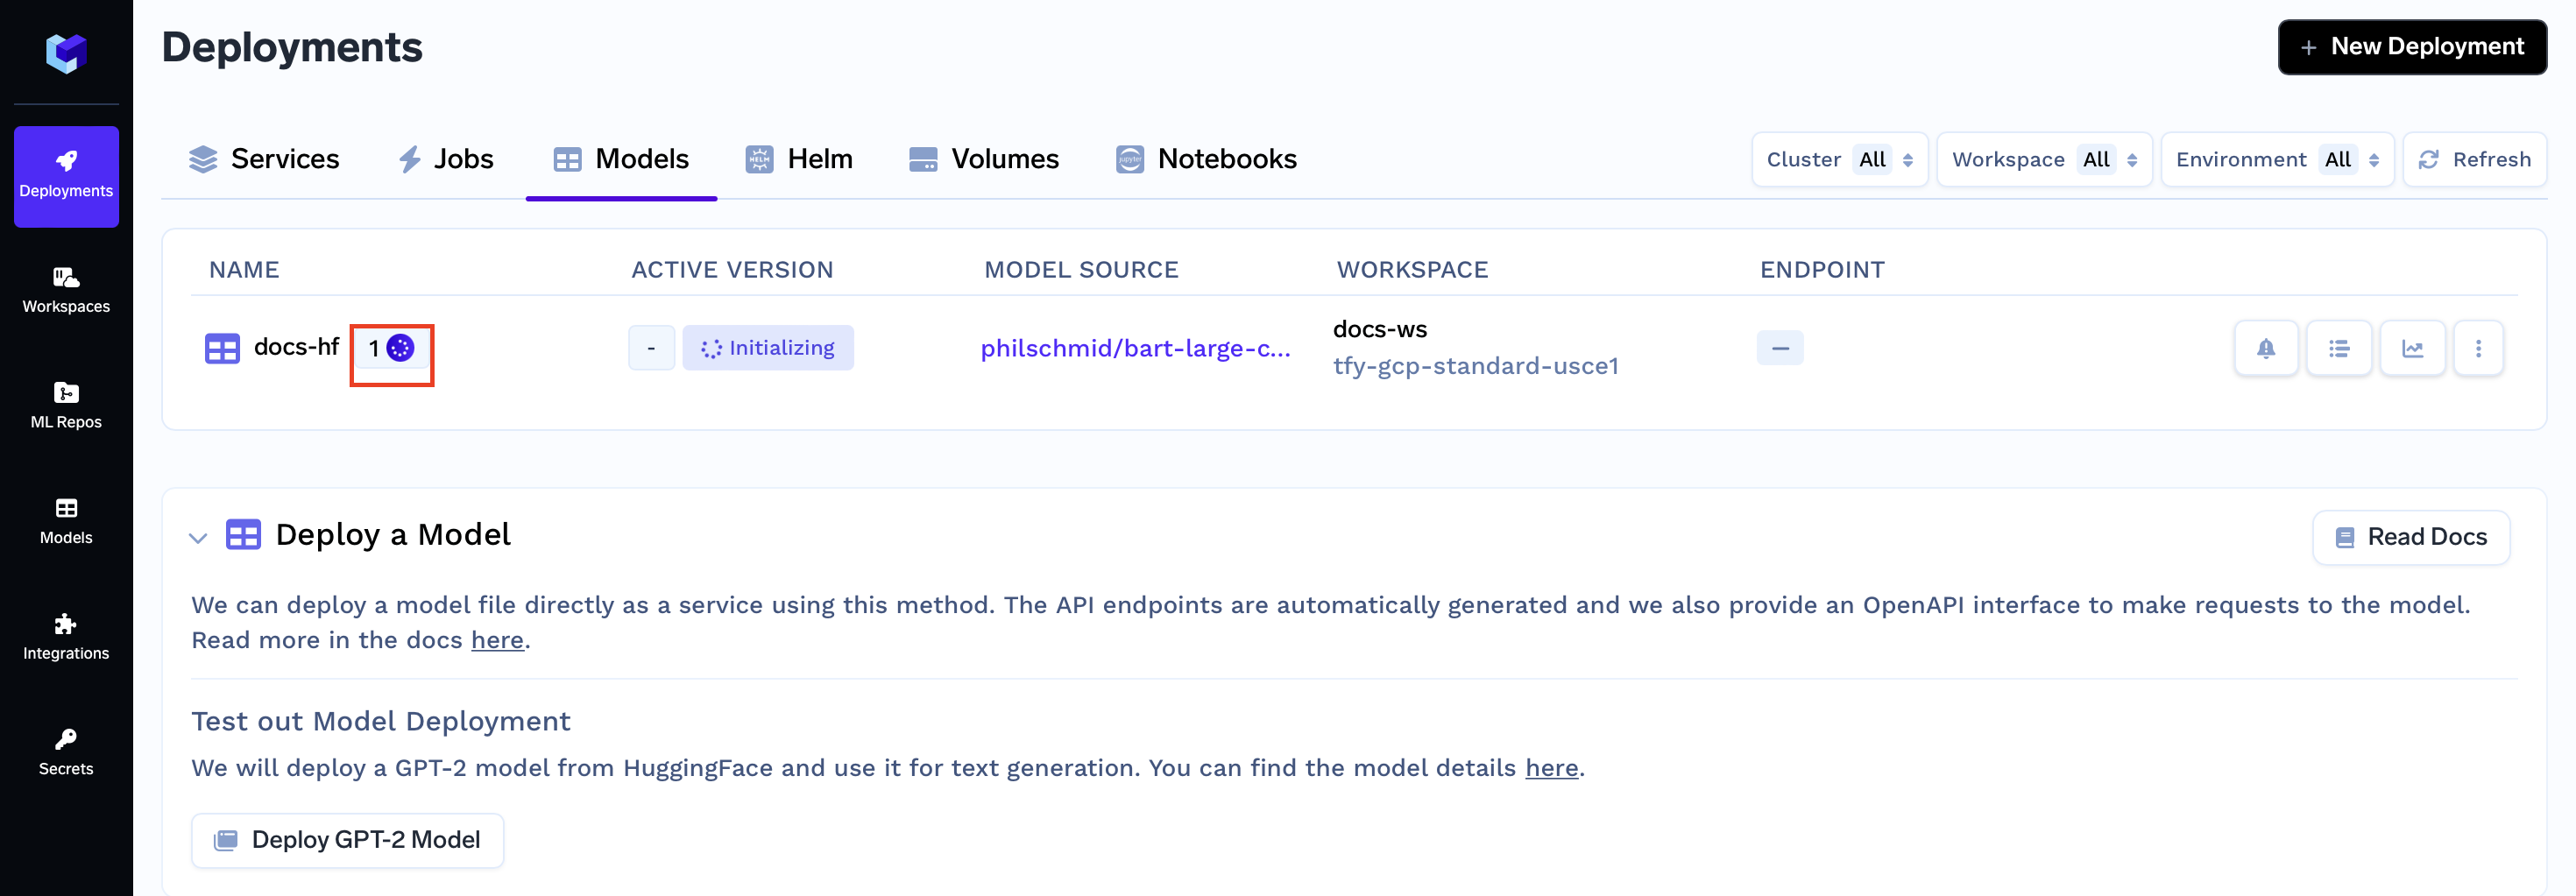
While your deployment is in progress, you can hover over the spinner icon to check the status of the deployment. After a brief moment, the deployment should become active, and your Models Dashboard will transform to appear as follows:
Interacting with the model
OpenAPI Spec
To make the process of making the requests easier you can go to the OpenAPI tab and click on the Infer Simple button
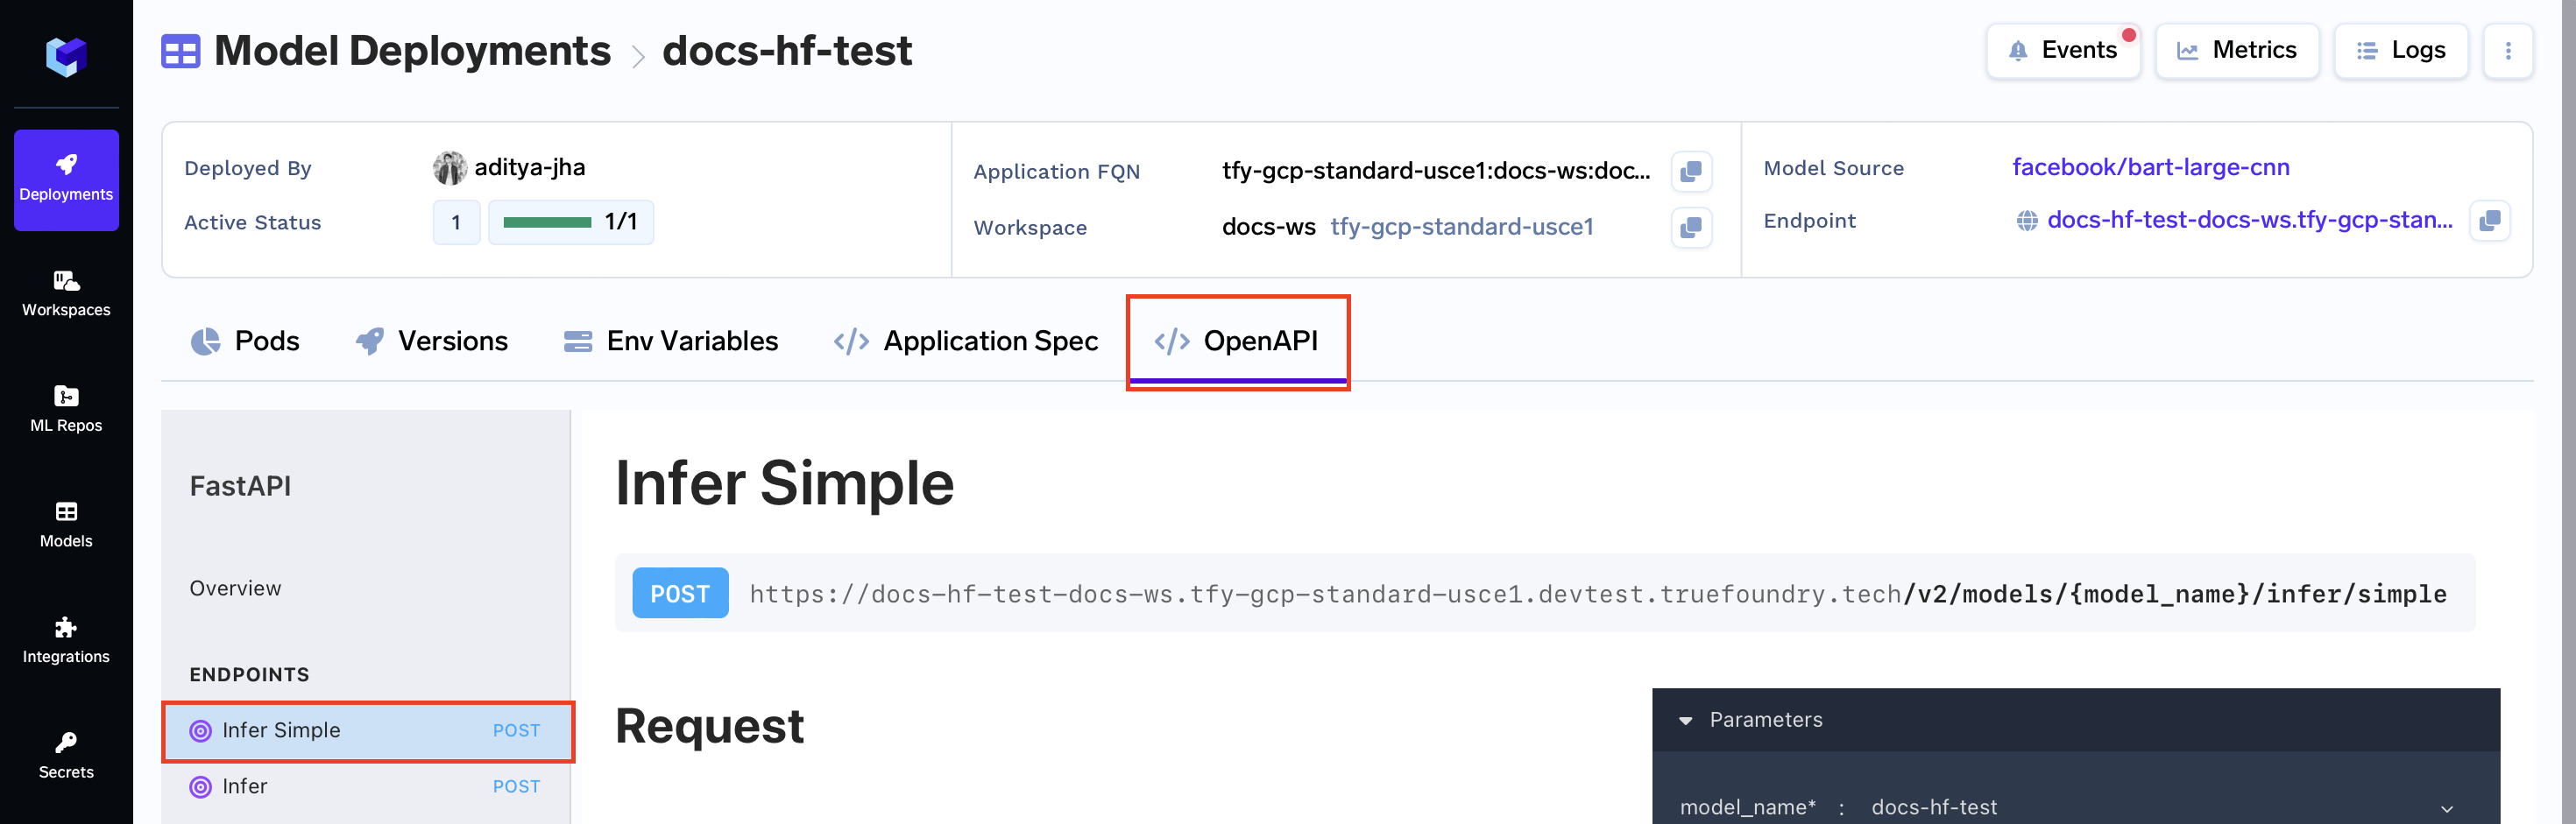
Here you can directly try out your model via the changing the body and hitting the Send API Request button.
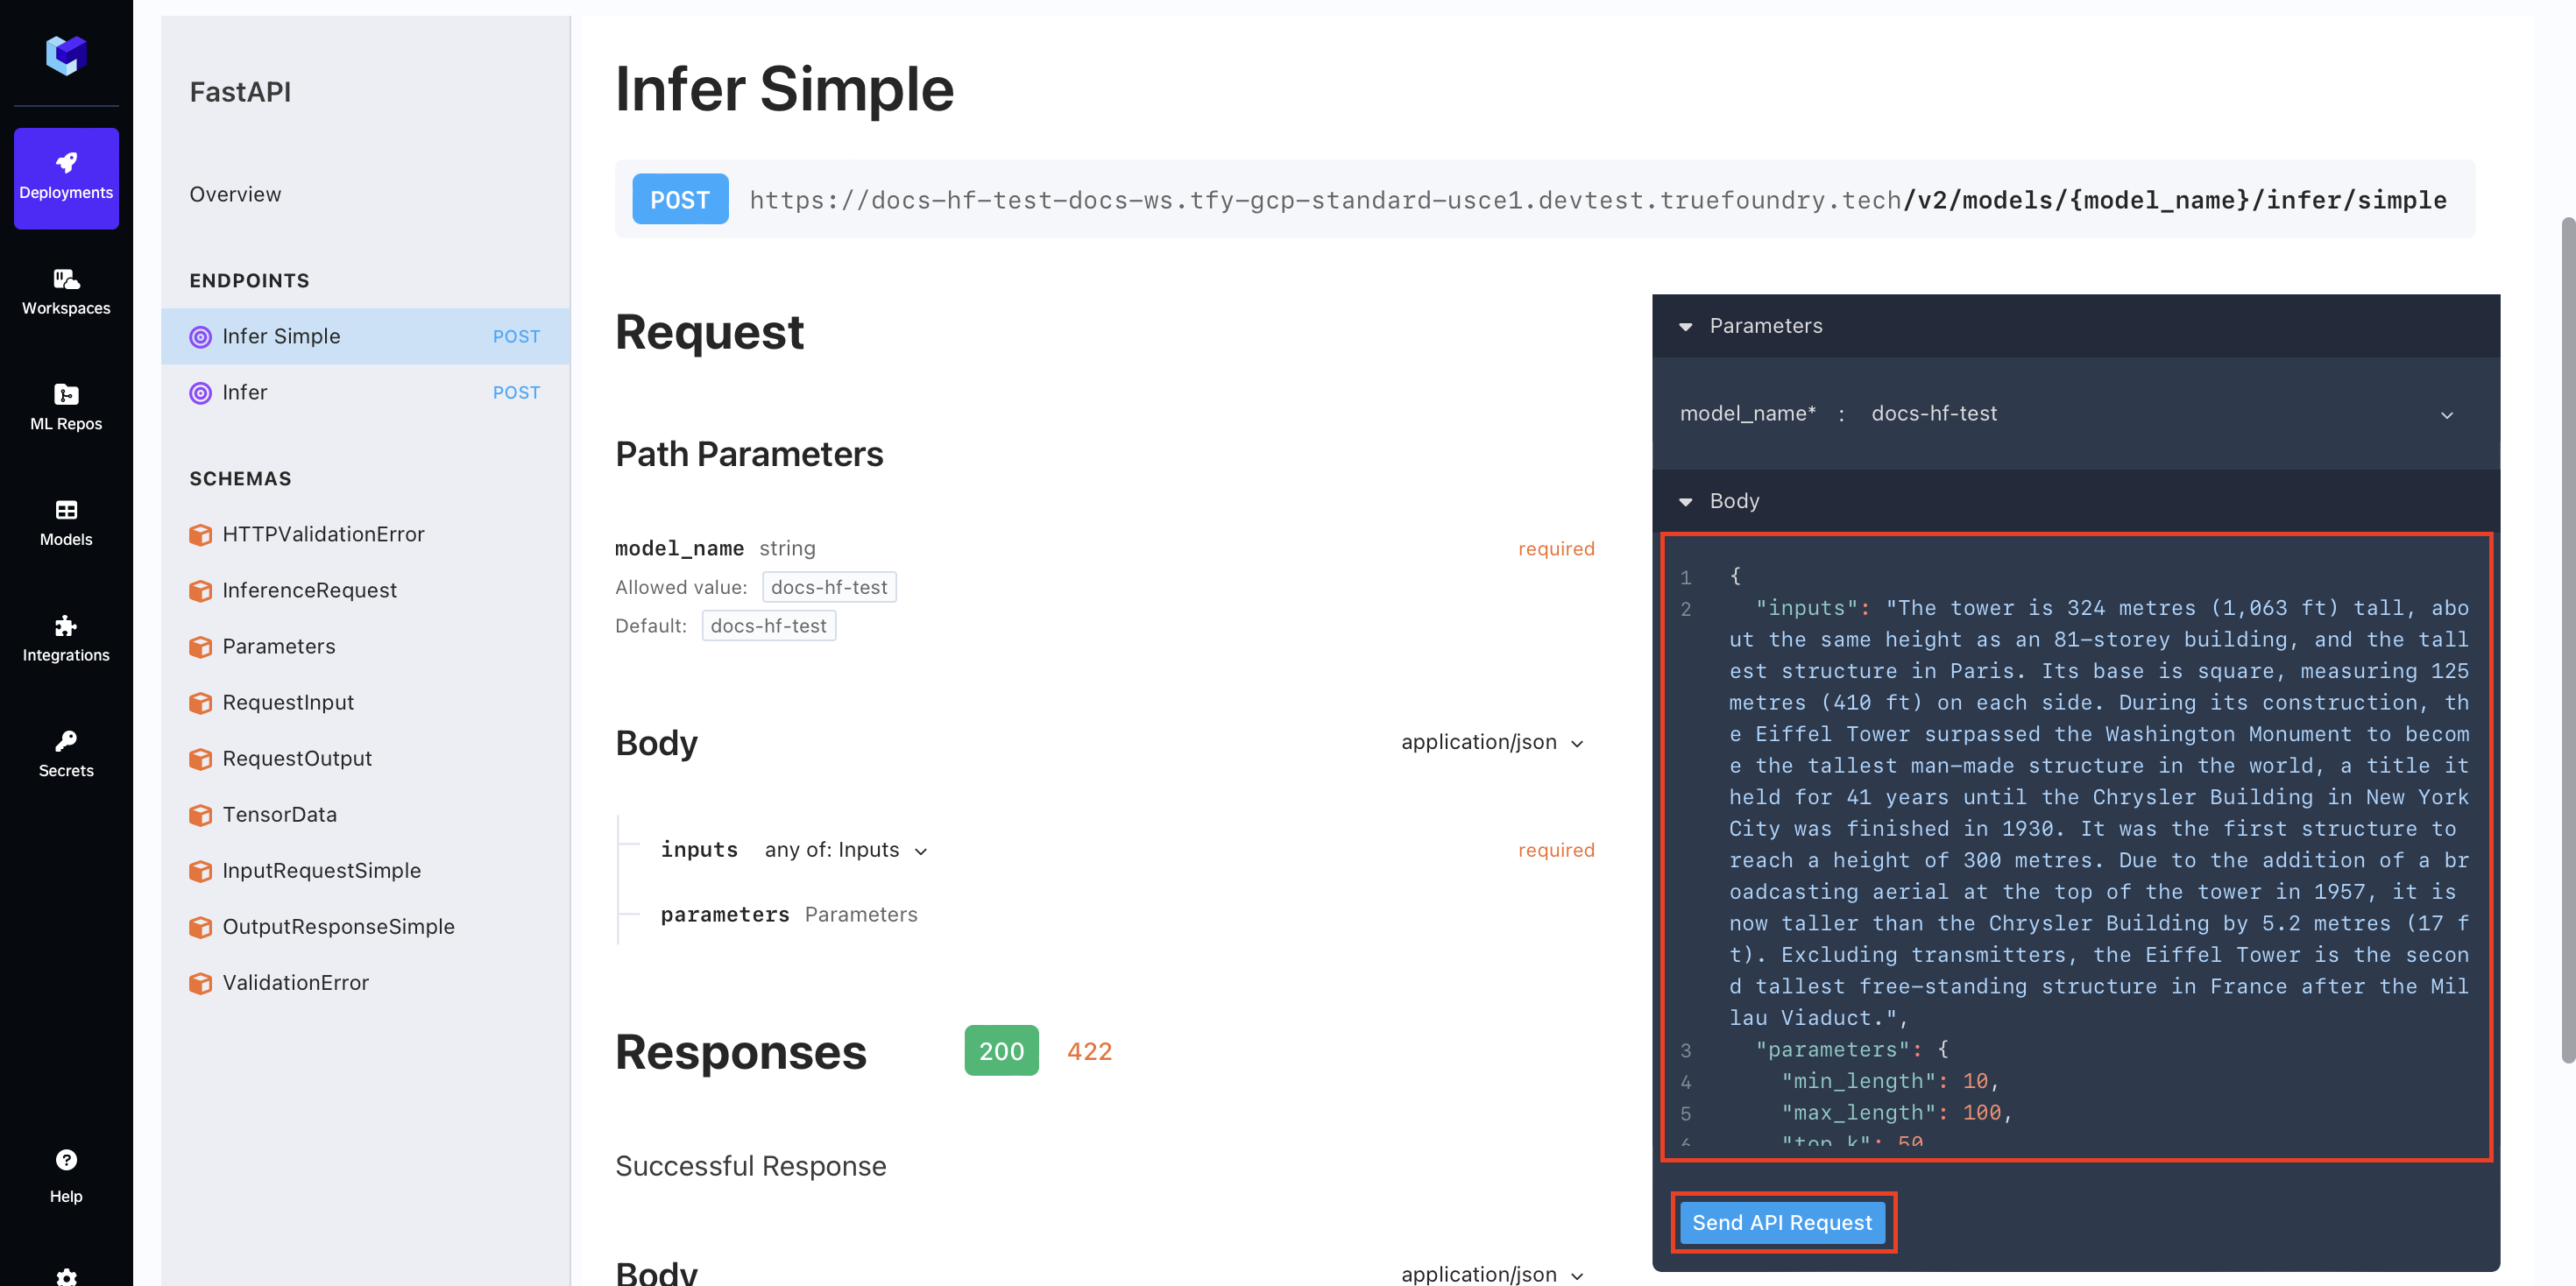
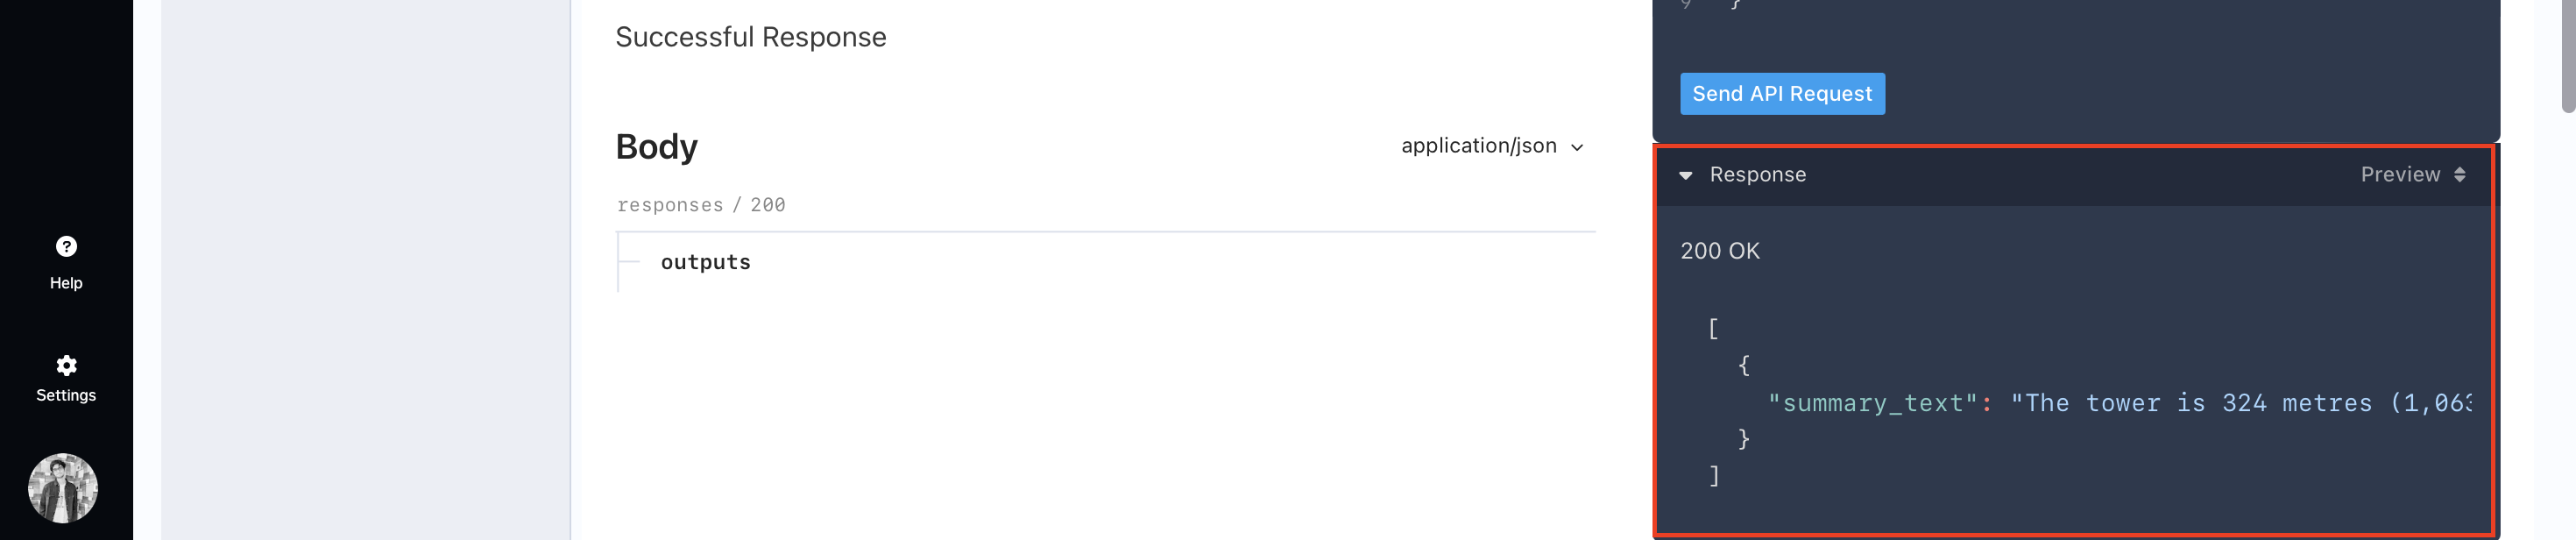
Once you hit the button, in a few seconds you will be able to see the response of your model.
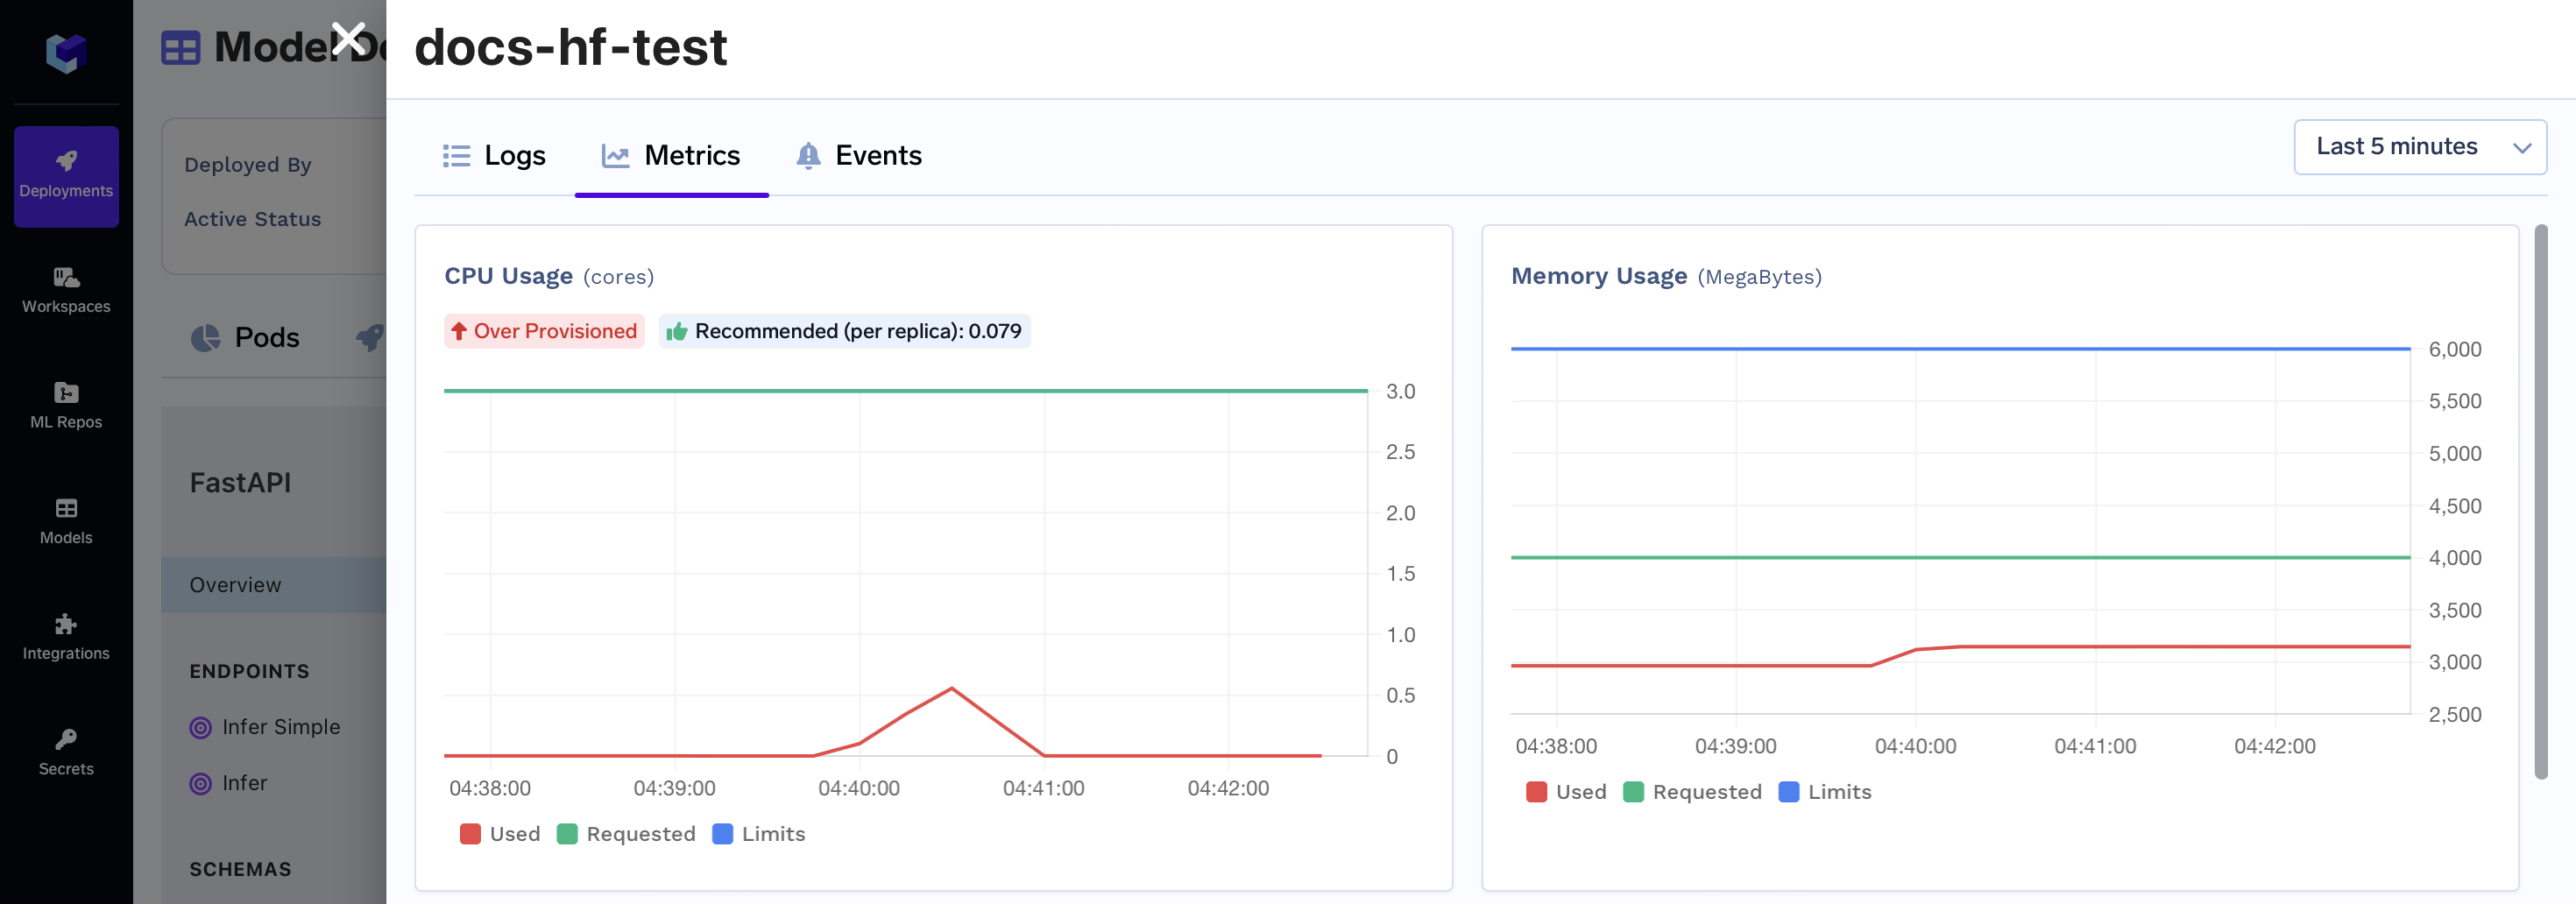
You can see the logs and metrics of your Model via the button in the Topbar of your Model dashboard

You can now see the logs and metrics of what happened when you made the request

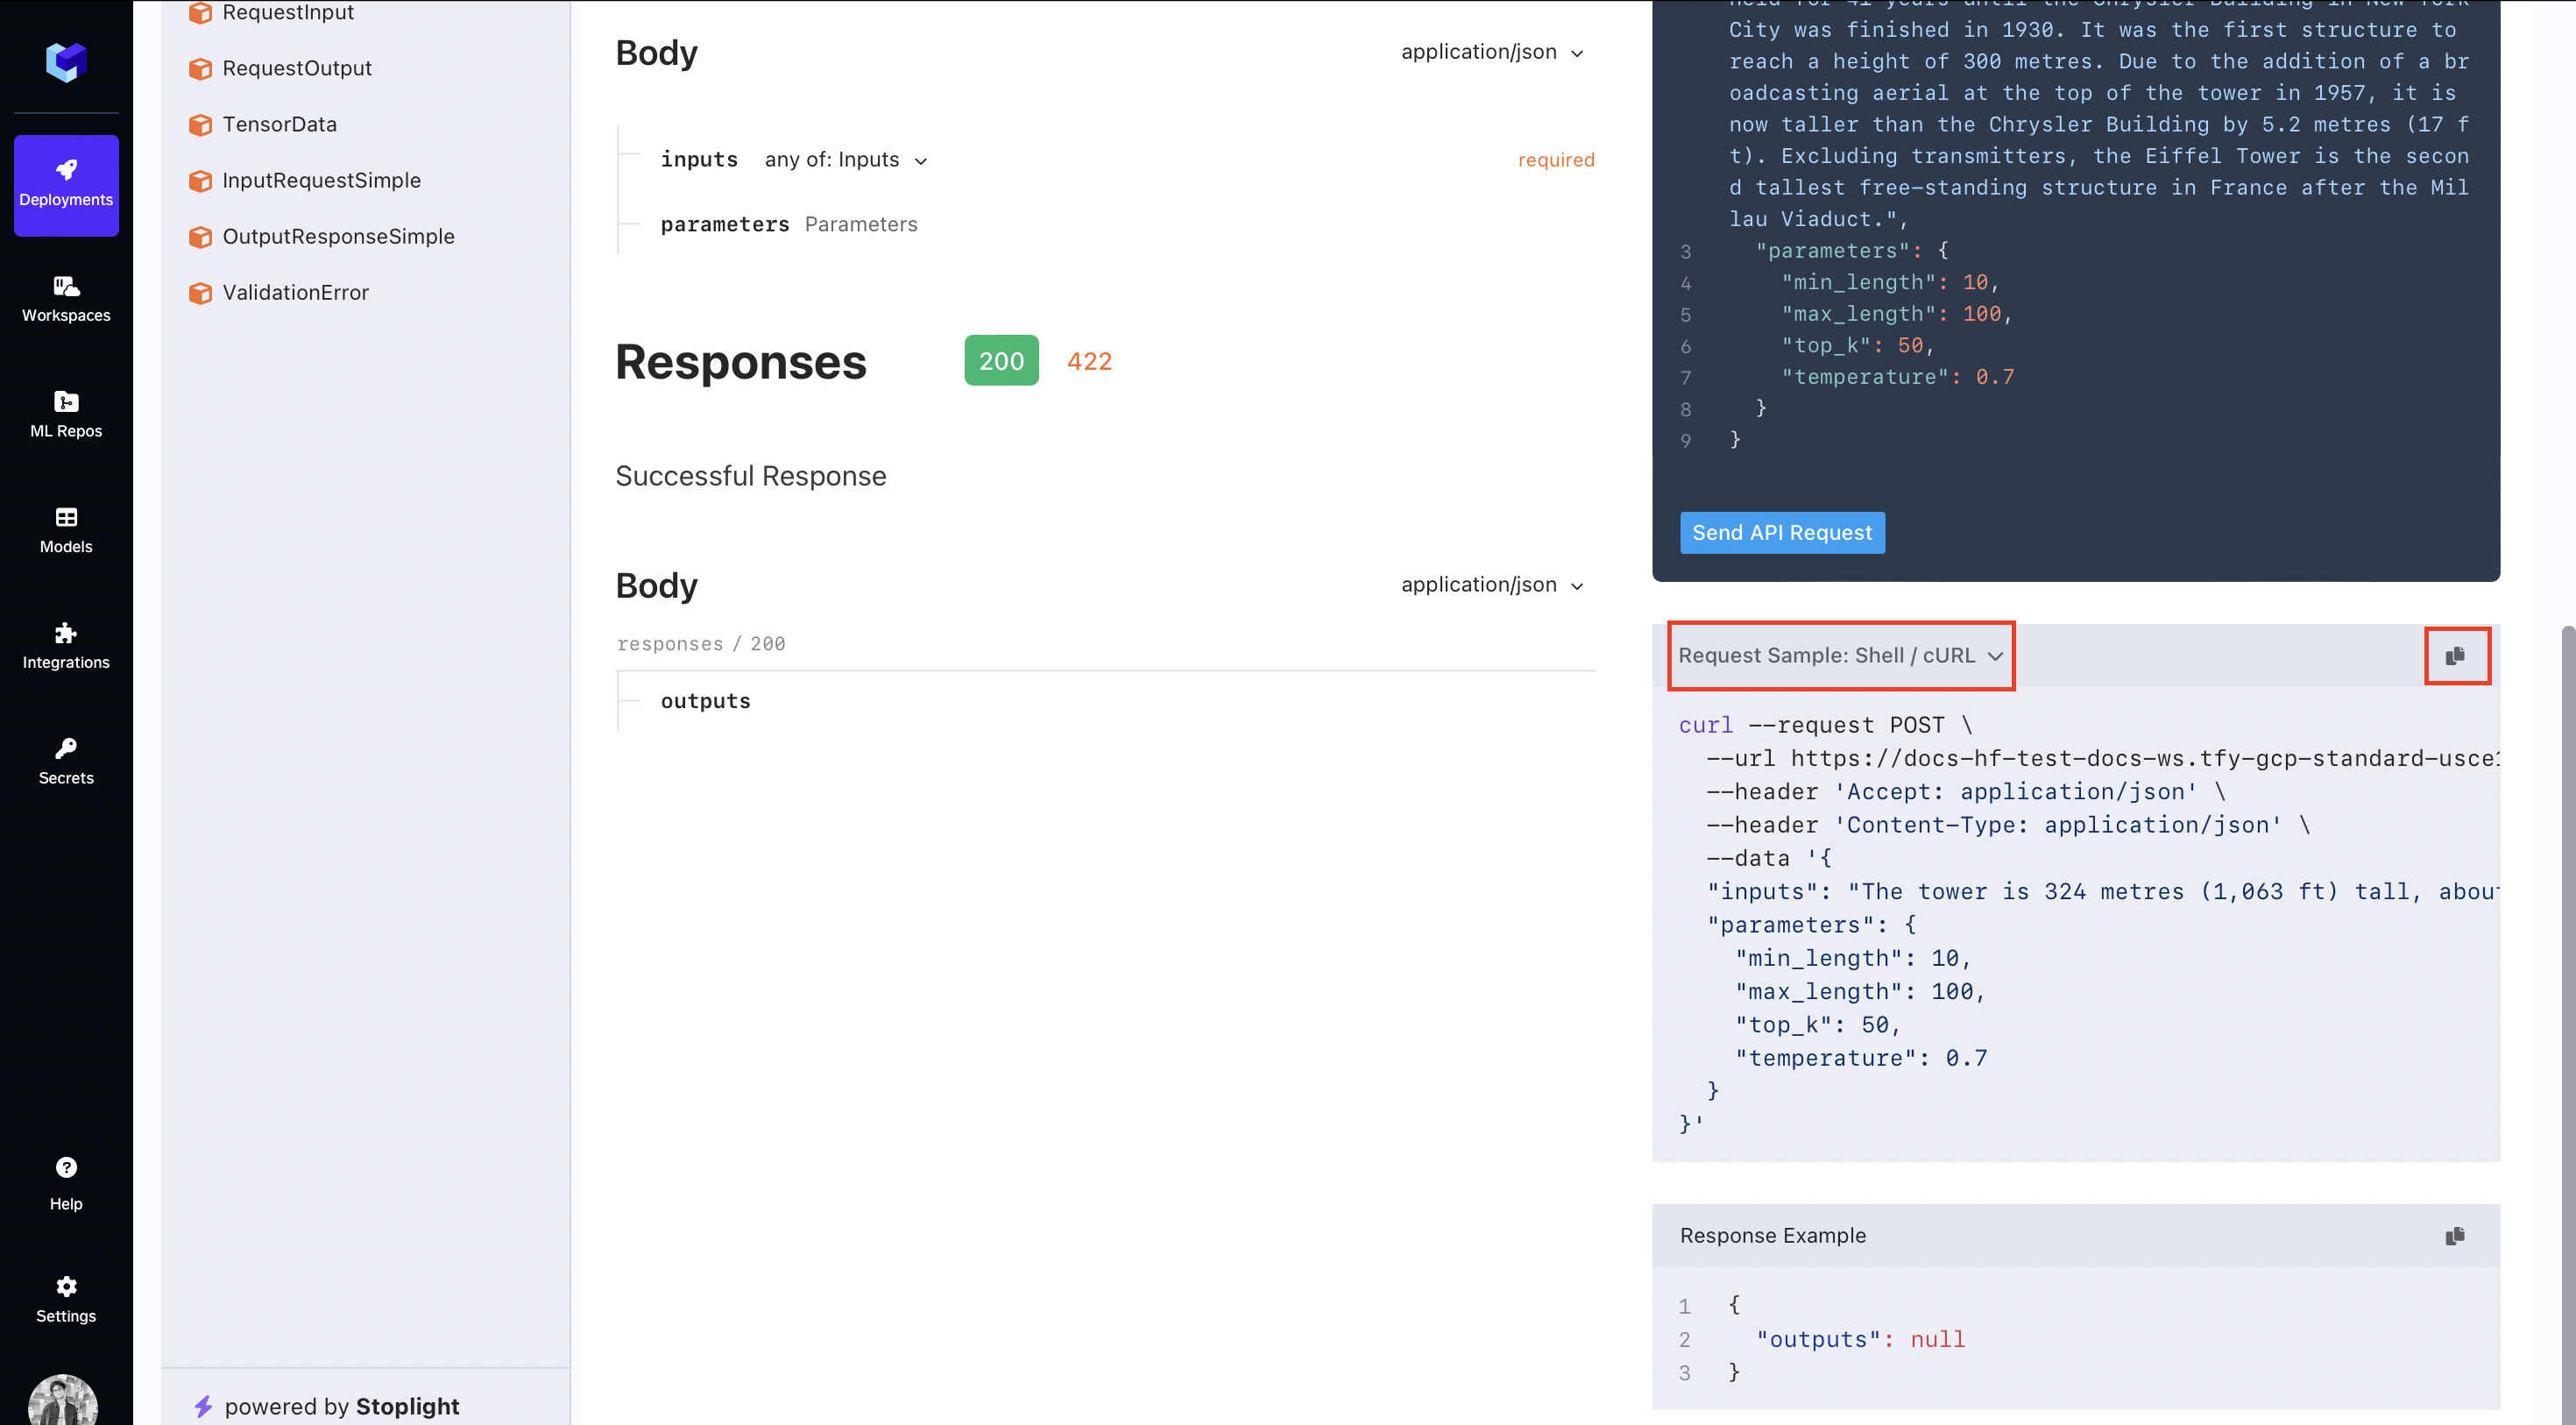
Code Snippet
You can scroll down to get code snippets on how to programmatically send requests to your deployed model.
Updated 11 months ago