Start a Code Editor
- Log in to your Truefoundry account.
- Go to the
Code Editorsection on the Deployments Dashboard. - Click
+ New Deployment. - In the
What would you like to deploy?fieldCode Editorshould be preselected.
In theWhere would you like to deploy?field, choose your deployment workspace by clicking theSearch Workspacebar. Read more about Cluster and Workspace.
Note:
If you don't have a workspace, create one by clicking
Create New Workspaceand then follow along this guide or consult your cluster admin for assistance.
- Click
Next Stepto proceed. - The form should be prefilled with few defaults. Select the instance you want to deploy
- TruefoundryImageBase: JupyterLab with a persistent Python environment (Python 3.8.10).
- TruefoundryImageFull: JupyterLab with all common ML libraries and a persistent environment (Python 3.8.10).
- CodeServerImage: CodeServer with a persistent Python environment (Python 3.8.10).
Explanation of Deployment Configuration
- Name:
Assign a unique identifier (name) to the service within your workspace. - Image Type:
Choose a notebook image to deploy from the options given.- TruefoundryImageBase: JupyterLab with a persistent Python environment (Python 3.8.10).
- TruefoundryImageFull: JupyterLab with all common ML libraries and a persistent environment (Python 3.8.10).
- CodeServerImage: CodeServer with a persistent Python environment (Python 3.8.10).
- Enable root access to container (optional):
Enable root access to the container. Note that changes made to the root directory / will not be persisted across notebook restarts. - List of Debian packages to install (optional):
Specify a list of Debian packages to install via apt get. Each package should be a string. - Stop after: Set the duration of inactivity (in minutes) after which the notebook instance will be stopped. Even if the notebook is open in the browser, if no activity is detected, it will be stopped.
- Endpoint: Specify the endpoint for the notebook. This determines the URL or address where the notebook will be accessible.
- Host: Specify the host for the notebook endpoint. This can be a domain name or IP address, such as "ai.example.com" or "app.truefoundry.com".
- Path (optional): You can specify a path for the notebook endpoint, such as "/v1/api/ml/" or "/v2/docs/".
- Login credentials for notebook: Add Basic Auth credentials to protect the notebook endpoint if desired.
- Home Directory Size in GB: Specify the size of the home directory for the notebook in GB. This represents persistent storage for the notebook.
- Resources: Configure the resource constraints for the notebook. This includes parameters such as CPU and memory requests and limits, ephemeral storage requests and limits, GPU count (if applicable), and shared memory size.
Submit the form
Once all deployment options are set, click Create to initiate the deployment process. Your Code Editor Dashboard will then look like this:

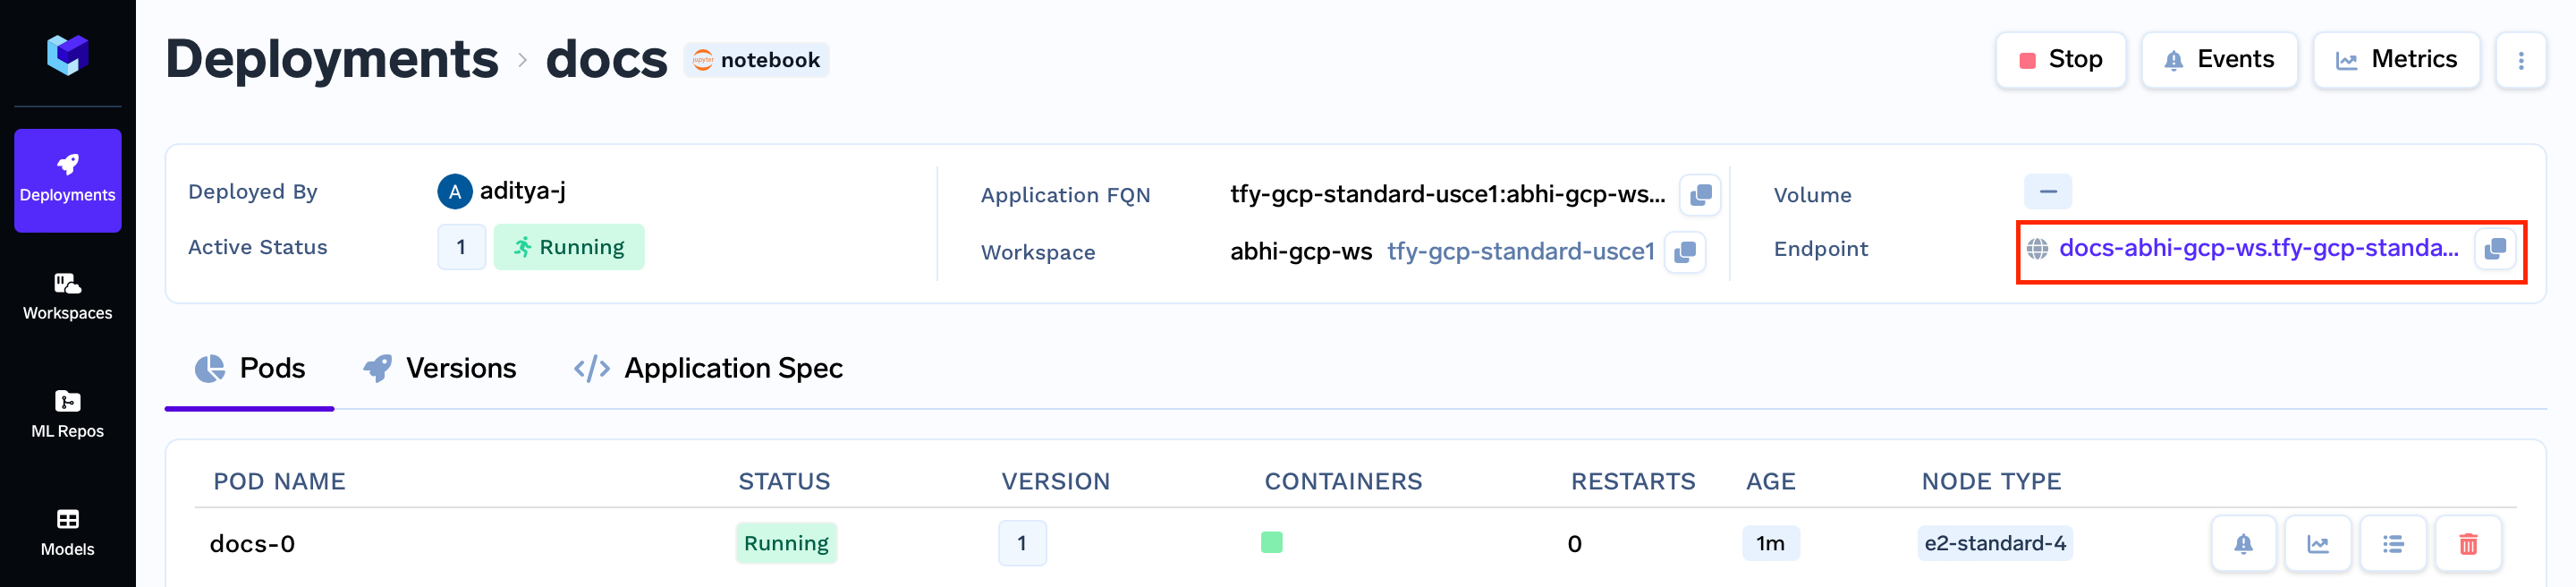
Once the deployment is successful and the status of the notebook changes to Active with the status Running click on the name of your deployment.

This will bring you to your deployment specific dashboard, click on the Endpoint to go to your running code editor instance.
Note:
There might be a slight delay before the notebook becomes live and accessible after the status shows
RunningPlease be patient and wait for a few seconds before attempting to access the notebook.
Congratulations! You have successfully deployed your notebook.
Stopping the Notebook
Once you have finished working with the notebook, you can stop it to save resources and reduce costs.

When you click the stop button, the system will initiate the process of culling the notebook.
This process involves shutting down the notebook environment and releasing the associated resources. By stopping the notebook, you effectively suspend its operation, allowing you to conserve resources and avoid unnecessary costs when the notebook is not in use.
Your data (apart from the apt packages installed as a root user) will be persisted, and you can easily restart it at a later time by clicking the resume button.
Updated 9 months ago