Setting up DNS and certificates on GKE
How to setup DNS for exposing endpoints and certificates in GKE for SSL
In this section how we can setup DNS and certificates on GKE. This section is helpful if you are trying to configure the certificate and DNS provider in the Google cloud platform. If you are using some other DNS provider make sure to perform the same tasks like setting up DNS provider to the loadbalancer's address and allowing cert-manager to make requests on your behalf to modify DNS requests for issuing certificates.
Setting up DNS
Creating Hosted Zone in CloudDNS
Cloud DNS is the DNS service provided by Google cloud to manage name server settings for your domain. The domain name that you want to configure for the cluster deployed in the Truefoundry control plane will be hosted here.
Authenticate with Google cloud using the gcloud command
gcloud auth login
Set your project
export PROJECT_ID=<project-id>

# set project in gcloud
gcloud config set project $PROJECT_ID
You can use the below gcloud command to create a hosted zone in GCP's Cloud DNS
gcloud dns managed-zones create NAME \
    --description=DESCRIPTION \
    --dns-name=DNS_SUFFIX \
    --labels=LABELS \
    --visibility=public --format=json | jq '.[].nameServers'


 # Example
 gcloud dns managed-zones create example-truefoundry-tech \
    --description="DNS zone for example cluster" \
    --dns-name=example.truefoundry.tech \
    --labels=cluster=truefoundry,tenant=develop,team=ml \
    --visibility=public --format=json | jq '.[].nameServers'
Replace the following:
NAME: a name for your zoneDESCRIPTION: a description for your zoneDNS_SUFFIX: the DNS suffix for your zone, such as example.comLABELS: an optional comma-delimited list of key-value pairs such as dept=marketing or project=project1
See Creating a Public Zone for more details.
Registrar setup
Registrar setup is done for the all the domain request for
*.example.truefoundry.techto reach our created Zone and then get resolved to the respective address.For this to happen we need to create a registrar entry in the main domain DNS zone. When we create this kind of entry all the request that are coming for
example.truefoundry.techwill reach the cloud DNS zone that we have created.To do this for Google Cloud simply point the below NS records to
example.truefoundry.techin your original DNS provider. Check Registrar's setup for more details.You might get a different NS records for google other then
ns-cloud-d1.googledomains.com.ns-cloud-d1.googledomains.com. ns-cloud-d2.googledomains.com. ns-cloud-d3.googledomains.com. ns-cloud-d4.googledomains.com.
Installing cert-manager
In this step we will install cert-manager from the UI.
-
Head over to the Integrations tab in the left panel and select the right cluster in which you want to install cert-manager. Click on the Three dots at the left-panel and select Manage Applications.
-
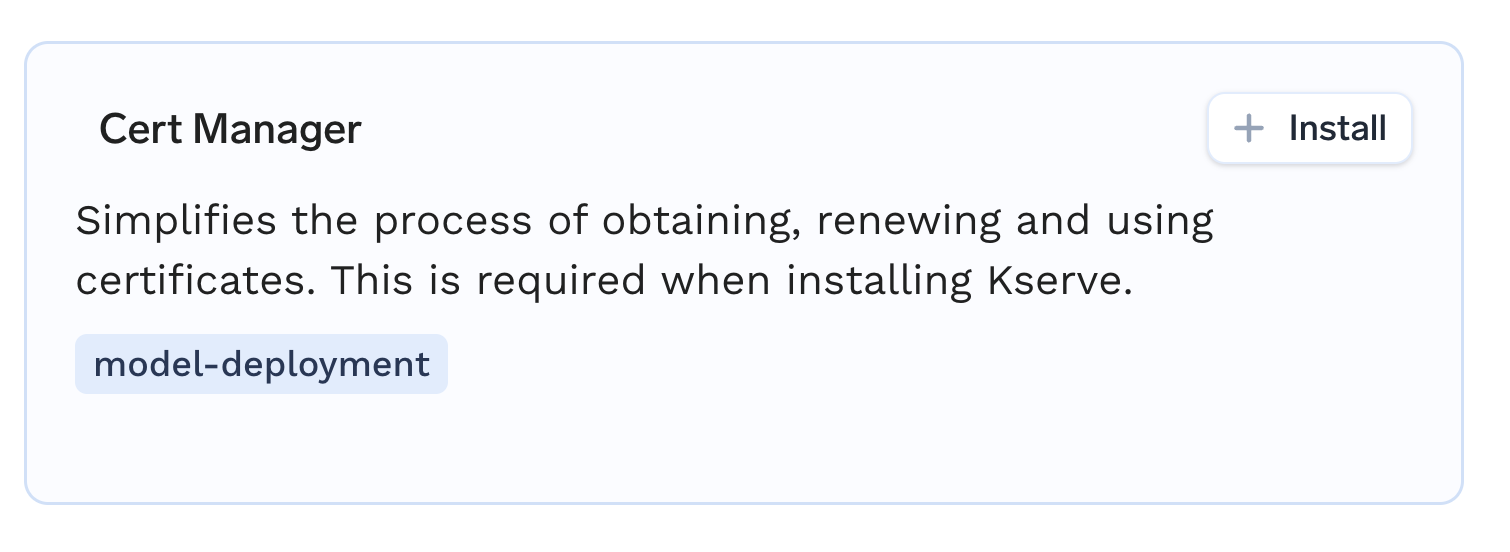
Find Cert-Manager in the list and click on the + Install icon.
-
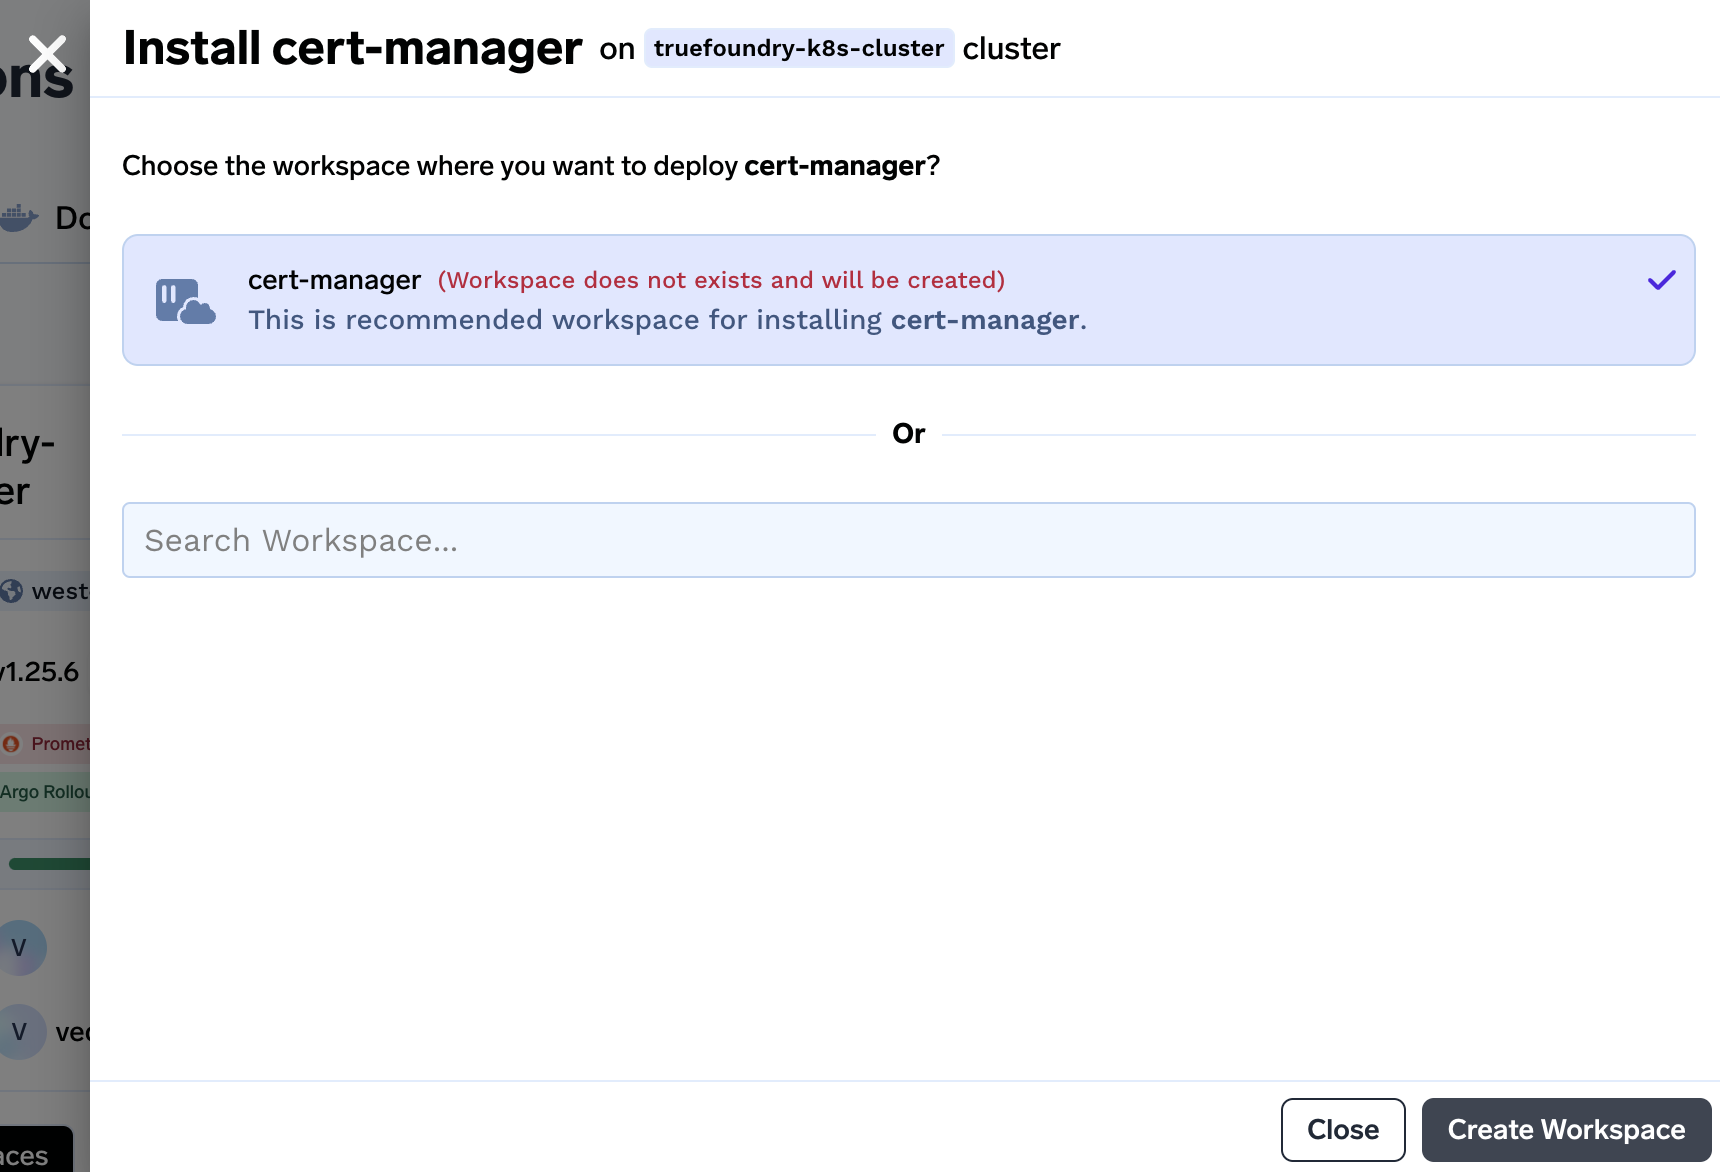
We will be asked to create workspace if the workspace doesn't exist beforehand. Click on Create Workspace to create a workspace.
-
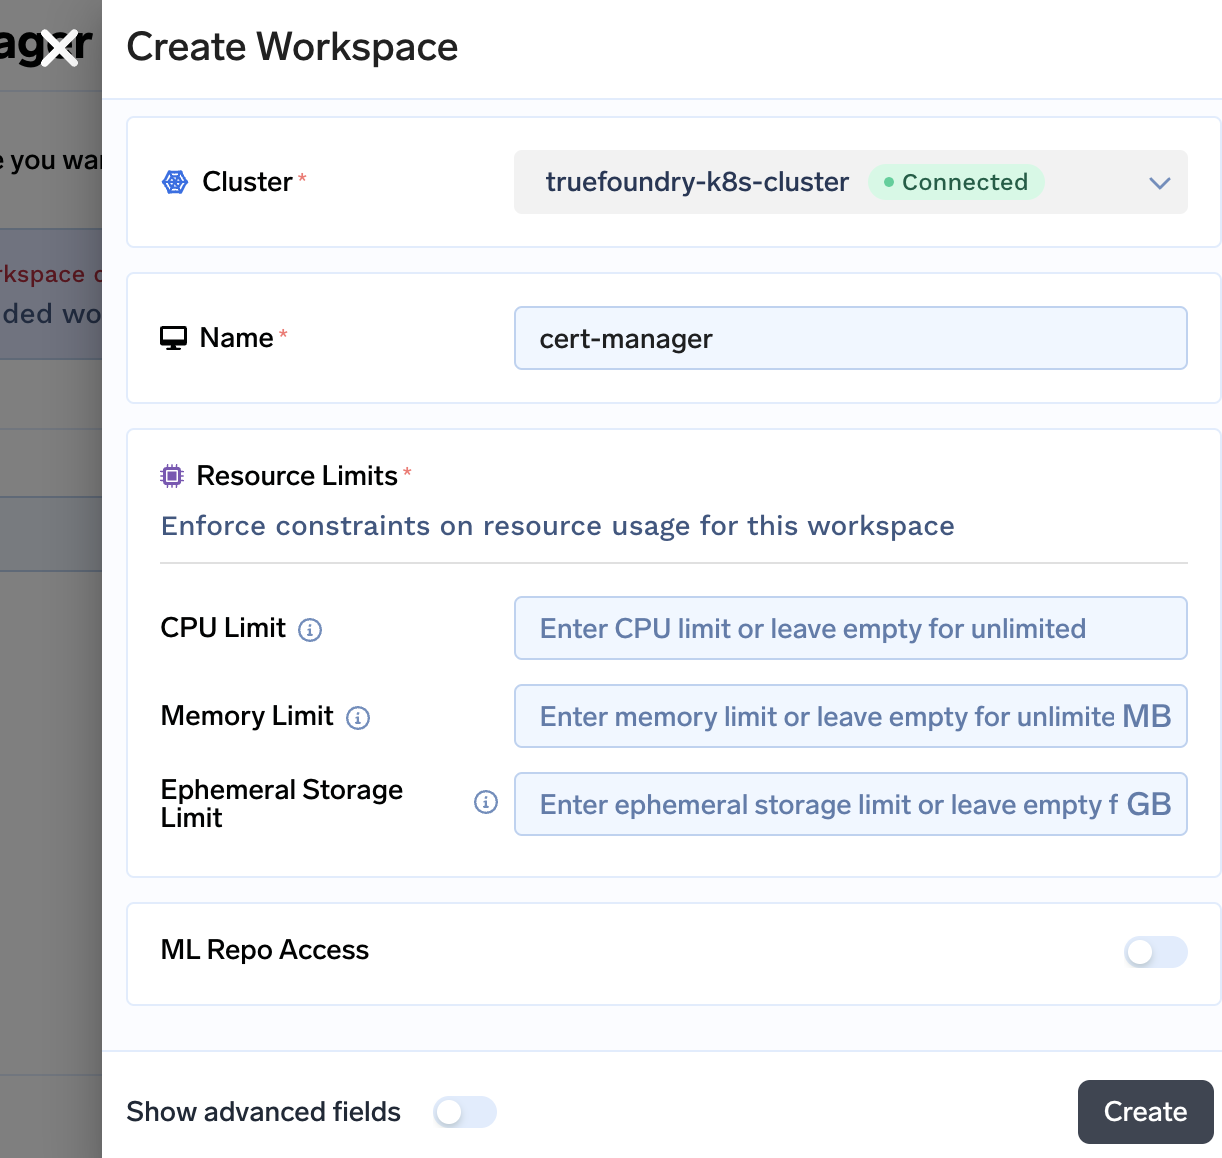
In the next step you will be asked to confirm few details. If you want to specify certain limits on the workspace you can specify here. You can leave it empty as each Managed Application gets deployed in the right workspace with rightful amount of resources. Click on Create to create the workspace.
-
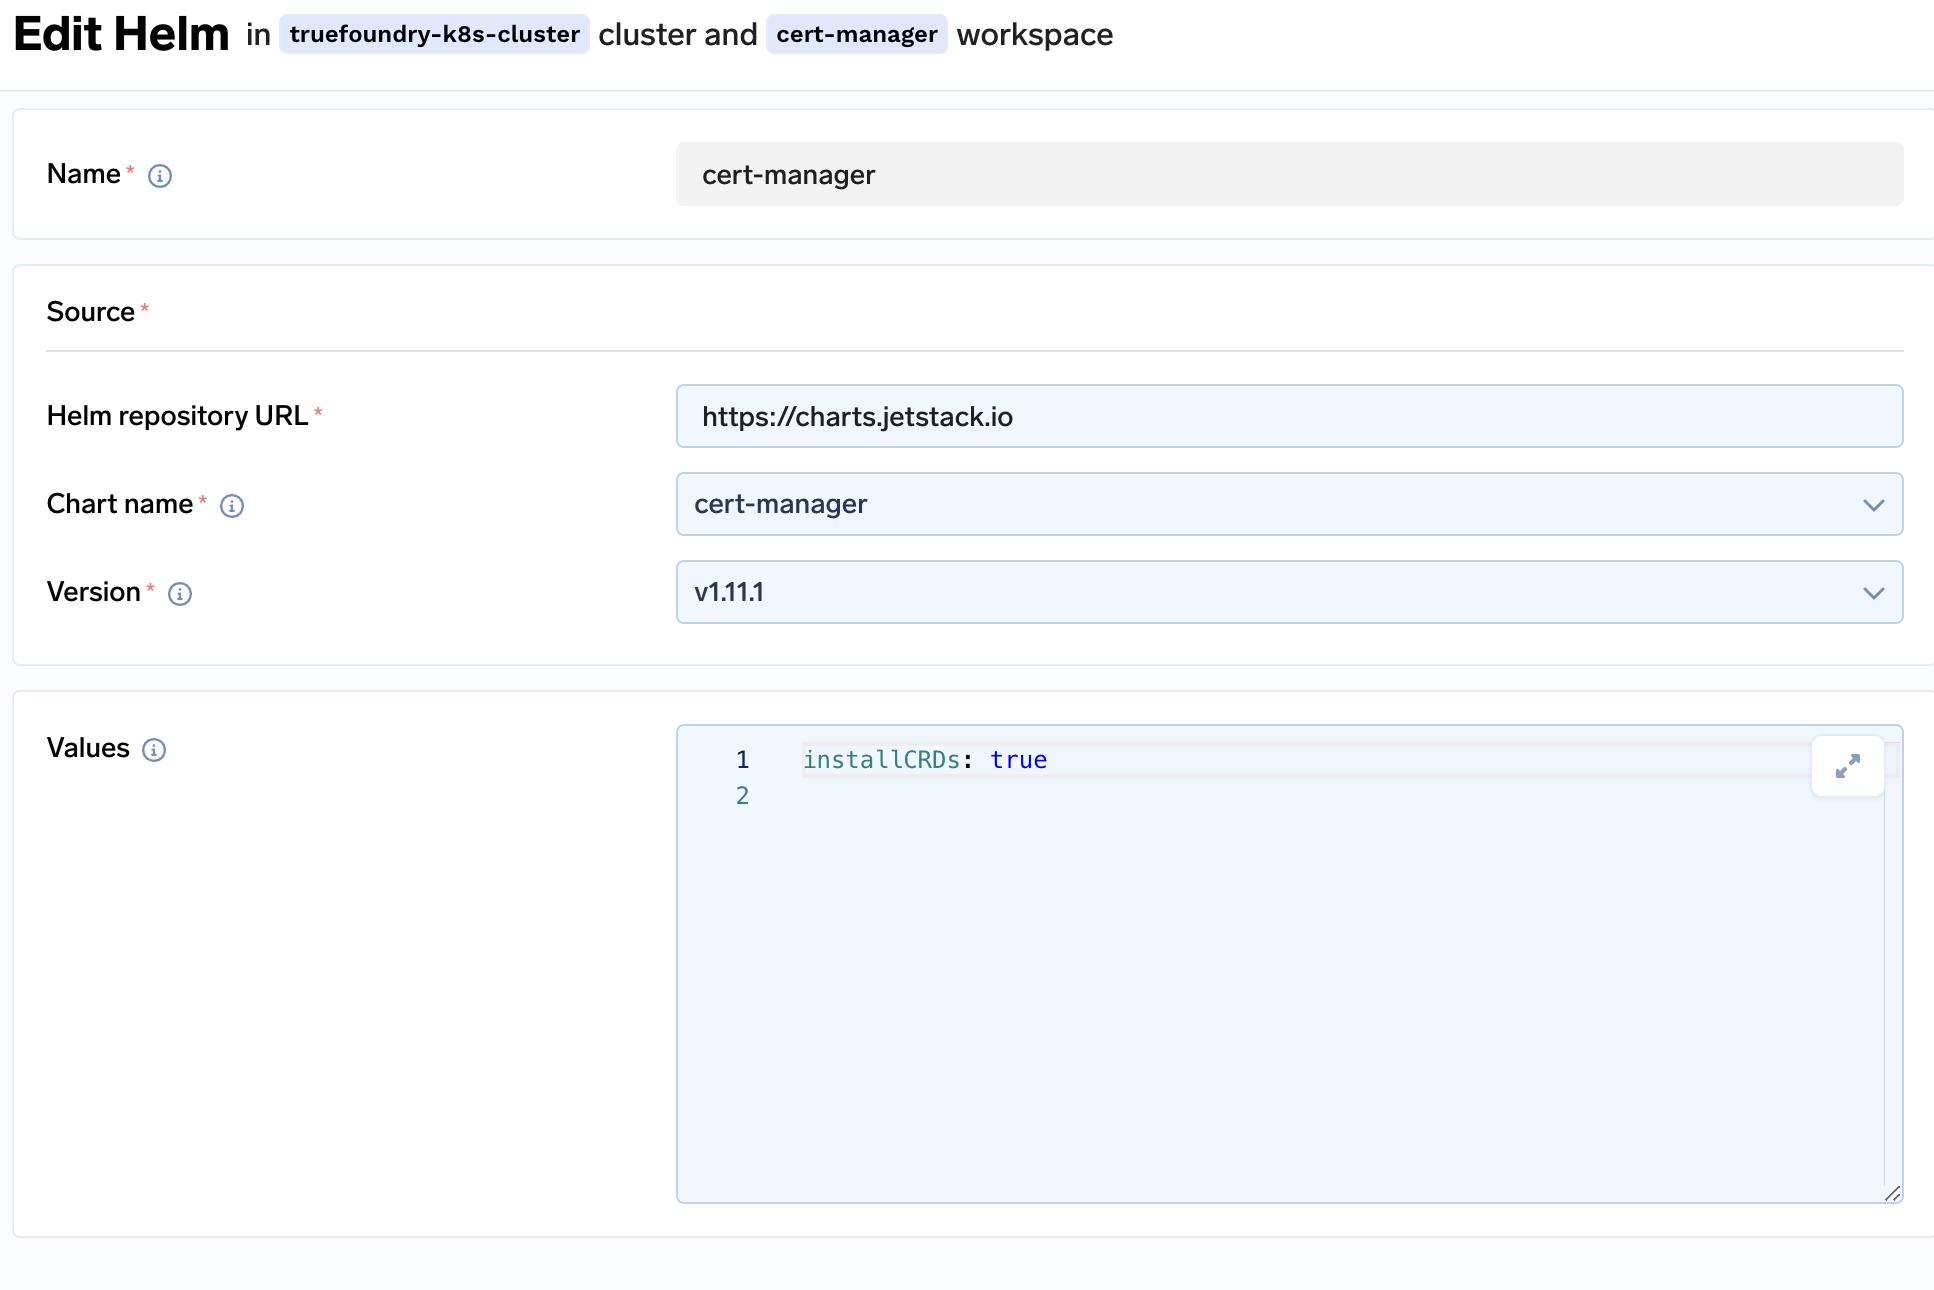
Once the workspace is created, you will be asked to install
cert-manager
-
Make sure to add the below argument in the
valuessection. This is done so thatcert-managercan automatically take the credentials for the API request to contact CloudDNS in GCP from the metadata.extraArgs: - --issuer-ambient-credentials -
Click on Submit to create the application. You can check the pods and services in the
cert-managernamespace.$ kubectl get deploy,pods,svc -n cert-manager NAME READY UP-TO-DATE AVAILABLE AGE deployment.apps/cert-manager 1/1 1 1 30s deployment.apps/cert-manager-cainjector 1/1 1 1 30s deployment.apps/cert-manager-webhook 1/1 1 1 30s NAME READY STATUS RESTARTS AGE pod/cert-manager-5844b44c6b-lrhvg 1/1 Running 0 10s pod/cert-manager-cainjector-5499ff866c-qrbft 1/1 Running 0 23s pod/cert-manager-webhook-5586fdb468-bccbp 1/1 Running 0 17s NAME TYPE CLUSTER-IP EXTERNAL-IP PORT(S) AGE service/cert-manager ClusterIP 10.1.112.46 <none> 9402/TCP 30s service/cert-manager-webhook ClusterIP 10.1.111.128 <none> 443/TCP 30s
Setting up Google serviceaccount with kubernetes serviceaccount
Cert-manager verifies the certificate by identifying whether the owner of the domain is the one who say they are. For this they create DNS or HTTP challenges. We will work on DNS challenges in which cert-manager will try to authenticate to GCP cloud DNS, create some temporary records (generally CNAME) and verify that record from public endpoint. If the value for the record matches then the domain is verified and the certificate gets created.
In the above cert-manager needs to talk to the GCP cloud DNS to make DNS entry's for DNS challenges. For this we need to create an IAM serviceaccount in GCP so that cert-manager in k8s can use that.
Creating a serviceaccount in GCP
# setting up IAM serviceaccount name
export IAM_SA_NAME="dns01-solver"

# Create IAM serviceaccount
gcloud iam service-accounts create $IAM_SA_NAME --display-name "$IAM_SA_NAME"
Once the serviceaccount gets created we need to give DNS permissions for it. Right now we will give dns.admin permissions.
gcloud projects add-iam-policy-binding $PROJECT_ID \
   --member serviceAccount:$IAM_SA_NAME@$PROJECT_ID.iam.gserviceaccount.com \
   --role roles/dns.admin
Restrictive permissions
Giving
dns.adminpermission is not the best approach when we are trying to shift security to left side of deployment chain. So you can give these permissions to
dns.resourceRecordSets.
dns.changes.
dns.managedZones.list
As we know cert-manager is running inside k8s and it can't simply connect with cloudDNS because a serviceaccount is created. We need to somehow map the serviceaccount created in GCP with cert-manager.
Connecting cert-manager with GCP serviceaccount
Cert-manager uses the cert-manager serviceaccount to authenticate to k8s API.
gcloud iam service-accounts add-iam-policy-binding \
    --role roles/iam.workloadIdentityUser \
    --member "serviceAccount:$PROJECT_ID.svc.id.goog[cert-manager/cert-manager]" \
    $IAM_SA_NAME@$PROJECT_ID.iam.gserviceaccount.com
We need to annotate GCP serviceaccount details to the K8s serviceaccount so that cert-manager can call Cloud DNS API on its behalf. For this we can annotate k8s serviceaccount
# find the serviceaccount name
$ kubectl get sa -n cert-manager -l app=cert-manager
NAME           SECRETS   AGE
cert-manager   0         5m

# Annotating the serviceaccount
$ kubectl annotate serviceaccount --namespace=cert-manager cert-manager \
    "iam.gke.io/gcp-service-account=$IAM_SA_NAME@$PROJECT_ID.iam.gserviceaccount.com"
Once this is done cert-manager is now authenticated to make DNS requests.
Creating the certificate
Creating the certificate in cert-manager is very quick task. First we will create a kubernetes resource called Issuer . Issuer defines how will cert-manager issue the certificate. Make sure to create the issuer in istio-system namespace only. If the namespace is not created beforehand then you can go ahead and create one for yourself.
kubectl apply -f - <<EOF
apiVersion: cert-manager.io/v1
kind: Issuer
metadata:
  name: example-com-issuer
  namespace: istio-system
spec:
  acme:
    # give your email ID which will get notificate when the certificate gets expired
    email: <mailID>
     # staging server is used for testing, it will create certificate
     # which are not publicly accepted. For valid production certificates
     # use https://acme-v02.api.letsencrypt.org/directory as acme.server
    server: https://acme-staging-v02.api.letsencrypt.org/directory
    privateKeySecretRef:
      name: example-com-privkey
    solvers:
    - dns01:
        cloudDNS:
          project: $PROJECT_ID
EOF
Once the Issuer is created we need to create another kubernetes resource called Certificate which will provision the certificate for us. Make sure to create Certificate in istio-system namespace only as this certificate will be used by our service loadbalancer. In the dnsNames section of the below yaml you can give the domains names that you want
kubectl apply -f - <<EOF
apiVersion: cert-manager.io/v1
kind: Certificate
metadata:
  name: example-com-cert
  namespace: istio-system
spec:
  # the secret in which the cert will be pasted once provisioned
  # it MUST BE PRESENT IN THE istio-system NAMESPACE
  secretName: example-com-tls
  issuerRef:
    # Issuer name from the previous step
    name: example-com-issuer
  dnsNames:
  - "example.com"
  - "*.example.com"
EOF
Verify if the certs gets created or not by using the following command
$ kubectl get cert -n istio-system
NAME                 READY   SECRET           AGE
example-com-cert     True    example-com-tls  1m
Once the certificate is in READY state True then a secret will be created in the same namespace as that of the certificate with the name given in spec.secretName of the Certificate kind.
$ kubectl get secrets -n istio-system -l controller.cert-manager.io/fao=true
NAME             TYPE                DATA   AGE
example-com-tls  kubernetes.io/tls   2      30s
Certificate NOT READY
It is possible that certificate remains in the NOT READY state or
READY: Falsestate. This can be primarily because of few reasons
- Make sure you have passed the extra-argument
--issuer-ambient-credentialswhile installing cert-manager.- Make sure
serviceaccountin GCP is rightly annotated in the kubernetesserviceaccountand has the right permissions.- Moreover make sure cluster has workload identity enabled.
- Last resort will be to restart the pods of
cert-managerkubectl rollout restart deploy/cert-manager-cainjector -n cert-manager kubectl rollout restart deploy/cert-manager-webhook -n cert-manager kubectl rollout restart deploy/cert-manager -n cert-manager
Creating load balancer
For creating a load balancer Truefoundry provides you an application called tfy-istio-ingress that is available in the Manage Applications section of the cluster in the Integrations tab.
Click on Install to install the application. During the install add the following section in the values section of the tfy-istio-ingress
tfyGateway:
  name: tfy-wildcard
  spec:
    selector:
      istio: tfy-istio-ingress
    servers:
      - hosts:
         # provide the domains here
          - "*..example.com"
          - "example.com"
        port:
          name: http-tfy-wildcard
          number: 80
          protocol: HTTP
        tls:
          httpsRedirect: true
      - hosts:
          - "*.example.com"
          - "example.com"
        port:
          name: https-tfy-wildcard
          number: 443
          protocol: HTTPS # make sure to keep it HTTPS
        tls:
          mode: SIMPLE
          credentialName: example-com-tls # name of the secret in Certificate spec.secretName
This will create a load balancer service with the rightful certificate created by cert-manager to terminate TLS at the k8s level. To get the IP of the load balancer
$ kubectl get svc -n istio-system -l app=tfy-istio-ingress
NAME                TYPE           CLUSTER-IP     EXTERNAL-IP    PORT(S)                                      AGE
tfy-istio-ingress   LoadBalancer   10.1.103.132   <SECRET_IP>    15021:31425/TCP,80:32171/TCP,443:31336/TCP   24h
Point Load balancer IP address to domain name
Now we need to point example.com to the service IP of the load balancer so that our applications point to the right IP. For this we will use the below command. Make sure to replace MANAGED_ZONE to the rightful zone name and the LOADBALANCER_SERVICE_IP to load balancer's service IP address.
# start the transaction, basically it creates a file
gcloud dns record-sets transaction start \
   --zone=MANAGED_ZONE

# add the records in the transactions, it append details to the above created file
gcloud dns record-sets transaction add LOADBALANCER_SERVICE_IP \
   --zone=MANAGED_ZONE \
   --name=example.com \
   --type=A \
   --ttl=300

# Execute the trasanction, applies the details of the files to the google's Cloud DNS API
 gcloud dns record-sets transaction execute \
   --zone=MANAGED_ZONE
Run the dig command to check the record
dig -t A example.com +short
Updated 4 months ago