Quick Start
To get started, we need to have the mlfoundry library installed. You can install it following the instructions in the CLI Setup docs.
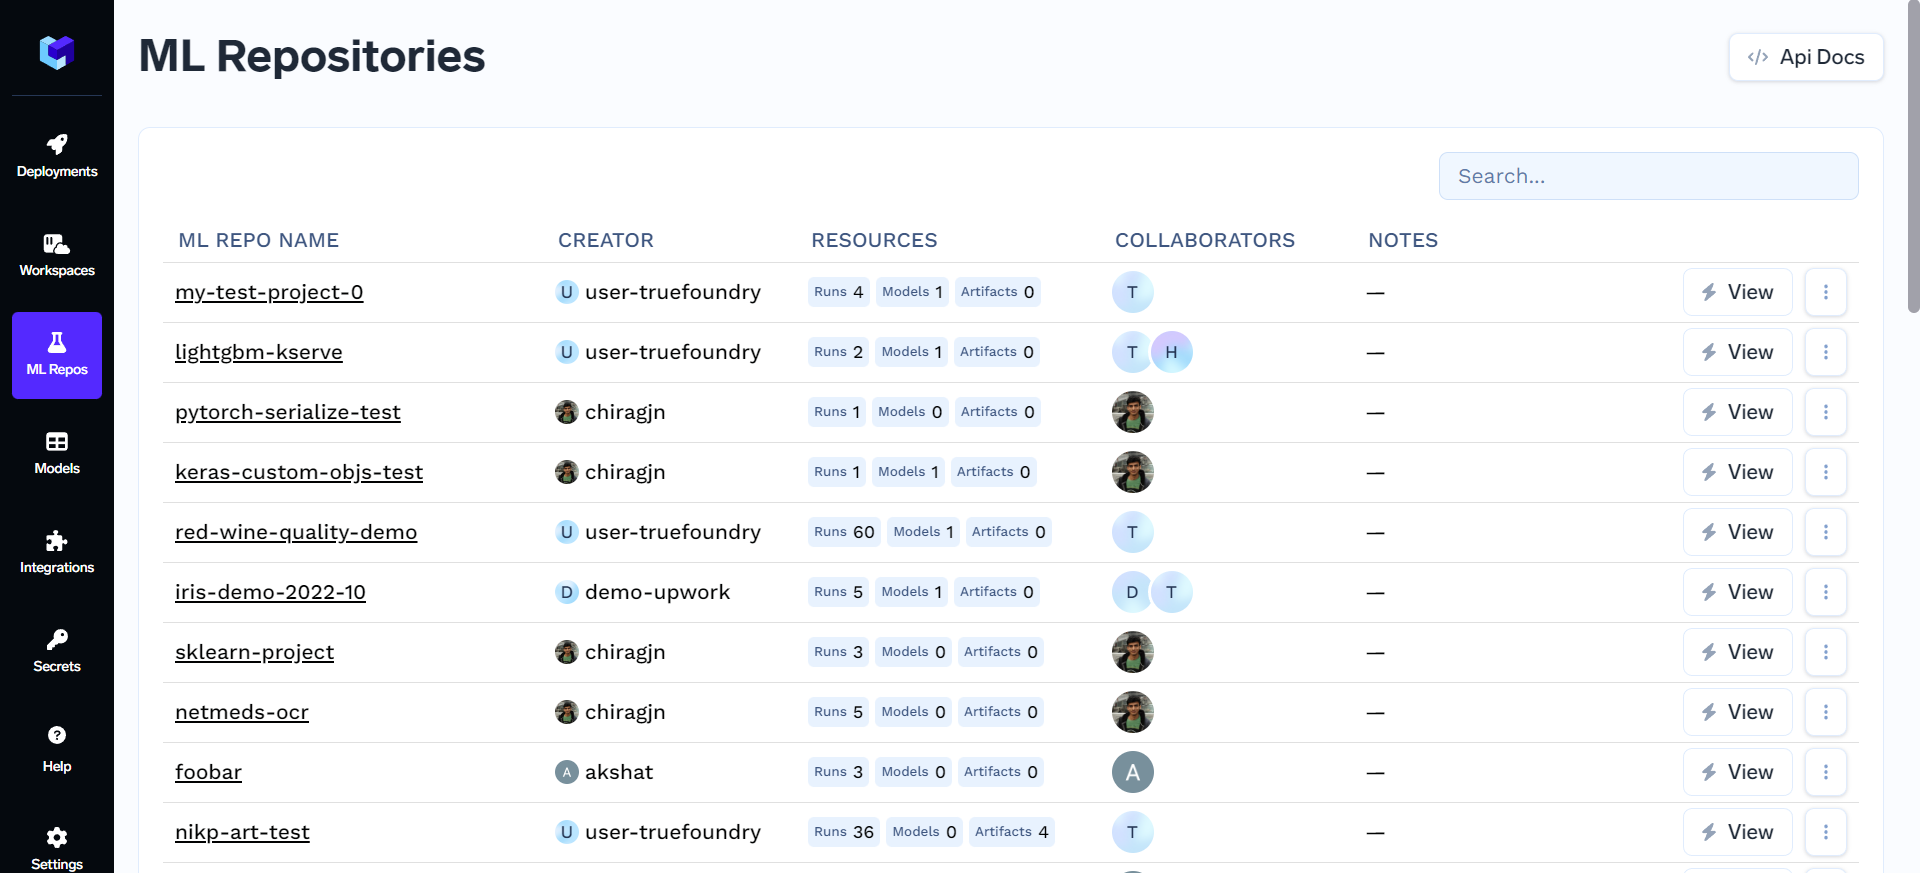
Create a run and start tracking
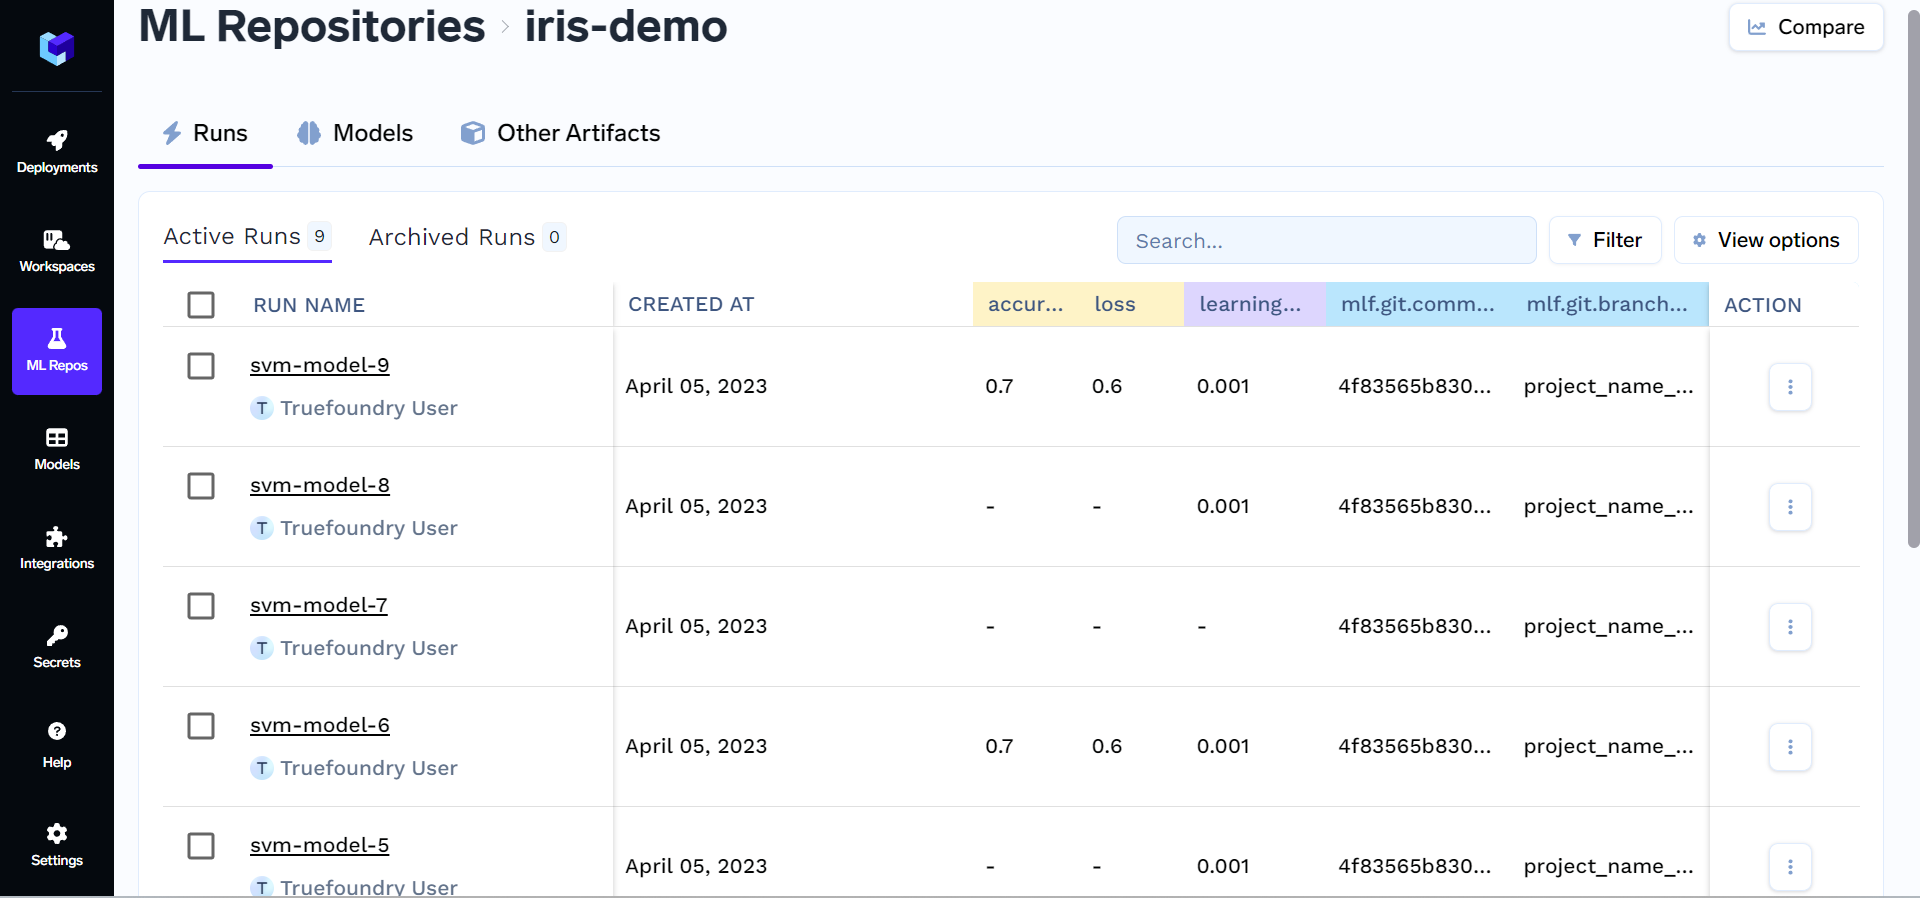
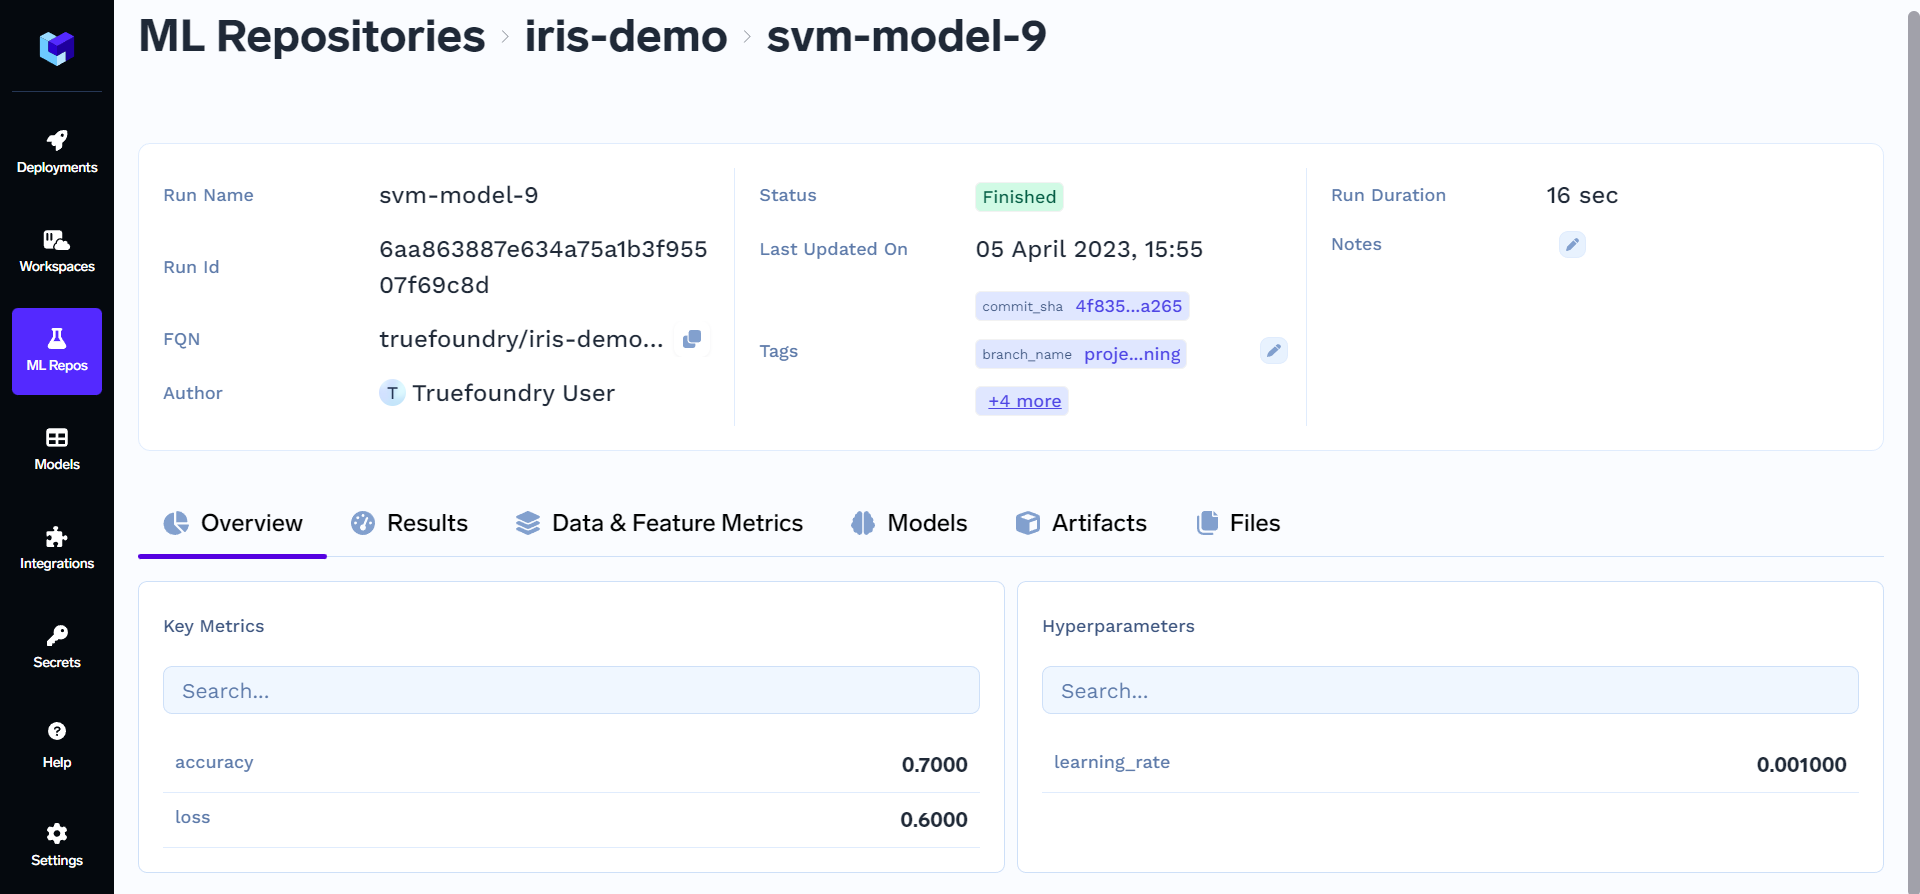
Initialize a new run. This initialization will start tracking system metrics automatically. This run will now appear on the mlfoundry dashboard.
from truefoundry.ml import get_client

client = get_client()
client.create_ml_repo('iris-demo')
run = client.create_run(ml_repo="iris-demo", run_name="svm-model")
Track parameters
Save hyperparameters for your experiment.
run.log_params({"learning_rate": 0.001})
Track metrics
Save metrics for your model.
run.log_metrics({"accuracy": 0.7, "loss": 0.6})
End a run and stop tracking
After completion of your experiment, you can end a run. This function marks the run as “finished” and stops tracking system metrics.
run.end()
Congratulations! You have successfully created a new ML repository. It is now ready for use, and you can start populating it with your data, code, models, and other related resources.
Login without manual interaction ( Non-Interactive Mode )
TrueFoundry offers a convenient option to automate login through the command-line interface (CLI) for integration within your scripts. This non-interactive approach utilizes environment variables, eliminating the need for manual input (approving through clicking the Approve button in the browser that opens)
In non-interactive mode, you can set environment variables to automate the login process. To do this, set the following environment variables:
TFY_API_KEY: Your TrueFoundry API key. You can obtain your API key by referring to the API Key Generation Documentation.TFY_HOST: The host URL of your MLFoundry instance, e.g., https://your-domain.truefoundry.com.
Updated 24 days ago