What is Flowise?
Flowise is an open-source LLM application builder that enables users to create sophisticated LLM applications using an intuitive drag-and-drop visual interface. It simplifies the process of building complex AI workflows, chatbots, and applications without requiring extensive coding knowledge.Key Features of Flowise
- Visual Flow Builder: Create complex AI applications using drag-and-drop nodes and visual connections, making LLM application development accessible to both technical and non-technical users
- Chatflow Templates: Pre-built templates and components for common use cases like RAG, conversational AI, and document processing to accelerate development
- Node-Based Architecture: Modular system with specialized nodes for different functions including LLMs, vector databases, document loaders, and memory management
- API Integration: Seamless integration capabilities with REST APIs, webhooks, and various data sources for building production-ready applications
Prerequisites
Before integrating Flowise with TrueFoundry, ensure you have:- TrueFoundry Account: Create a Truefoundry account with atleast one model provider and generate a Personal Access Token by following the instructions in Generating Tokens
- Flowise Account: Set up a Flowise account using either the open-source version for local deployment or the SaaS version
Integration Guide
- Flowise Account: Set up a Flowise account using either the open-source version for local deployment or the SaaS version.
Step 1: Configure Flowise Credentials
First, you need to set up credentials in Flowise to connect to TrueFoundry’s Gateway:- Navigate to Credentials: In your Flowise dashboard, look for the “Credentials” section in the left sidebar or main menu
- Add New Credential: Click on “Add Credential” or the ”+” button to create a new credential
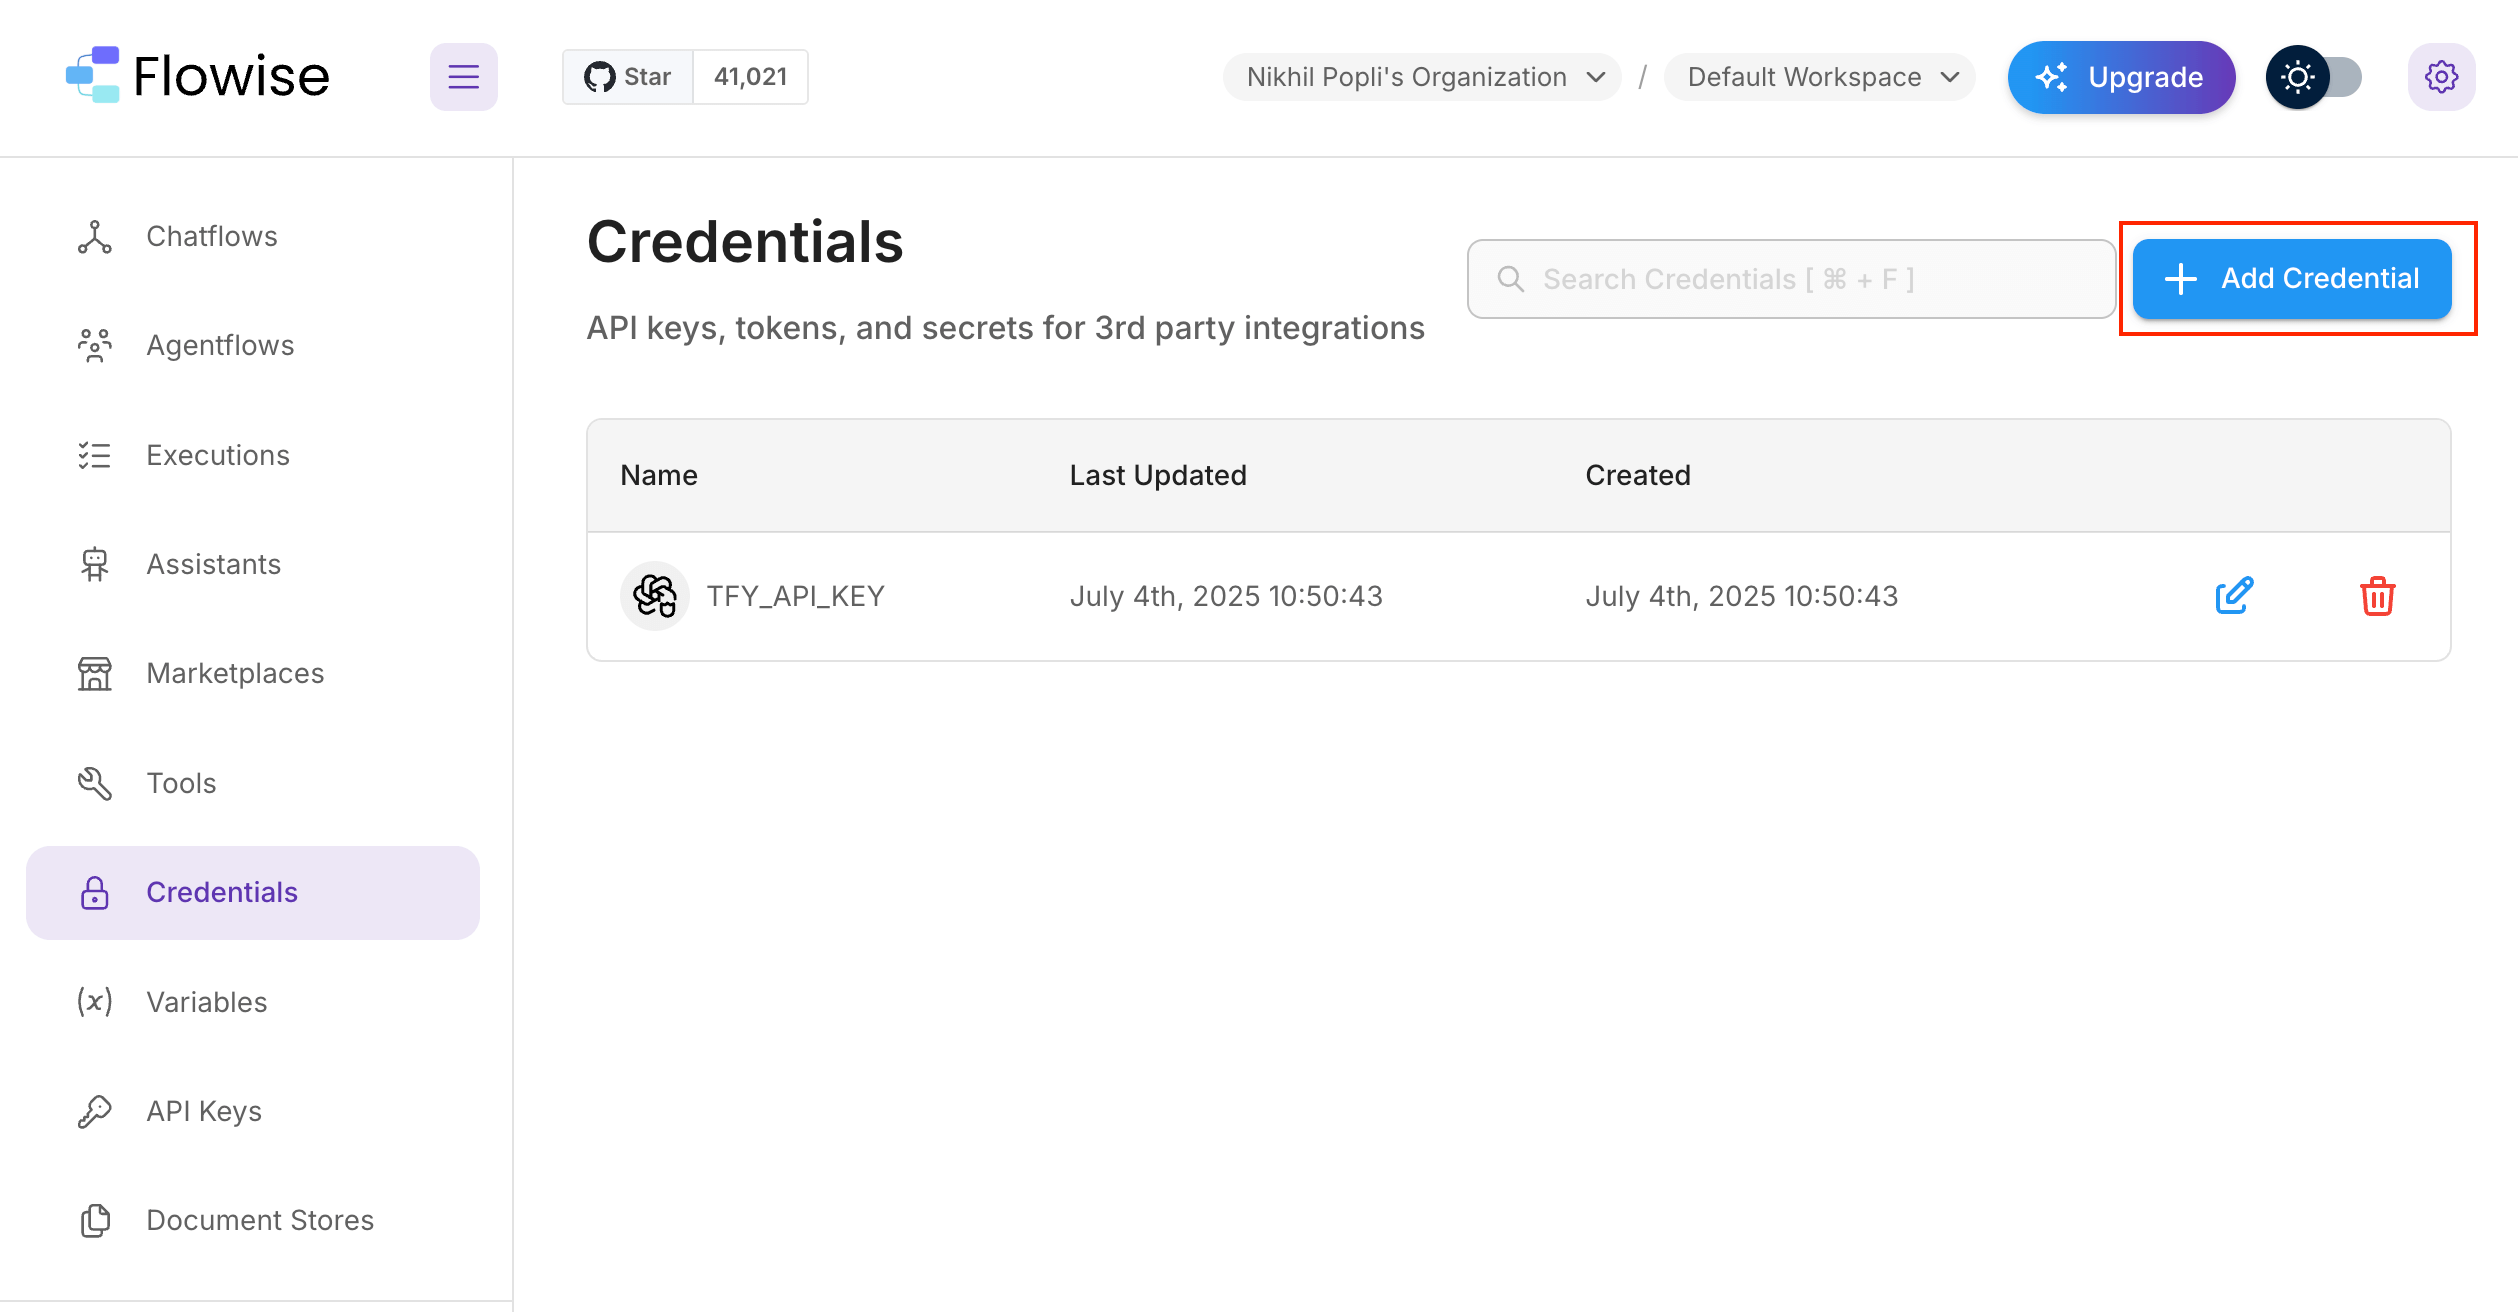
Flowise Credentials
Step 2: Configure OpenAI Custom Credential
Since TrueFoundry’s Gateway is OpenAI-compatible, you’ll use the OpenAI Custom credential type:- Select Credential Type: From the dropdown menu, choose “OpenAI API”
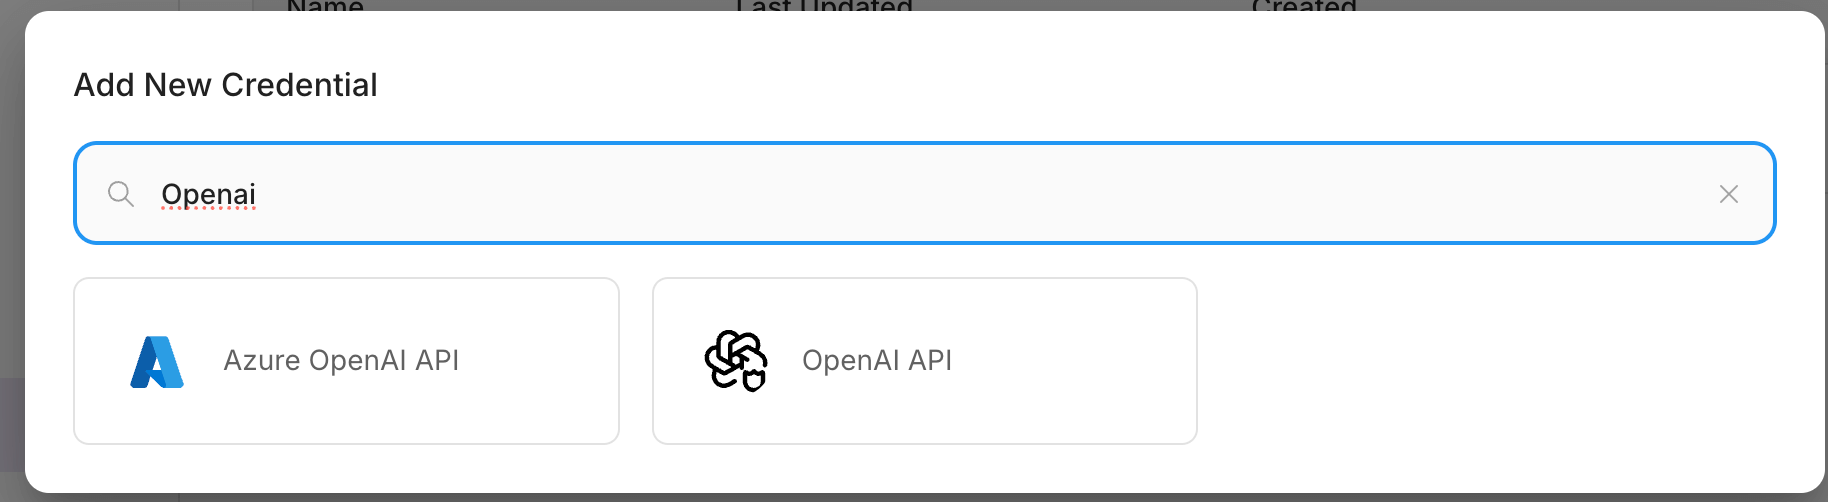
OpenAI Custom
-
Enter Credential Details:
- API Key: Paste your TrueFoundry authentication token here
- Name: Give your credential a descriptive name (e.g., “TrueFoundry Gateway”)
- Save the Credential: Click “Save” to store your TrueFoundry Gateway credentials
Step 3: Create Your First Agent Workflow
Now you’ll create an agent that uses TrueFoundry’s Gateway for LLM calls:- Navigate to AgentFlow: In the left sidebar, click on “AgentFlow” to access the workflow builder
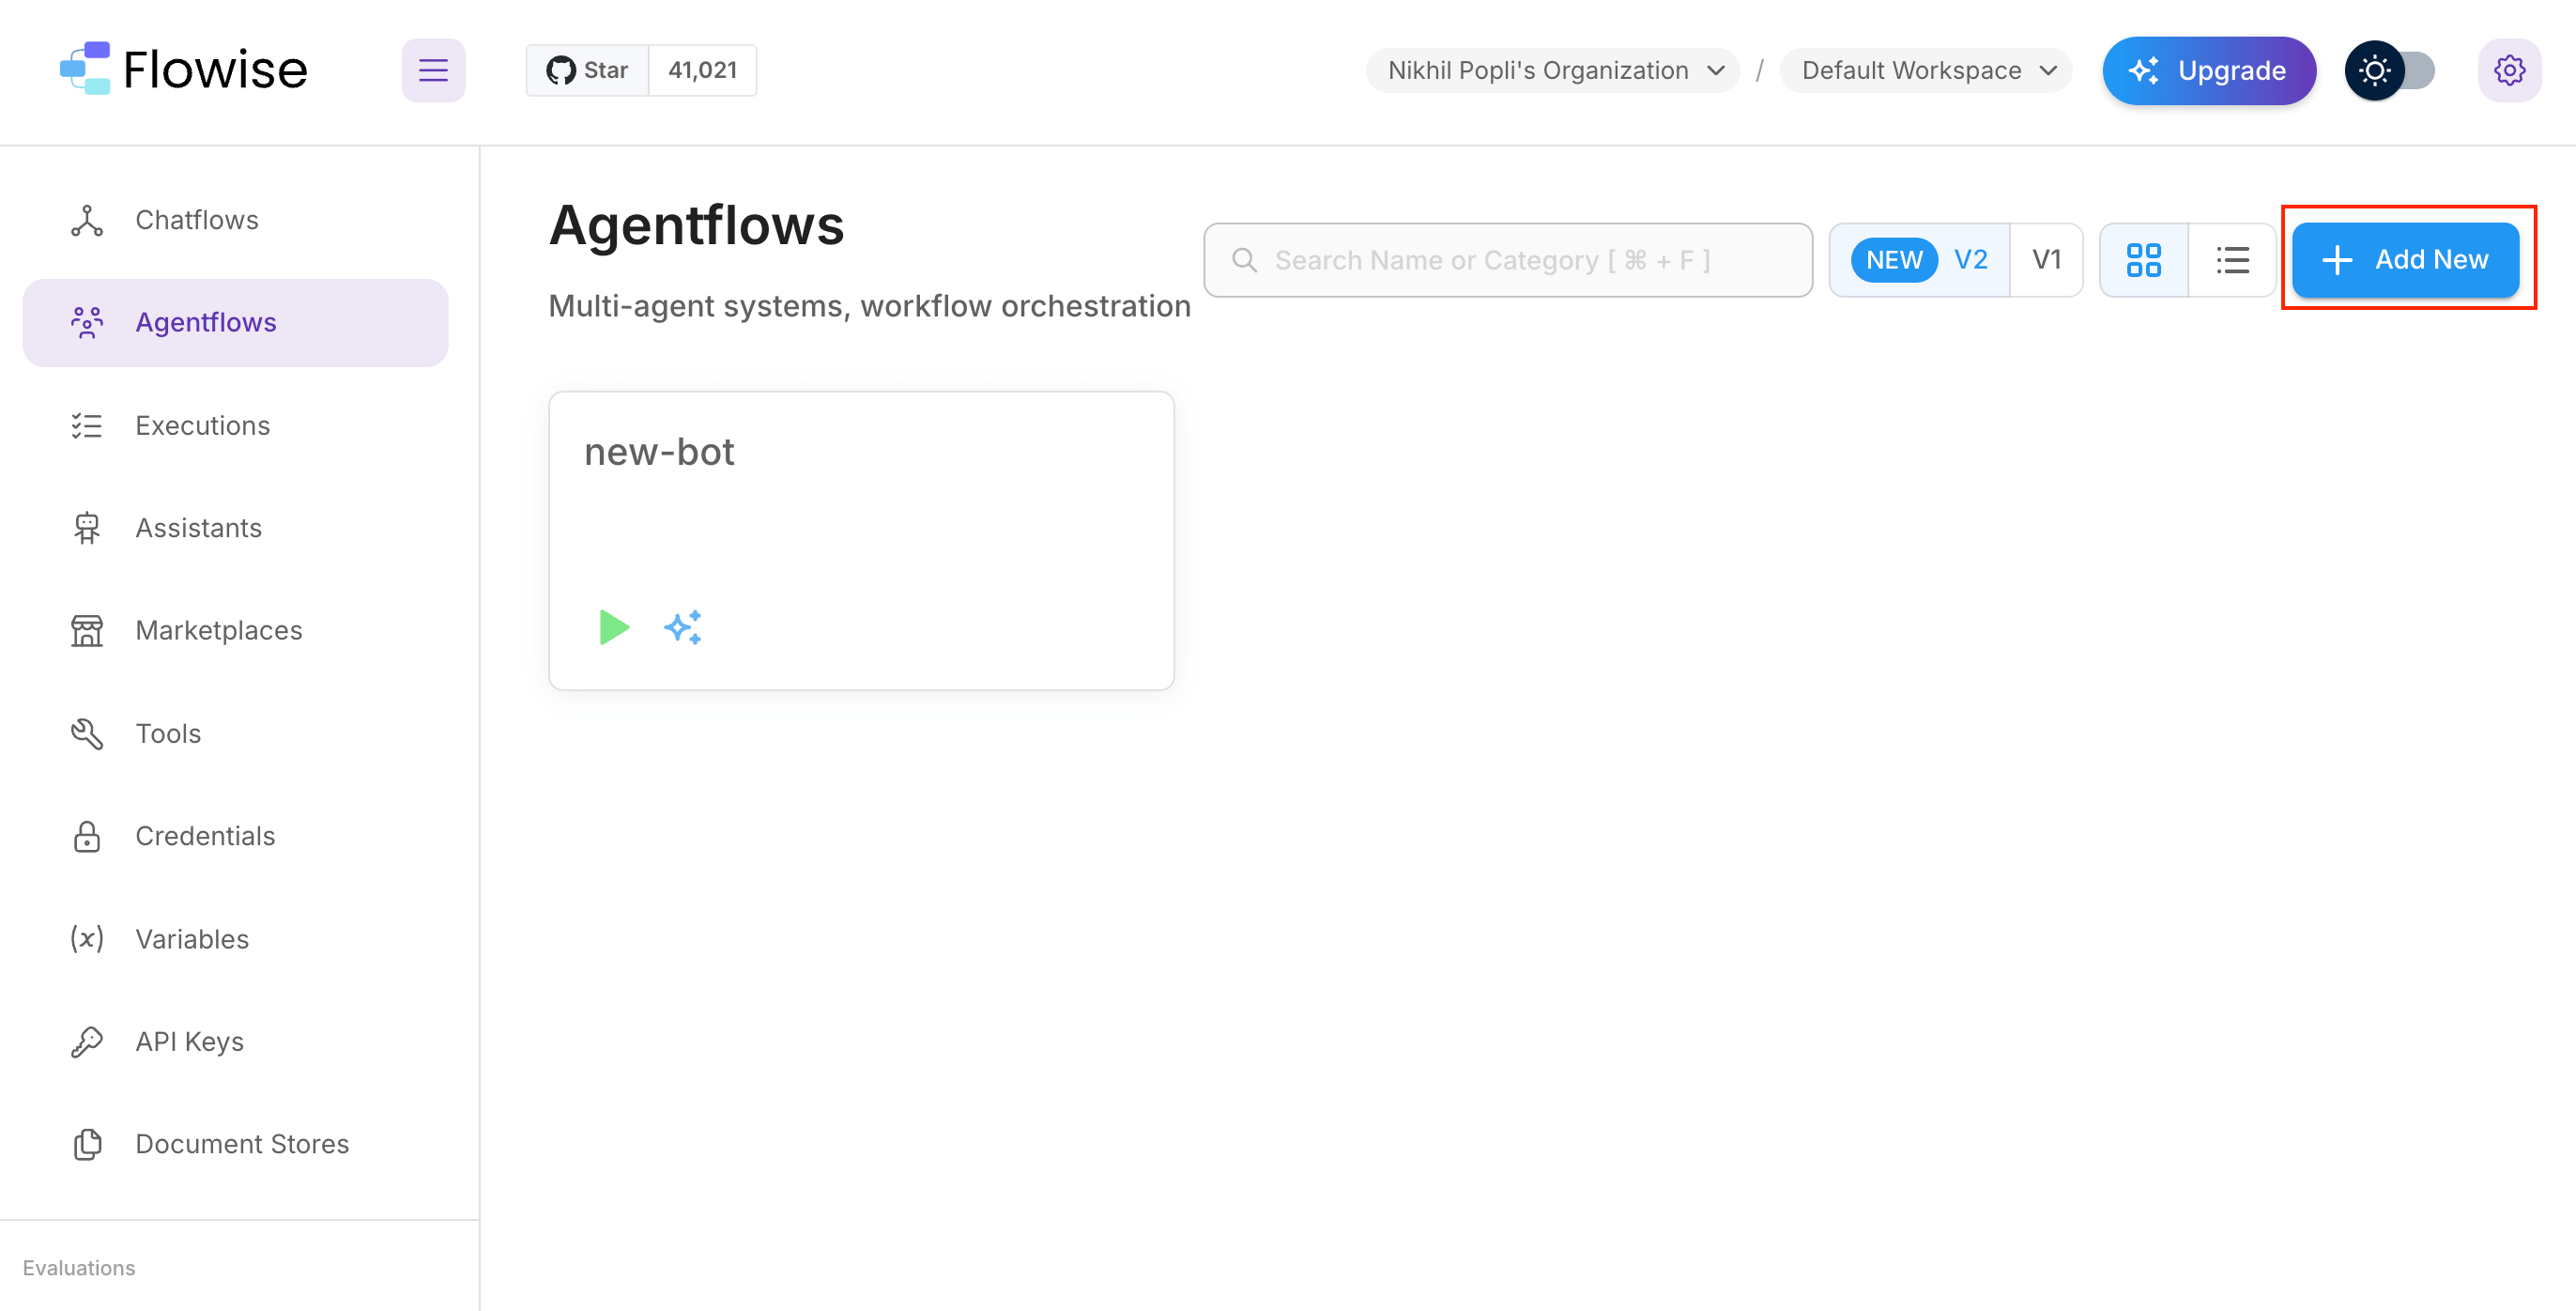
AgentFlow
- Add a New Node: Click the “Add Node” button to start building your workflow
Add Node
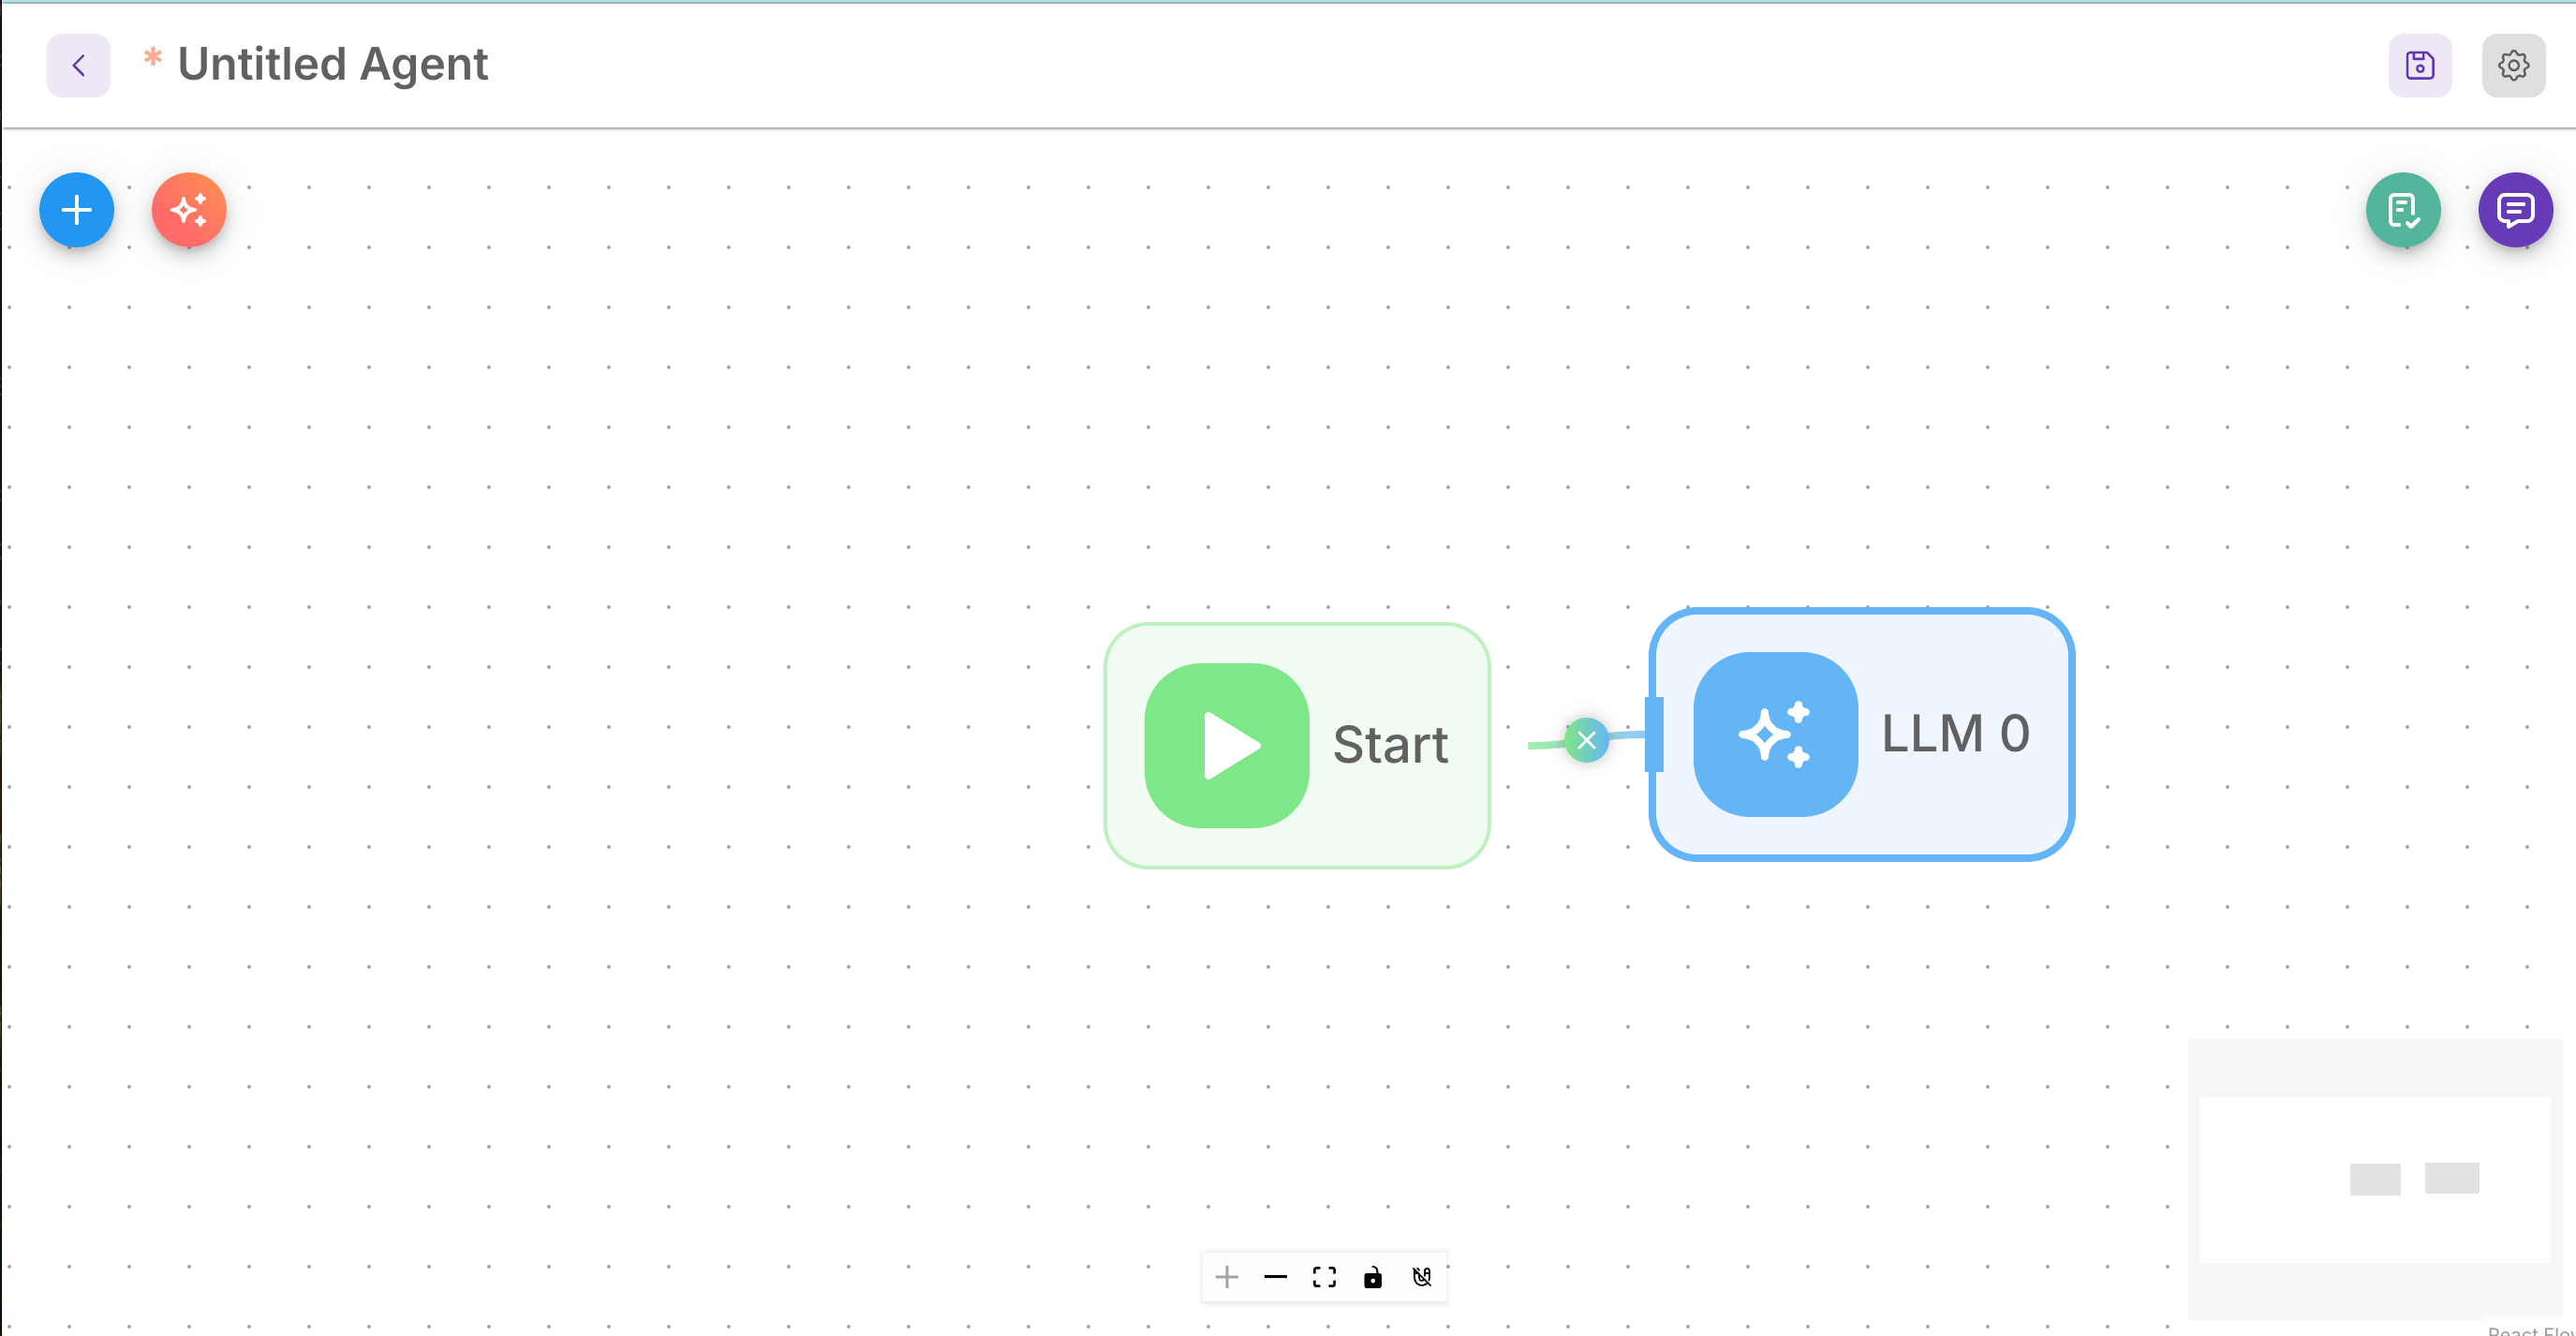
- Connect Start Node: Make sure to create a connection from the Start node to your AgentFlow node. This is crucial for the workflow to function properly.
Edit Node
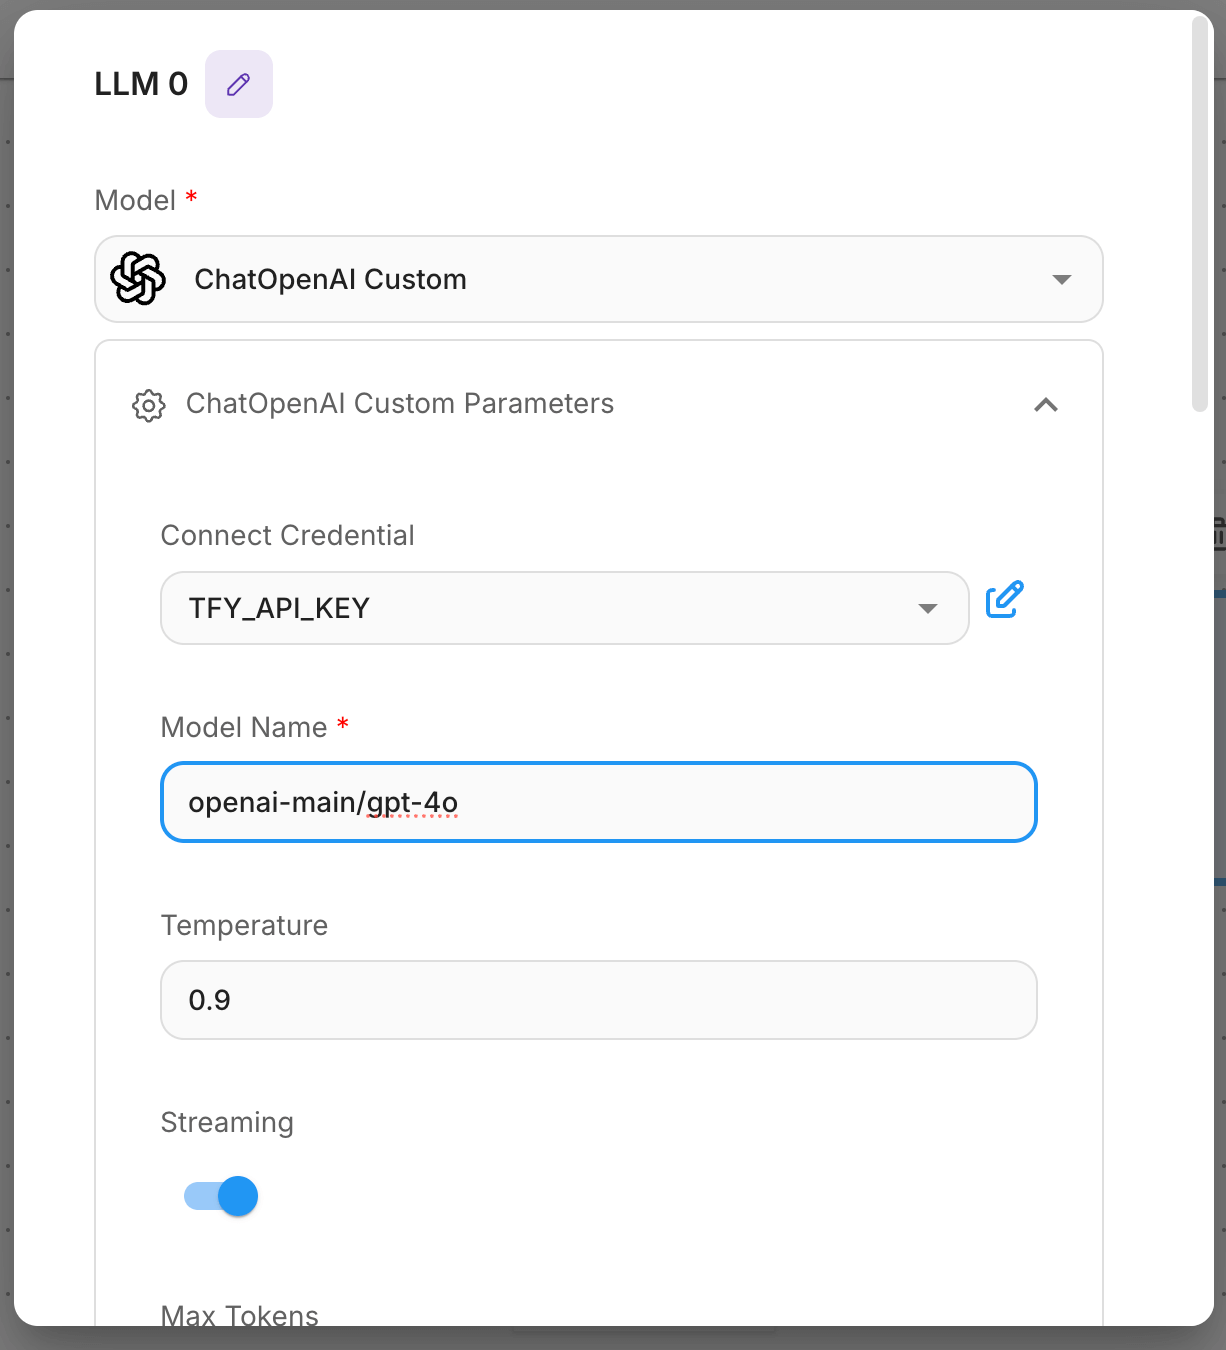
Step 4: Configure the LLM Model
This is the most important step where you connect your agent to TrueFoundry’s models:- Configure the Agent Node:
- Click on your agent node to open the configuration panel
- Select Credential: Choose the TrueFoundry credential you created in Step 2
- Base URL and Model Name: You will get both the base URL and model name from the unified code snippet in our playground (ensure you use the same model name as written)
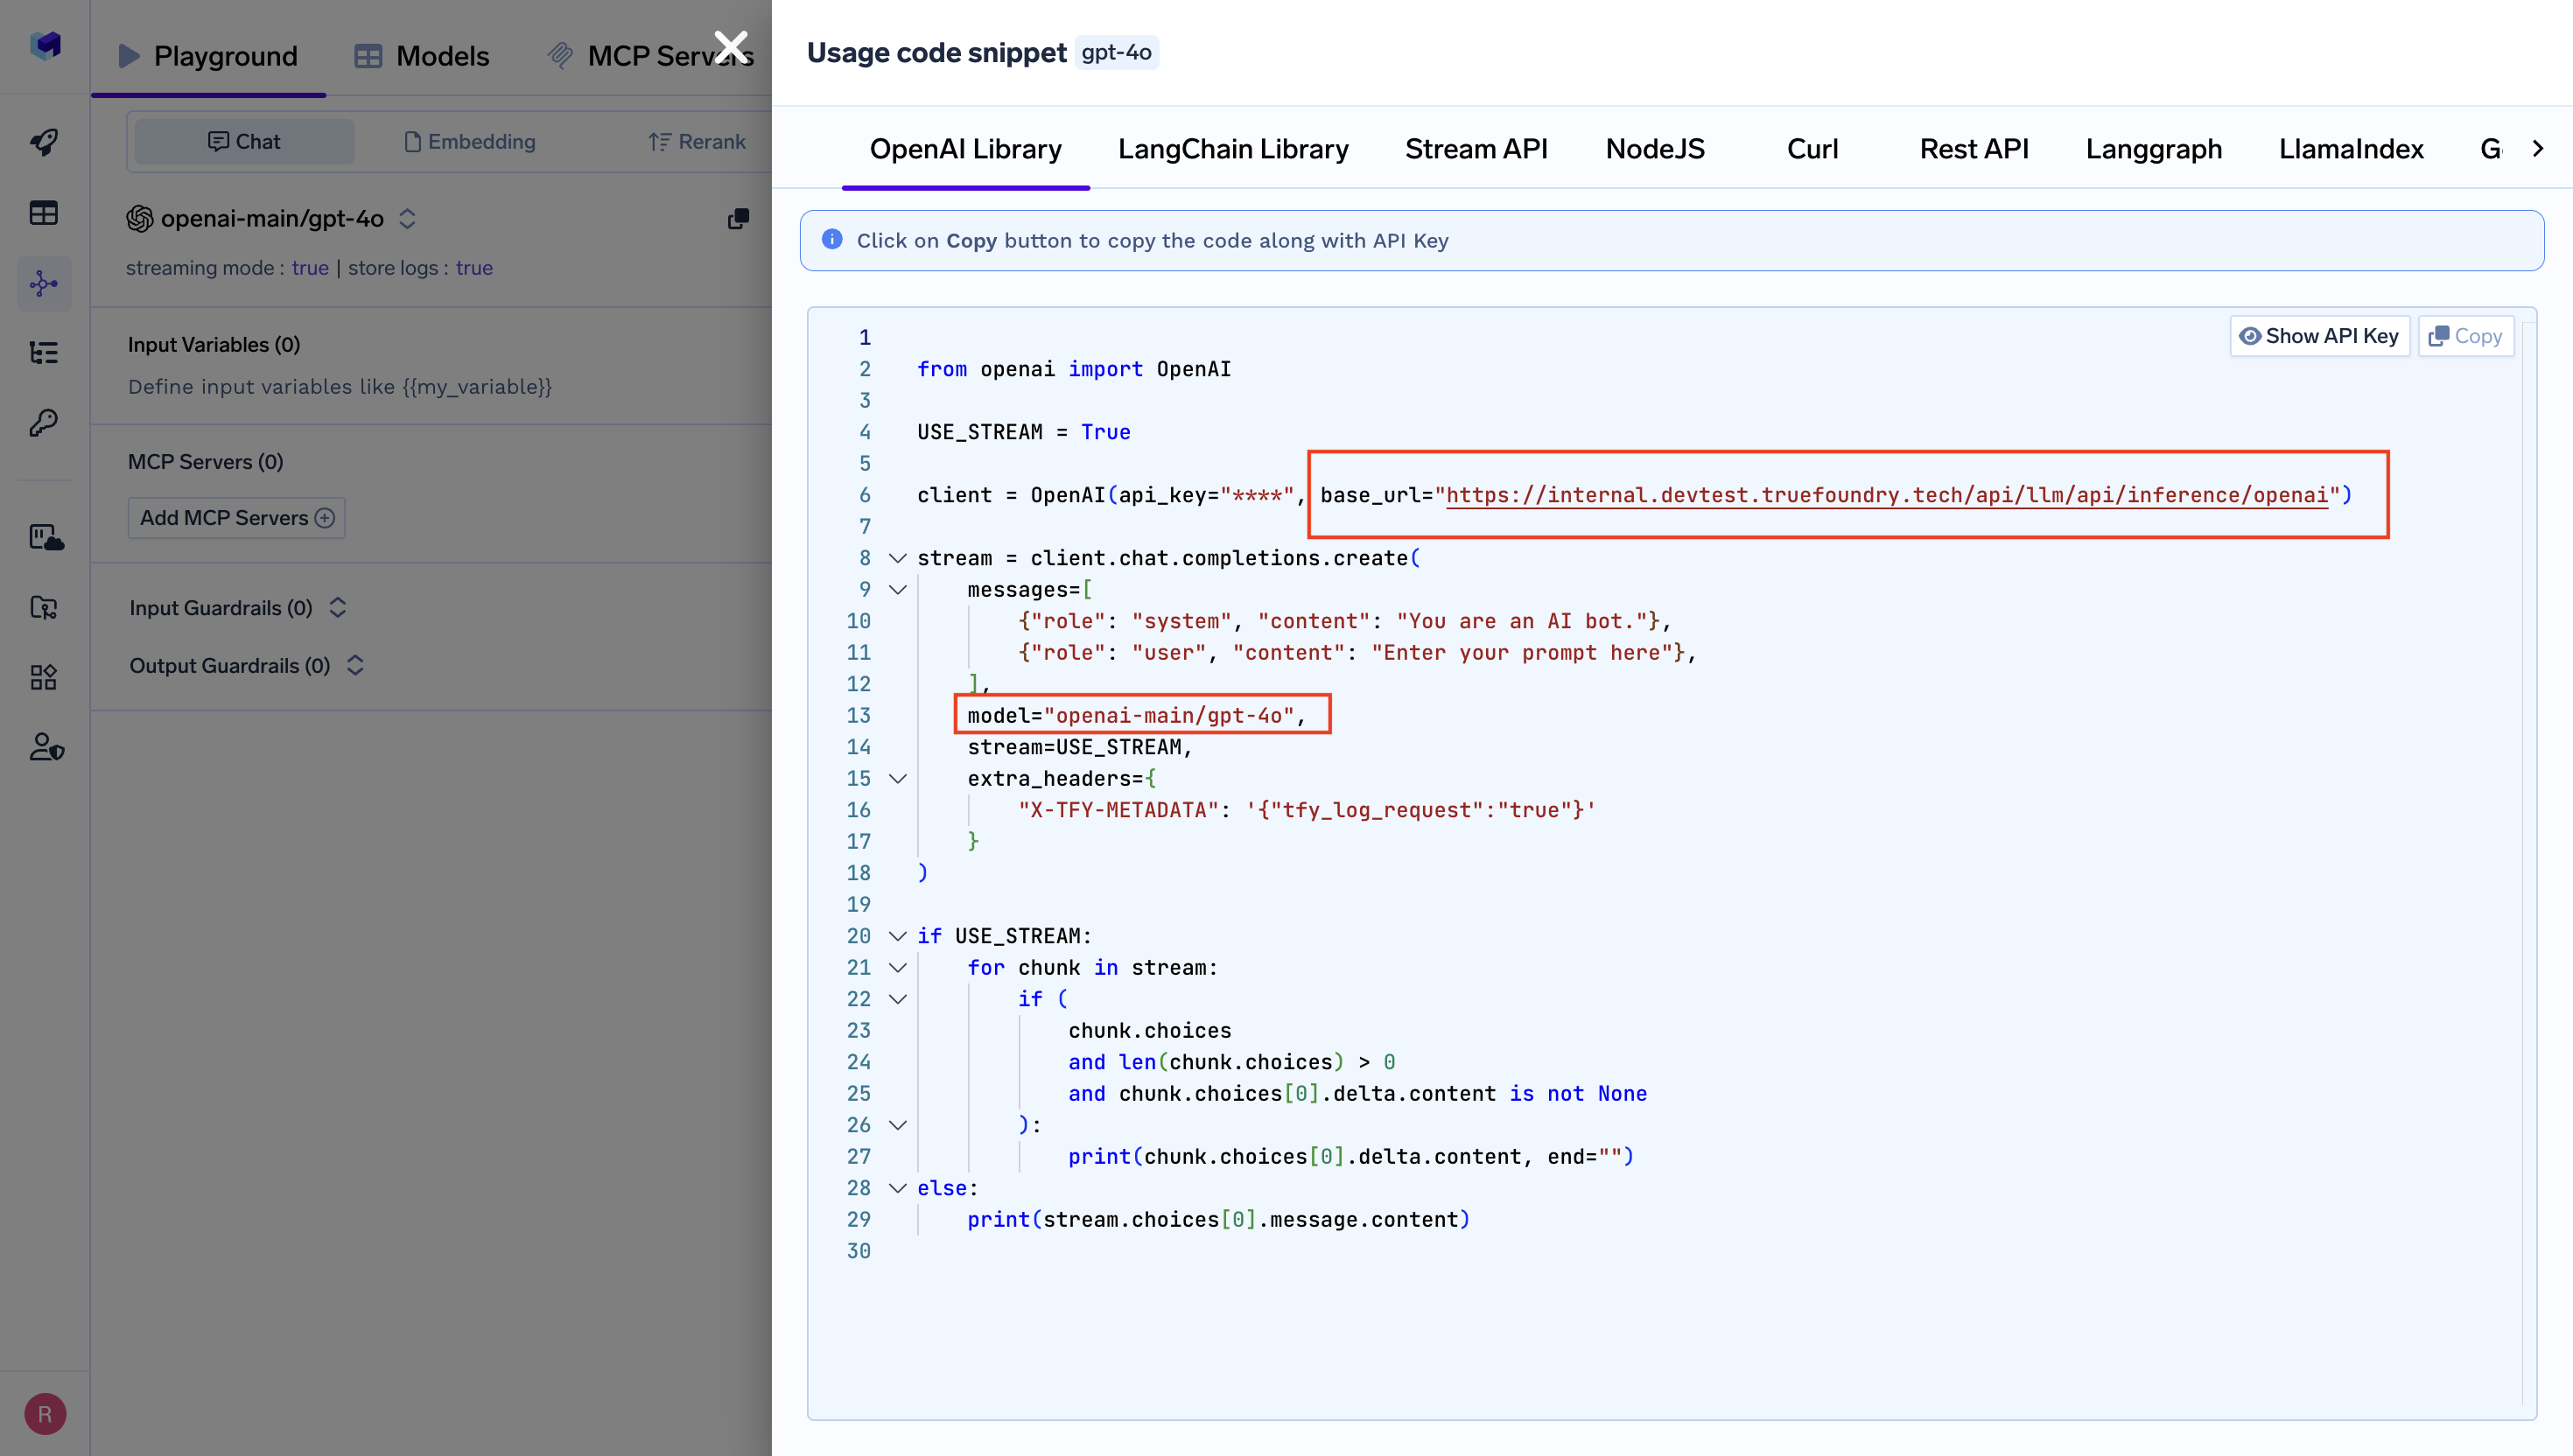
Get Base URL and Model Name from Unified Code Snippet
- Additional Settings: Configure any other parameters like temperature, max tokens, etc., as needed
Edit Node
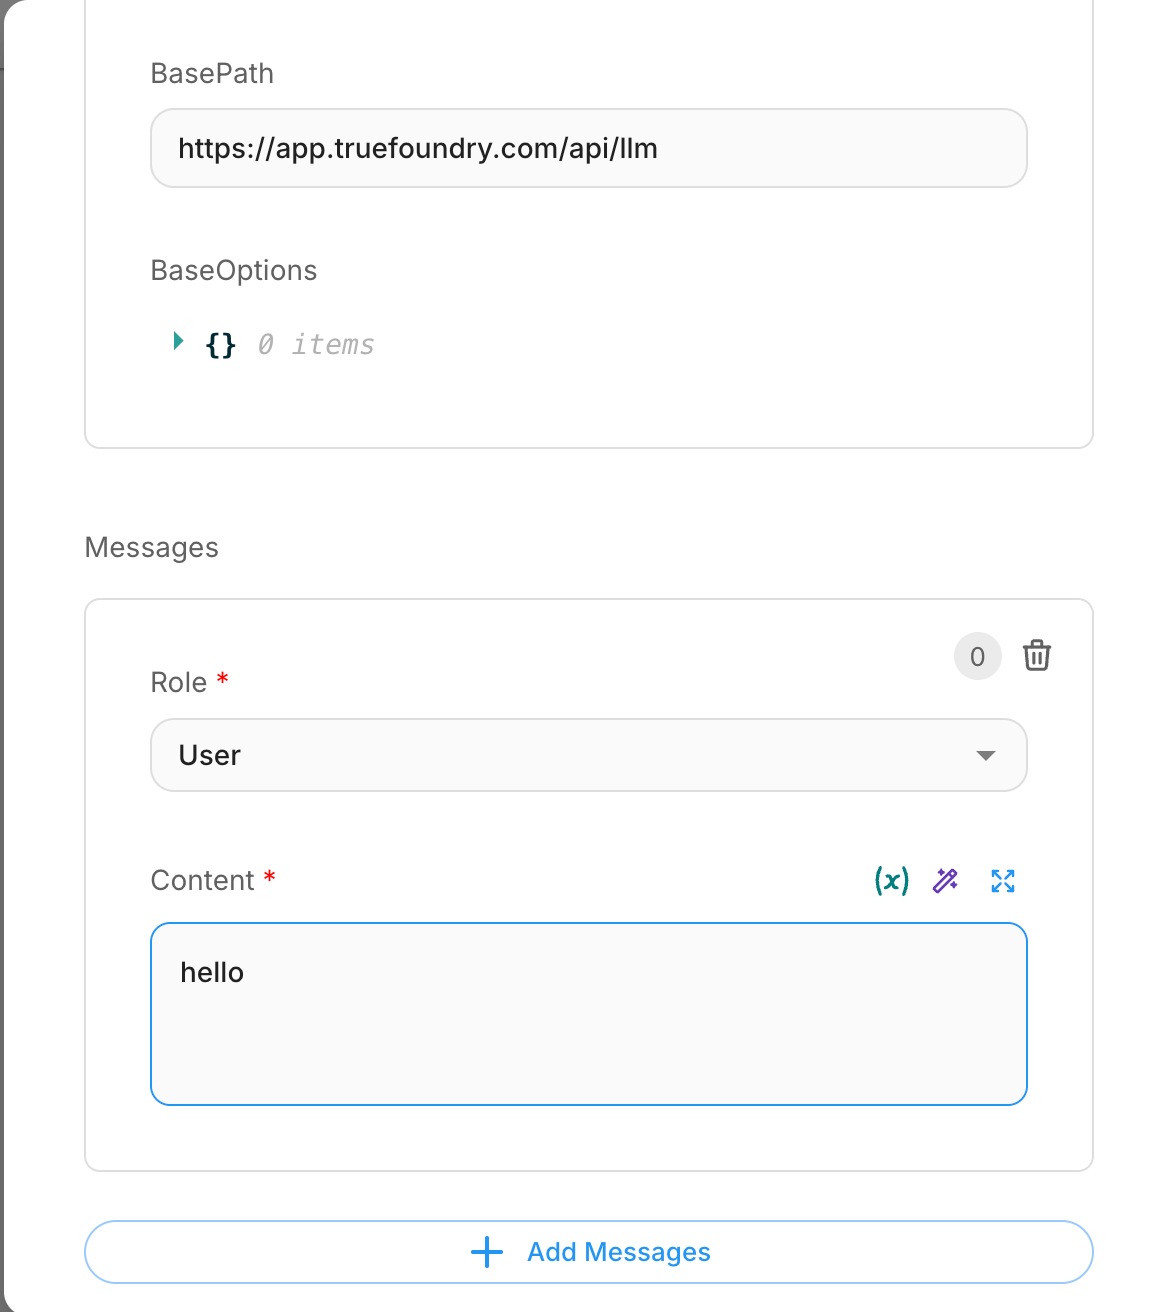
Step 5: Save and Test Your Integration
- Save Your Workflow: Click the “Save” button in the top-right corner of the Flowise interface
-
Test the Connection:
- Open the chat interface by clicking the chat icon
- Send a test message to verify that your agent is working correctly
- The messages should now be processed through TrueFoundry’s Gateway
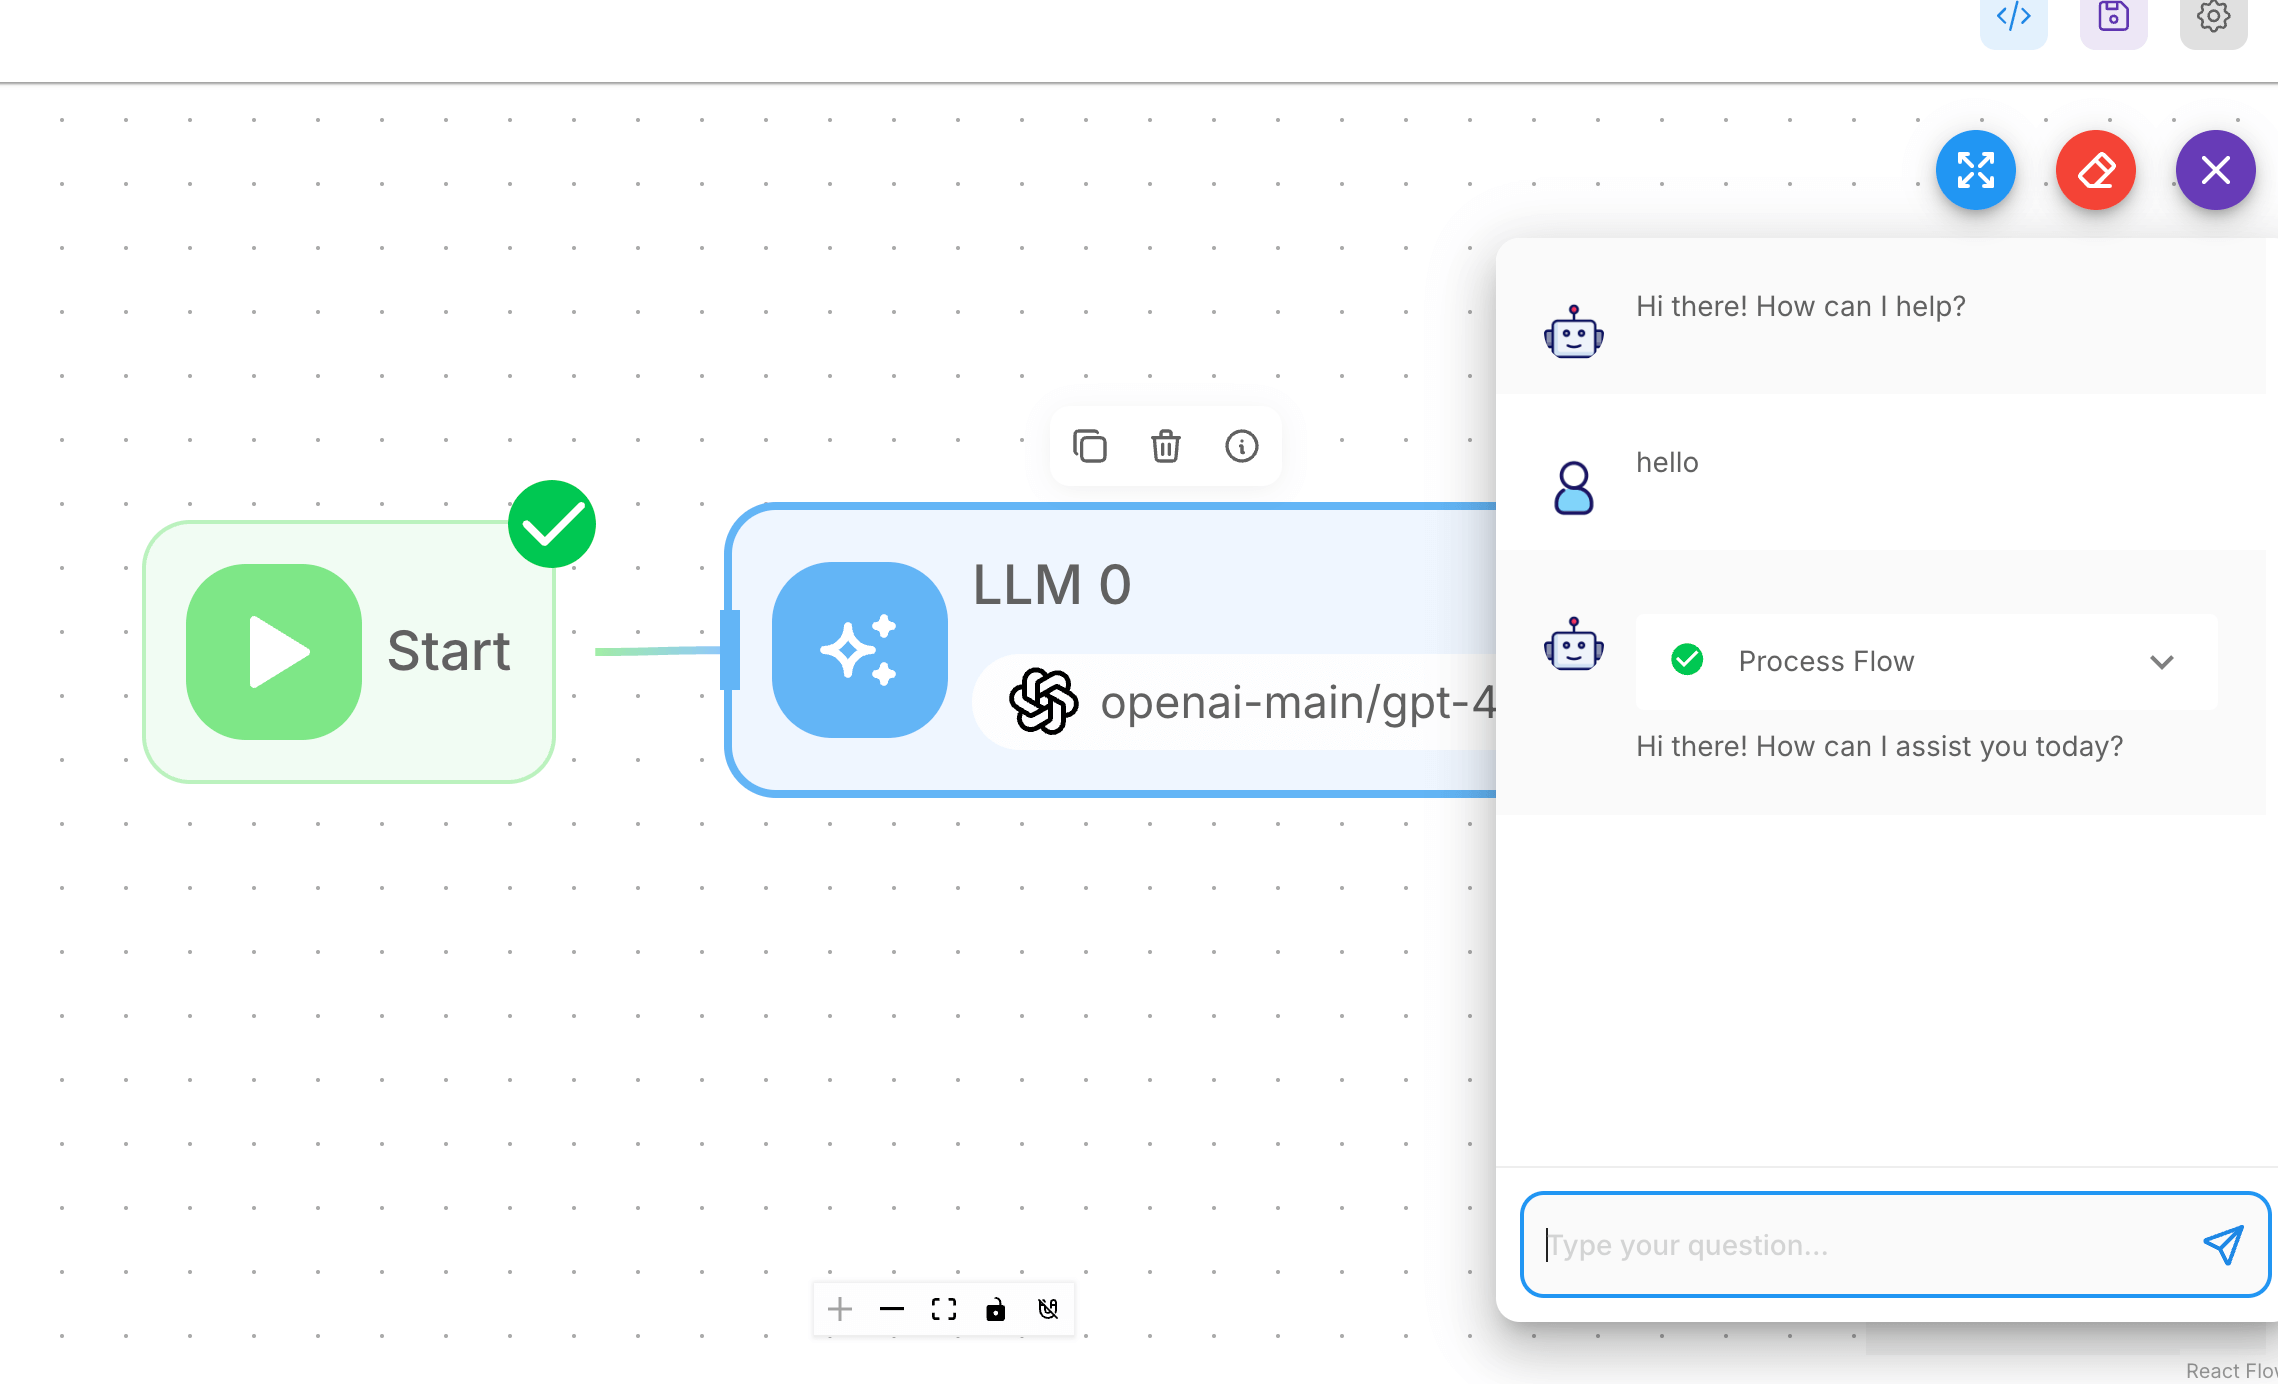
Save and Test the Agent
Troubleshooting Tips
- Authentication Errors: Double click on the LLM node you will see the settings ensure api key, base url, model name are correctly configured
- Model Not Found: Ensure the model name from the unified code snippet is exact and the model is deployed
- Connection Issues: Verify your Gateway base URL format is correct:
https://your-control-plane.truefoundry.cloud/api/llm - Workflow Not Responding: Check that all nodes are properly connected, especially the connection from the Start node