Creating record for your load balancer
Once all the applications are created and the cluster is connected in the control plane, the endpoint where the applications are to be served must resolve to the endpoint of the load balancer’s hostname. To get the load balancer’s hostname run the following command*.apps.example.com, then create a CNAME record in your DNS provider resolving *.apps.example.com to the load balancer’s hostname from the above command. You can keep the TTL to1m or 60 seconds.
Once it is done you can use the following command to check if the CNAME record is correct or not

Adding base domain URL
Attaching a blob storage
S3 Blob Storage is a cloud-based storage service that allows you to store and retrieve vast amounts of data in the form of objects, also known as blobs. It is designed to handle a wide variety of unstructured data, including documents, images, videos, backups, logs, and more. S3 provides durability, high availability, and scalability, making it an ideal solution for companies seeking reliable and cost-effective storage for their blob data.Attaching Blob storage to TrueFoundry’s control plane
To attach a blob storage-
Create a S3 bucket.
- Make sure the bucket has lifecycle configuration to abort multipart upload set for 7 days.
-
Make sure CORS is applied on the bucket with the below configuration
-
Create a user with programmatic access or Create IAM role with assume role access who has access to below permissions. Save the credentials somewhere safe.
Giving full access to s3
Currently there is a bug flow in our system which requires entire s3 access in your cloud. We are working on it and will be resolved soon. For now to attach a blob storage- Once this is done, head over to Integrations tab and then click Connect Storage.
- Fill in the details
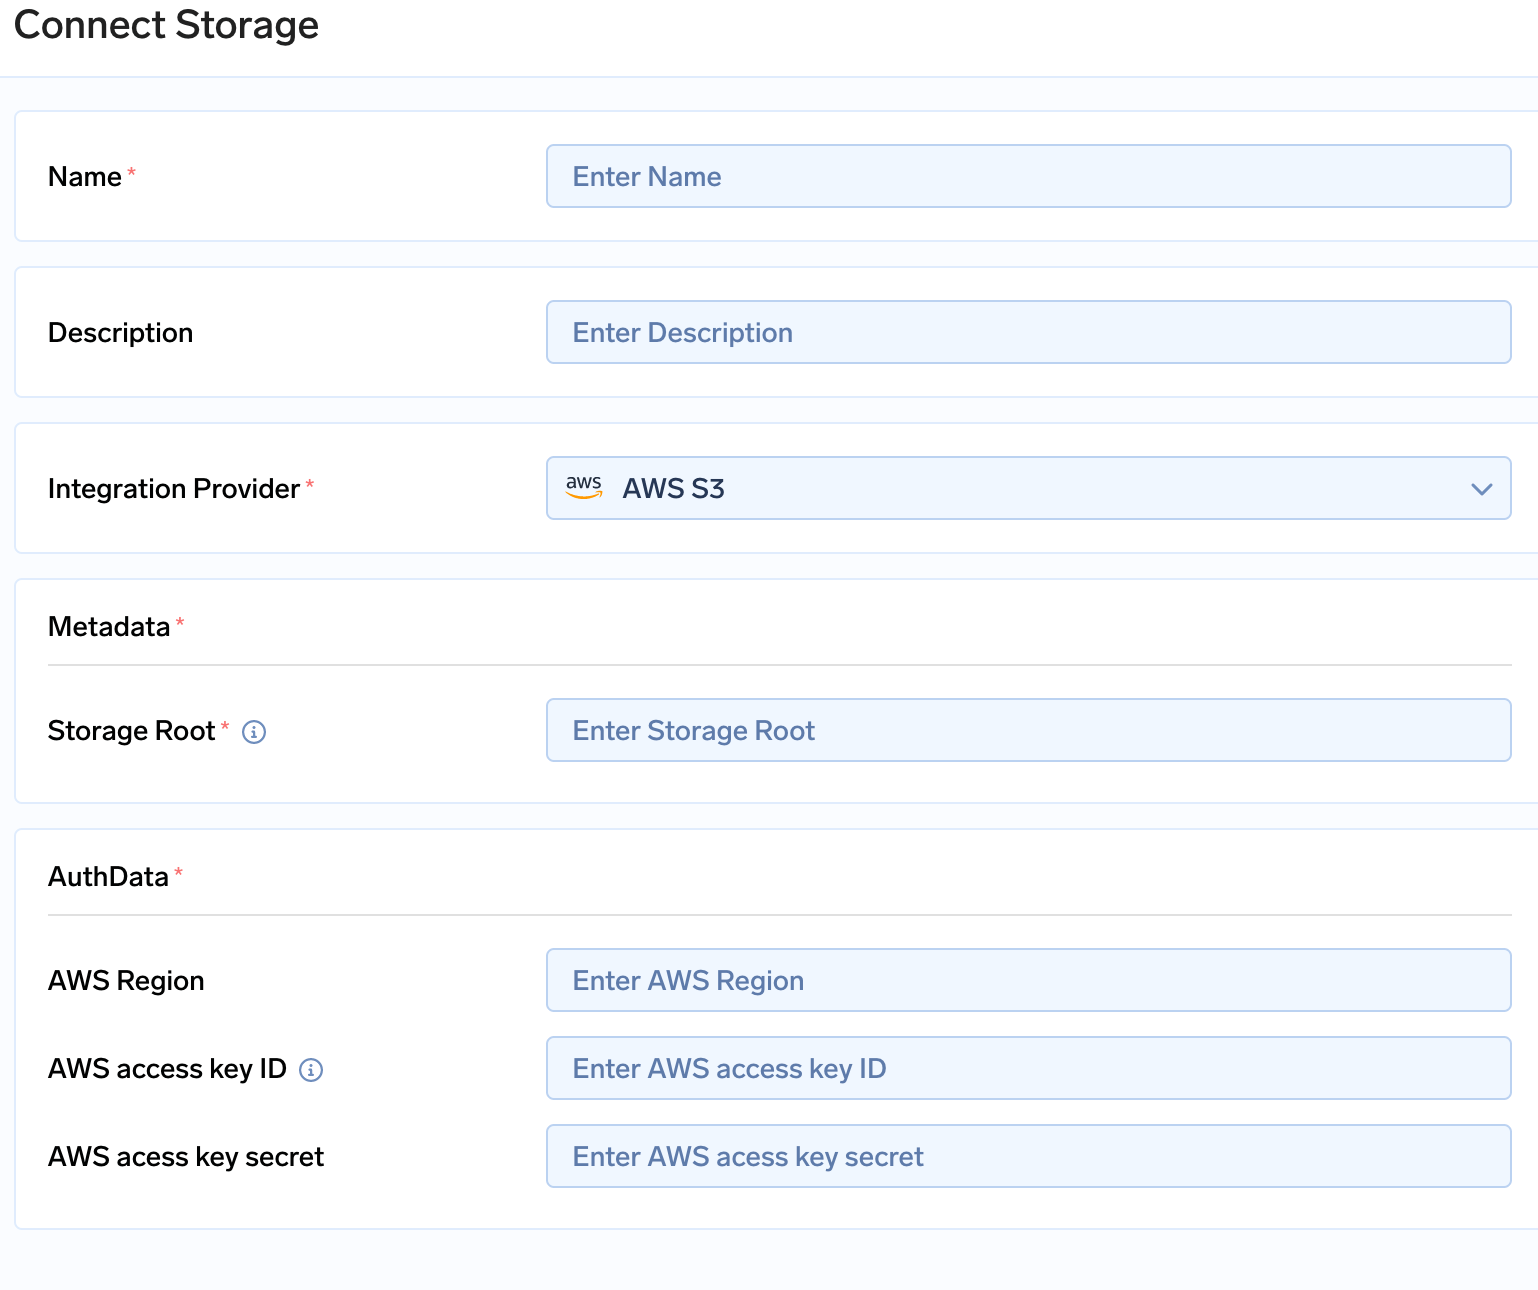
Connect Storage
- In the storage root enter
s3://<bucket name> - Enter the access key and secret key which were generated while creating a user.
Attaching Secrets Manager
Secrets Manager is a secure and scalable service provided by Amazon Web Services (AWS) that allows you to securely store and manage sensitive information, such as database credentials, API keys, and other secrets used in your applications. It provides a centralized and highly available solution for managing secrets, eliminating the need to hardcode sensitive information in your code or configuration files.Attaching secrets manager to True Foundry’s control plane
-
Create a user with programmatic access or Create IAM role with assume role access who has access to below permissions. Save the credentials somewhere safe. The user which was created for blob storage can also be used with the below set of permission additionally attached to it.
- Go to Integrations tab in the control plane and click on Connect Secret Store
- Fill in the AWS access key and AWS secret key with the right region in the form.
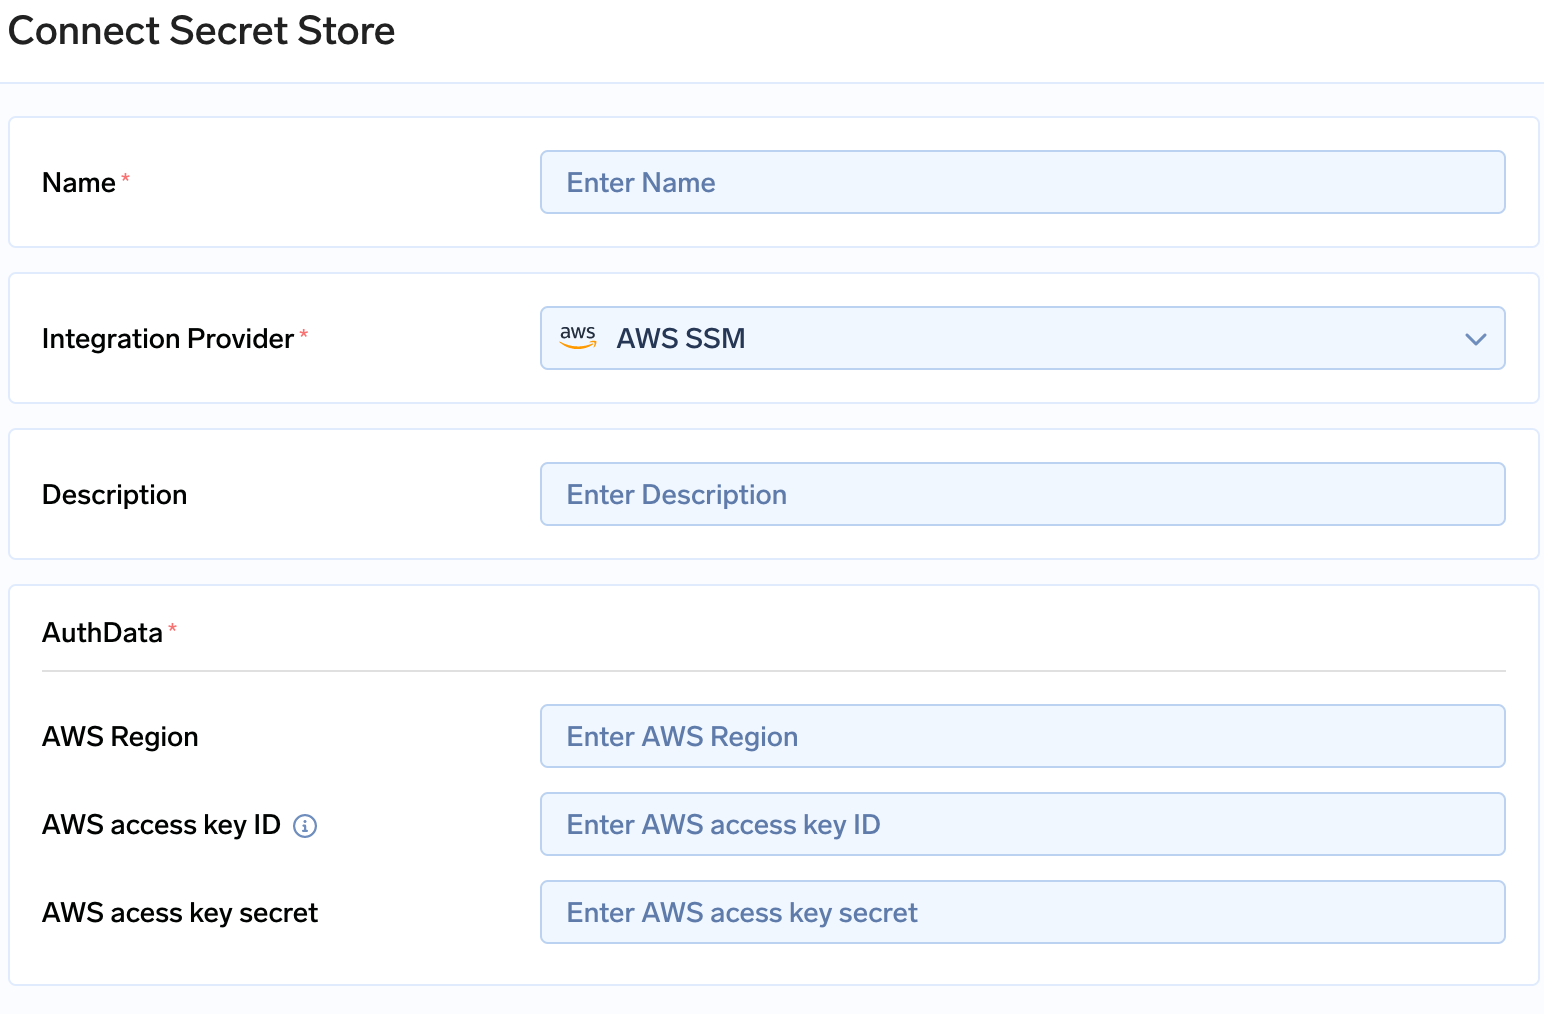
Connecting Secrets Store
Attaching container registry
AWS Elastic Container Registry (ECR) is a fully managed Docker container registry provided by Amazon Web Services (AWS). It serves as a secure and scalable storage solution for storing, managing, and deploying container images. With ECR, you can easily store and retrieve container images to facilitate the development, testing, and deployment of containerized applications.Attaching AWS ECR to True Foundry’s control plane
Create a user with programmatic access or Create IAM role with assume role access who has access to below permissions. Save the credentials somewhere safe. The user which was created for blob storage or Secrets store can also be used with the below set of permission additionally attached to it.- Go to Integrations tab in the control plane and go to the card of Docker registry and click on Connect Secret Store
- Fill in the AWS access key and AWS secret key with the right registry URL in the form. Click here to check your Registry URL. It will be of form
aws_account_id.dkr.ecr.region.amazonaws.com
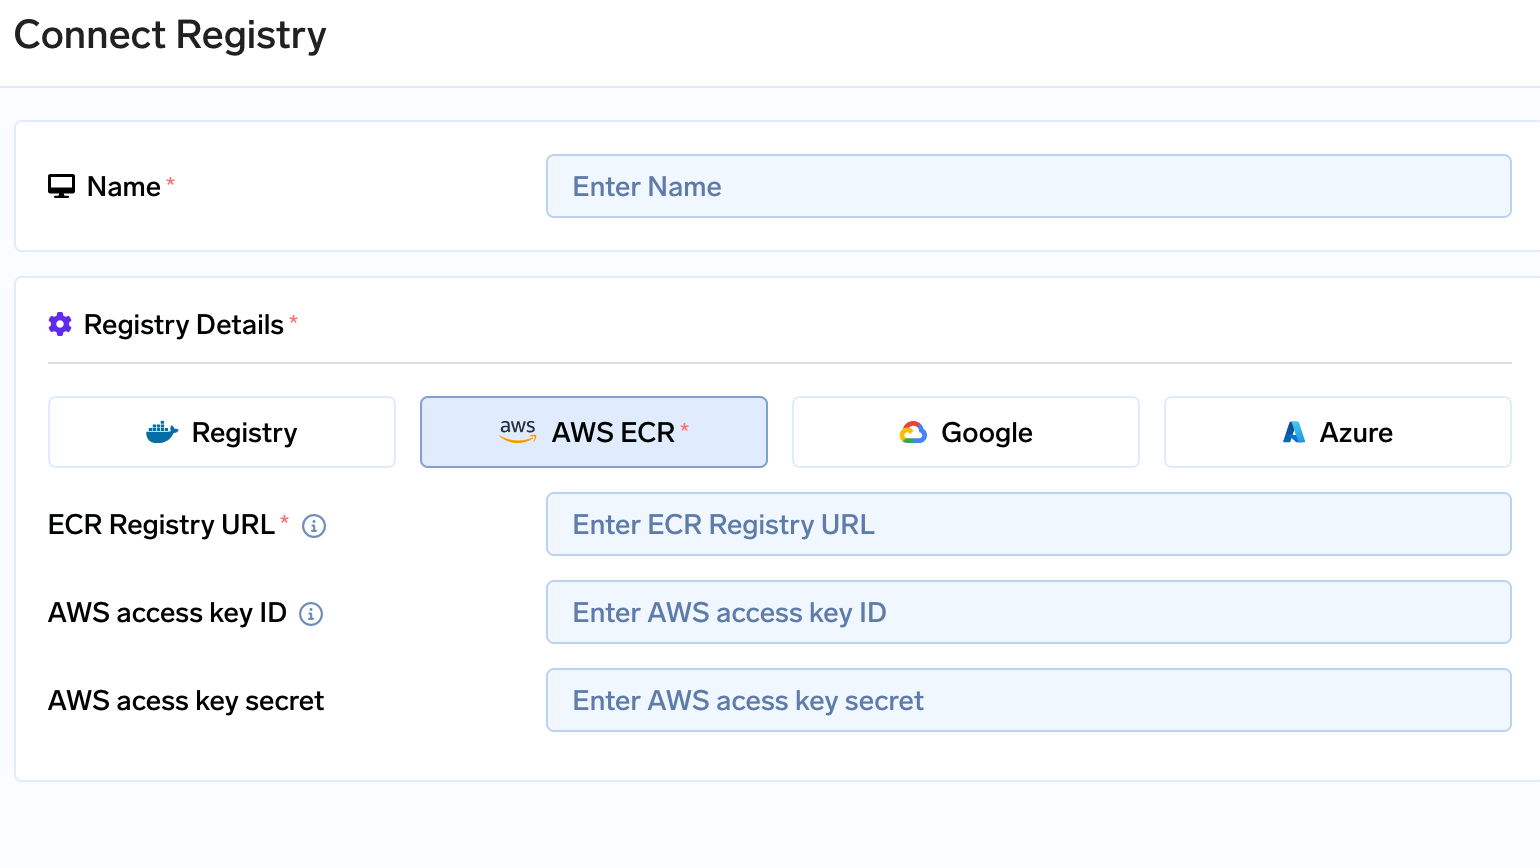
Connecting Registry
Create an IAM role with assume role
- Using IAM access keys creates a security loophole and an overhead of rotating the keys.
- To avoid this TrueFoundry support IAM role with access to assume role so that access keys can be avoided.
- This IAM role generates temporary access keys which expire after certain time resulting in a secure key-less architecture.
- You can create an IAM role for TrueFoundry with the above permissions for blob storage, ECR and SSM
-
The role should have following Trust relationships added (if you are using TrueFoundry’s control plane)