Overview
External Identity enables you to:- Authenticate external systems using OIDC tokens from your Identity Provider (IdP)
- Grant access to specific resources without creating user accounts
- Use claim-based matching to automatically select the appropriate external identity
- Manage access control by adding external identities as collaborators to resources
External Identity requires an OIDC SSO integration to be configured first. The
SSO integration must have login enabled as false, meaning it won’t be used
for user login but only for external identity authentication.
How External Identity Works
When an external system authenticates with TrueFoundry using an OIDC token:- TrueFoundry validates the token against the configured SSO integration
- The system extracts claims from the token
- If multiple external identities share the same SSO FQN, TrueFoundry selects the one with the most matching claims
- The selected external identity is used for authorization checks when accessing resources
The claim matching algorithm prioritizes external identities with the highest
number of matching claims. This allows you to create more specific external
identities that take precedence over general ones.
Prerequisites
Before creating an external identity, you must:- Configure an OIDC SSO Integration: Navigate to Settings > SSO and create a new SSO configuration, you can refer to SSO Overview on how to configure SSO in TrueFoundry.
- Disable Login: Ensure the SSO integration has login enabled as false (this prevents it from being used for user authentication)
- Note the SSO FQN: The SSO FQN is the name you assigned to your SSO configuration
Creating an External Identity
Step 1: Navigate to External Identities
Go to Access > External Identities.
Navigate to External Identities
Step 2: Add External Identity
Click the Add External Identity button to open the configuration form.
Add External Identity Form
Step 3: Fill in the Form
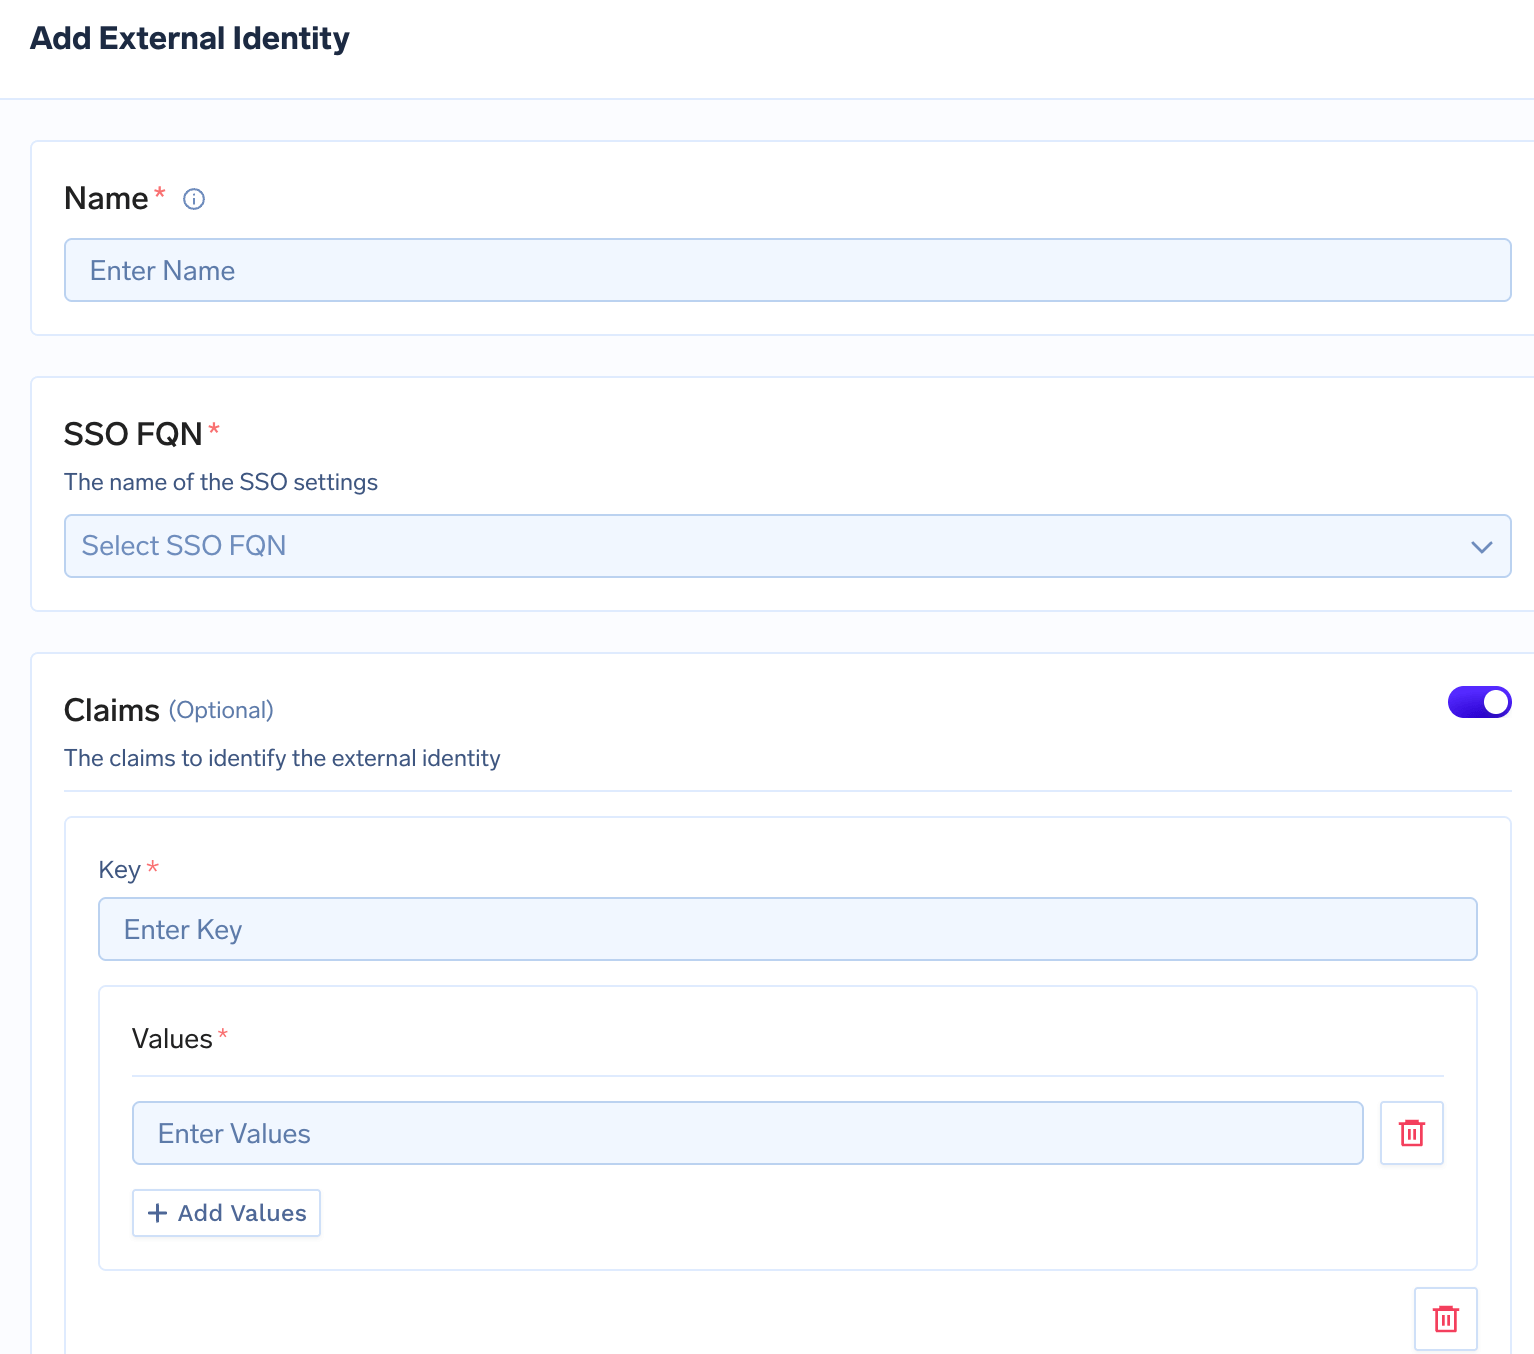
Add External Identity Form
Name (Required)
- Description: A unique name to identify this external identity
- Format: Alphanumeric characters and hyphens
- Example:
api-service,external-app,partner-integration
The name should be descriptive and help you identify the purpose of this
external identity.
SSO FQN (Required)
- Description: The Fully Qualified Name (FQN) of the SSO configuration to use for authentication
- Format: This is the name you assigned when creating the SSO integration
- How to find: Go to Platform > Settings > SSO and check the name of your OIDC SSO configuration
The SSO FQN must reference an existing OIDC SSO integration with login
disabled. You can create multiple external identities using the same SSO FQN,
and TrueFoundry will automatically select the best match based on claims.
Claims (Optional)
- Description: Key-values pairs that define the conditions for this external identity to be selected
- Format: JSON object with claim names and expected values
- Purpose: Used to match tokens and select the appropriate external identity when multiple identities share the same SSO FQN
Claims are optional. If you don’t specify claims, the external identity will
match any token from the specified SSO FQN. However, if multiple external
identities exist with the same SSO FQN, the one with the most matching claims
will be selected.
Step 4: Save the Configuration
Click Save to create the external identity. You’ll see it listed in the External Identities section.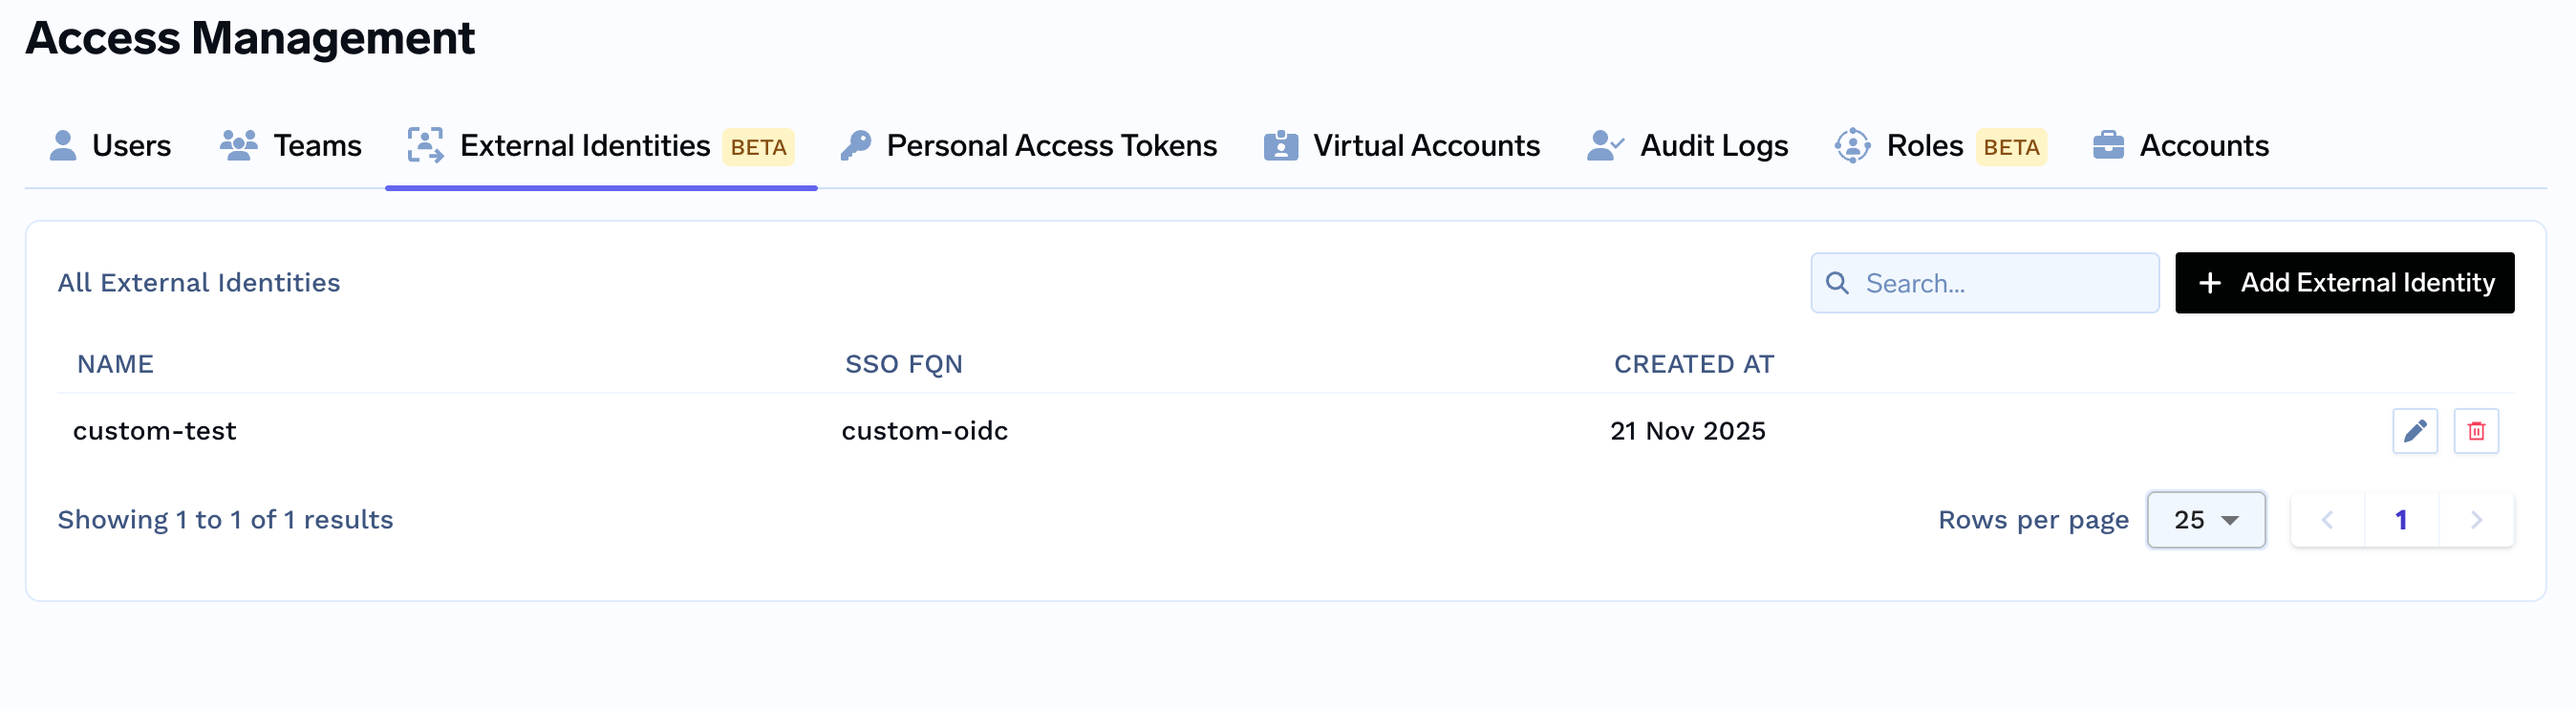
External Identities List
Using External Identity as Collaborator
Once created, external identities can be added as collaborators to TrueFoundry resources, granting them access based on the assigned role, similar to how you add users and teams as collaborators.Adding External Identity as Collaborator
- Navigate to the resource you want to grant access to (e.g., Model, MCP Server, Workspace, Cluster, etc.)
- Open the Collaborators section
- Click Add Collaborator
- In the collaborator selection, you’ll see external identities listed under External Identities
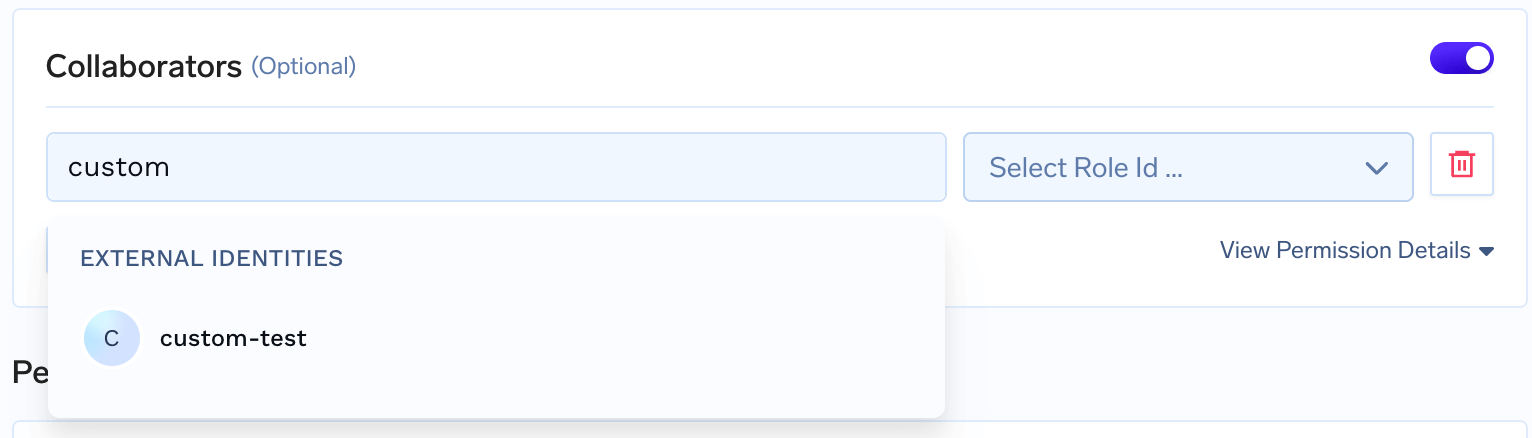
Adding External Identity as Collaborator
- Select the external identity from the list
- Choose the appropriate Role (e.g., Viewer, Editor, Manager)
- Save the changes
Editing External Identity
- Click on an external identity or use the Edit action
- you can only modify the claims for an identity
- Save the changes
Deleting External Identity
- Select the external identity you want to delete
- Click Delete or use the delete action
- Confirm the deletion
Troubleshooting
External Identity Not Matching
Problem: Token authentication fails or wrong external identity is selected. Solutions:- verify the token issuer and audience in the token are correct
- verify the SSO FQN is correct and matches your SSO configuration name
- verify the SSO integration has login disabled