HashiCorp Vault Integration
To add a HashiCorp Vault integration:- Go to the Platform > Integration Providers page in the TrueFoundry UI.
- Click on ‘Add Integration Provider’.
- Select ‘HashiCorp’ as the provider type.
- Choose ‘HashiCorp Vault Integration’ in the integrations section.
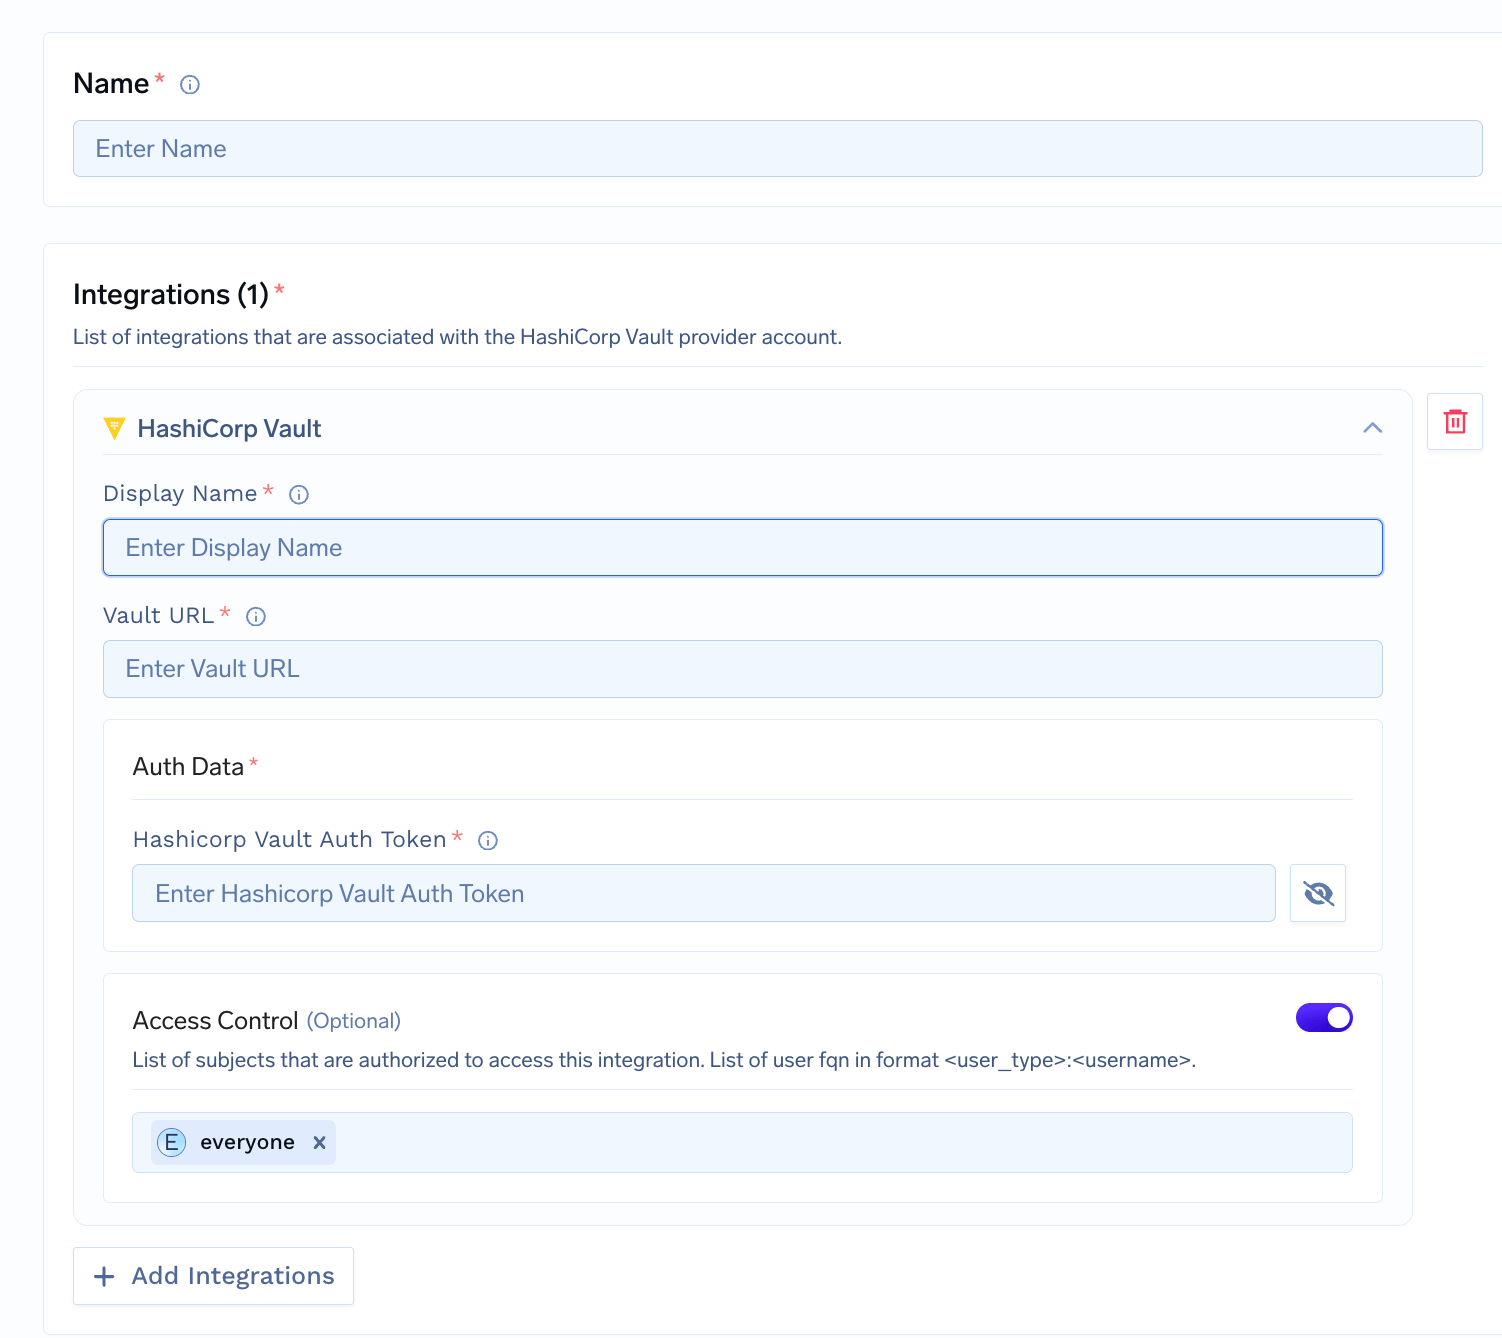
- Fill out the form fields as shown below:
Field Descriptions
- Name: The name of the HashiCorp Vault provider account. Must be 3 to 32 lowercase alphanumeric characters, may contain hyphens, and cannot start with a number.
- Display Name: The name of the integration that will be displayed in the TrueFoundry UI. Again, it must be 3 to 32 lowercase alphanumeric characters, may contain hyphens, and cannot start with a number.
- Vault URL: The URL of your HashiCorp Vault server (e.g.,
https://vault.example.com:8200). - Auth Token: The Vault authentication token used for authentication. This is required for the integration to access your Vault instance.
- Access Control (Optional): List of users or groups fqn in format
<user_type>:<username>allowed to use this integration. By default, set toeveryone.
How to create a HashiCorp Vault Auth Token:
- Access your HashiCorp Vault instance through the CLI or UI.
- Authenticate using your preferred method (e.g.,
vault auth-method=userpass username=myuser).- Copy the token from the authentication response (starts with
hvs.for Vault 1.9+).- For more details, see the HashiCorp Vault Authentication documentation.
Final Steps
- After filling all required fields, click Add Integration Provider to save your integration.
- You can now use this integration as a secret store when configuring your applications to securely manage secrets through HashiCorp Vault.
With this integration in place, you can securely manage and access secrets stored in your HashiCorp Vault instance directly from TrueFoundry!